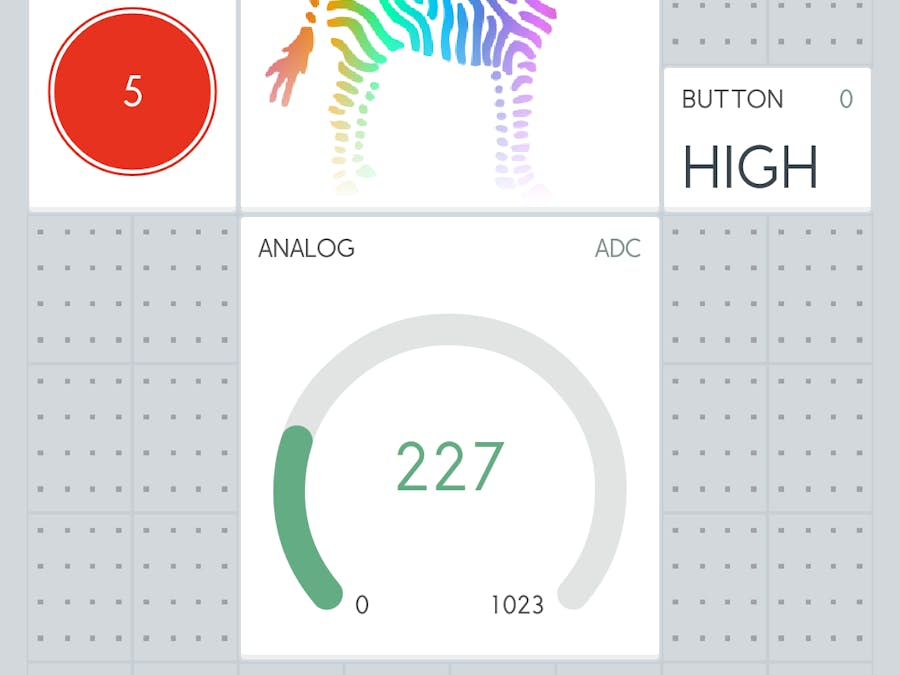
Blynk Server is an Open Source Netty-based Java server, responsible for forwarding messages between Blynk mobile application and various microcontroller boards.
Running a local Blynk Server has the following benefits:
- Better security
- Better stability
- Low latency
- Maximum privacy
Download the latest release of Blynk Server at this link. You will need Java 8 installed on your machine. I am using Windows 10 for this tutorial.
Running the Blynk ServerCheck if you have Java 8 installed.
Navigate to the folder where you download the .jar
file and launch the server.
To connect Blynk App to your local server you need to tell the app which server to connect to. On the Log In screen set up an IP address and PORT (should be 8443 by default).
Go to Blynk App start page.
Click Create New Account.
Before pressing the Sign Up button, click the Server Setting setup.
Select CUSTOM and enter IP address. PORT should be 8443 by default. Then click OK. At Create Account
page, enter email and password. Then press Sign Up to create a new account. Go to Login page and login to local Blynk Server.
If you are connecting over WiFi, change your sketch:
Blynk.begin(auth, SSID, pass));
to:
Blynk.begin(auth, SSID, pass, "your_host"); //or
Blynk.begin(auth, SSID, pass, IPAddress(XXX,XXX,XXX,XXX));
To enable e-mail sending from local server, you need create a mail.properties
file with your email credential. Put the file in the same folder as the server.jar
file. Follows is a sample content of the file.
mail.smtp.auth=true
mail.smtp.starttls.enable=true
mail.smtp.host=smtp.gmail.com
mail.smtp.port=587
mail.smtp.username=YOUR_EMAIL_HERE
mail.smtp.password=YOUR_EMAIL_PASS_HERE
To access the local server Administration Panel, type this URL:
https://your_ip:7443/admin
This is the dashboard view.
This is the config view.
There are views grouped into tabs like Users, Stats and Hardware Info.


_3u05Tpwasz.png?auto=compress%2Cformat&w=40&h=40&fit=fillmax&bg=fff&dpr=2)
Comments
Please log in or sign up to comment.