.
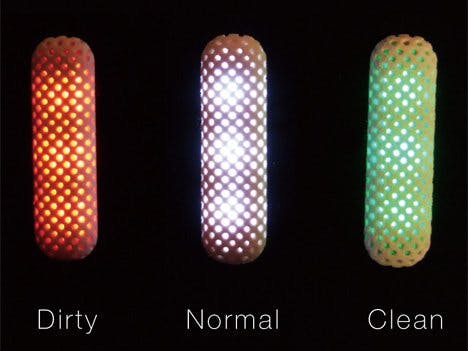
IntroductionMy original idea was to use the NeoPixel as the indicator of this air quality meter. But I am not able to get a Netduino library to talk to NeoPixel. In order to save time, I decide to use a LED as an indicator.
This is a simple project using a MQ4 gas sensor, together with Netduino 3 WiFi. The LED light will turn on if the gas sensor's value is above certain threshold. To ease my testing, I add a light sensor so that I can turn on and off the LED by changing the resistance.
Step 1: Set Up the NetduinoFollow this get started guide to setup the board. Complete the Netduino Blink app to verify your setup is successful.
Next follow this guide to configure the WiFi network. Build and run the Blinky app to make sure you have the network connected.
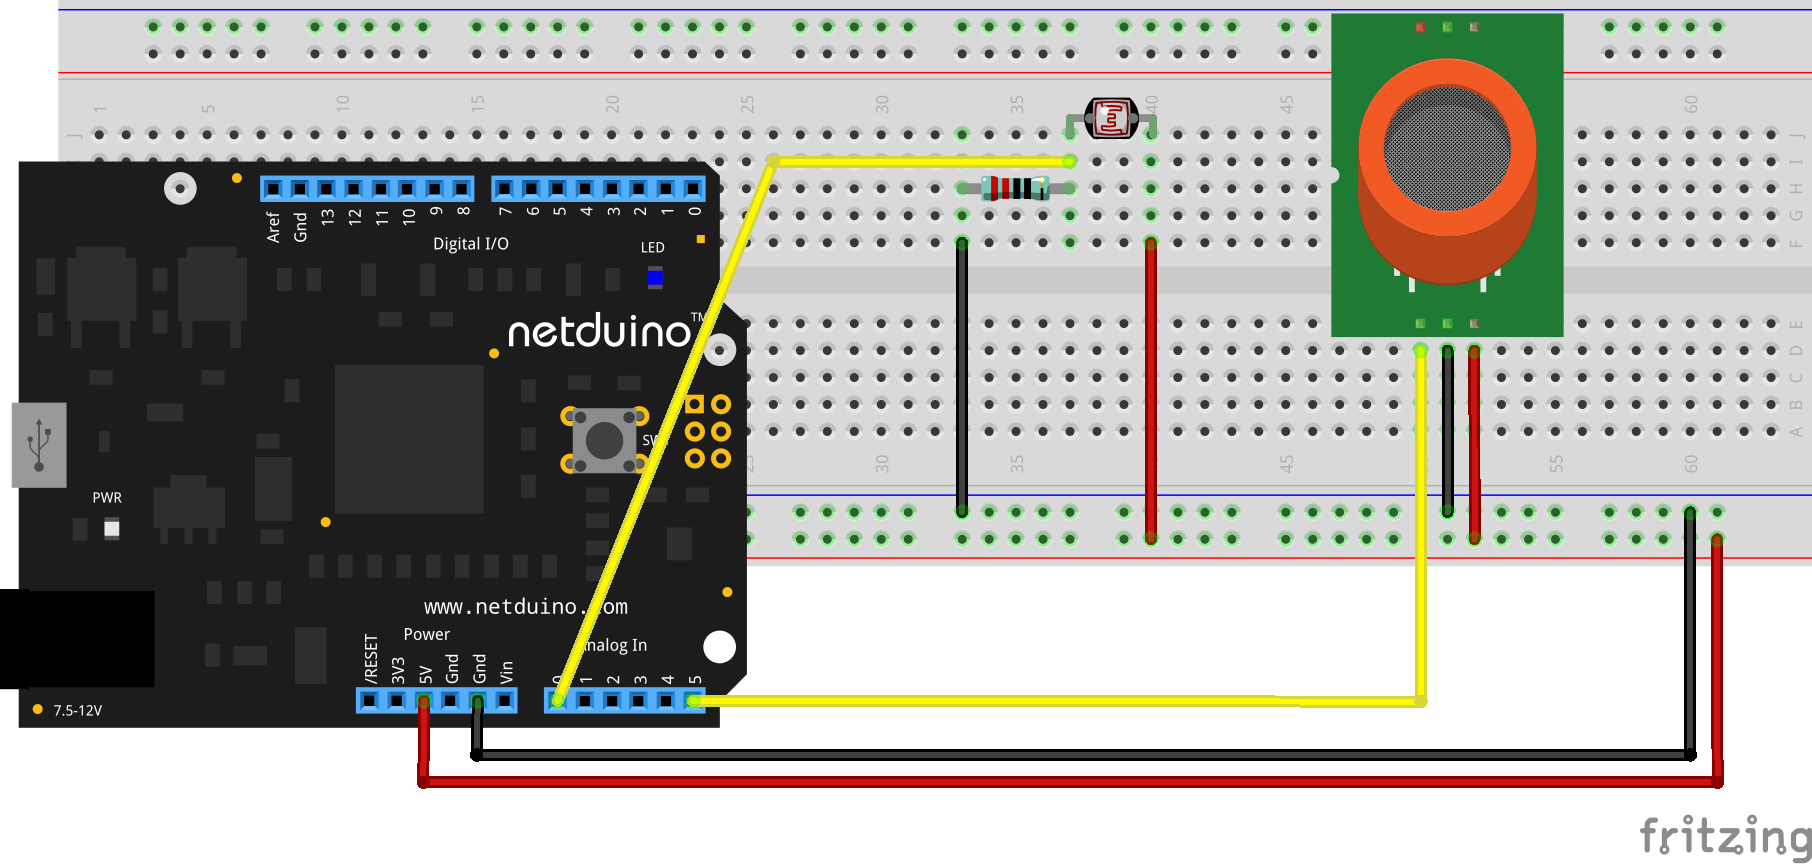
Step 2: Add SensorsHere, I add one MQ4 and one light sensors as shown in the picture below. A schematics diagram is provided at the end of this document. A picture is displayed below.
Visit io.adafruit.com. Register an account if you do not have one. Here you set up the Feeds, Groups and Dashboard for this project.
A group with feeds:
The dashboard:
Get your key here:
The live dashboard should show something like below:
For source code, please refer to the two C# files below. The following is the code fragment which posts data (gas and light values) from Netdruino to Adafruit.io.
     protected void MakeAdafruitIOWebRequest(int gasVal, int lightVal)
       {
           Debug.Print("now is " + DateTime.Now);
           var url = "https://io.adafruit.com/api/v2/wesee/groups/my-group/data";
           string data = "{\"feeds\": [ { \"key\": \"light\", \"value\": \"" + lightVal + "\" }, { \"key\": \"mq4\", \"value\": \"" + gasVal + "\" } ] }";
           var httpWebRequest = (HttpWebRequest)WebRequest.Create(url);
           httpWebRequest.Method = "POST";
           httpWebRequest.Headers.Set("X-AIO-Key", "X-AIO-Key");
           httpWebRequest.ContentType = "application/json";
           byte[] byteArray = Encoding.UTF8.GetBytes(data);
           httpWebRequest.ContentLength = byteArray.Length;
           // Get the request stream.
           Stream dataStream = httpWebRequest.GetRequestStream();
           // Write the data to the request stream.
           dataStream.Write(byteArray, 0, byteArray.Length);
           // Close the Stream object.
           dataStream.Close();
           var httpResponse = (HttpWebResponse)httpWebRequest.GetResponse();
           using (var streamReader = new StreamReader(httpResponse.GetResponseStream()))
           {
               var result = streamReader.ReadToEnd();
               Debug.Print("this is what we got from " + url + ": " + result);
           }
       }
This makes the web service call:
if (!app.IsRunning) app.Run(gasVal, lightVal);
To test the turning on and off of the LED, I add the photocell light sensor so that I can show the effect by changing the resistance. This is the portion of the code that does the checking:
               if (lightVal > lightThreshold || gasVal > gasThreshold) {
                   led.Write(true); // turn on the LED
               } else {
                   led.Write(false); // turn off the LED
               }
You see, this is a very simple project. The next step will adding AI to it. After collecting enough data, AI can be used to train and build a model where you can do prediction of air quality based on certain features.


Comments
Please log in or sign up to comment.