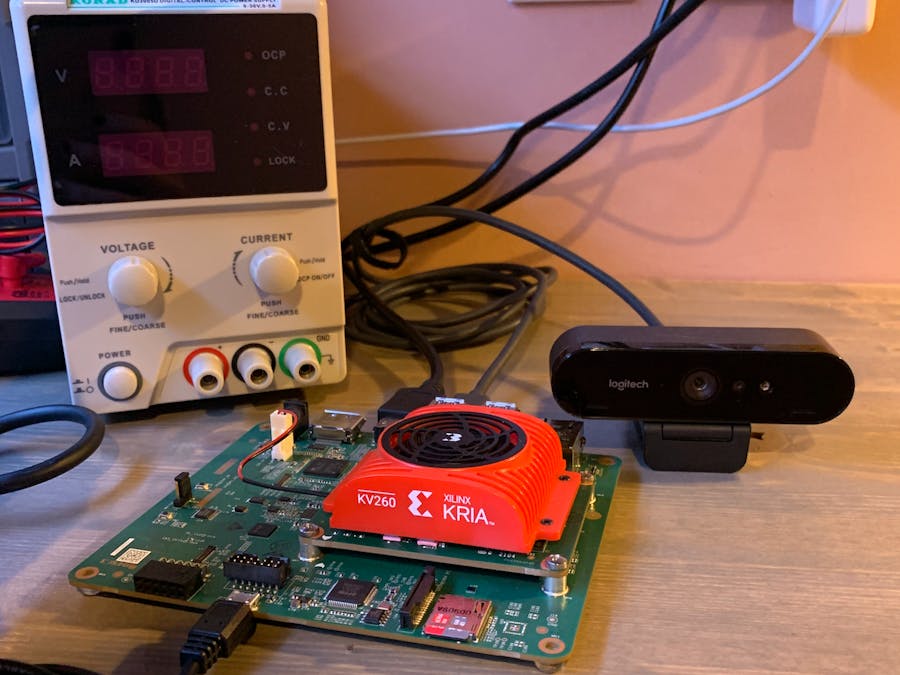
As I mentioned in my last project post detailing how to create a base hardware design for the Kria KV260 Vision AI Starter Kit, I would next be going over how to create a PetaLinux project for it. I wasn't prepared for the loops this project was going to throw me just getting to the point of building everything the pre-built image has that is used to get the Kria KV260 up and running right out of the box. So I'll only be covering the base project here, and leaving the addition of a customer recipe for my next project post. But I hope this post can save a few of you from the pain I went through.
Download BSPDownload the board support package (BSP) for the Kria K26 SoM here. Even though I just created my own hardware platform, I still needed the recipes, device tree, u-boot, and PetaLinux project configurations for the KV260. Which is why I am creating the PetaLinux project from the BSP.
Until I realized my mistake missing this, this project post looked very different. This is the step I missed that caused this project to throw me through the loops I previously mentioned.
Some major updates were made to the Vitis AI layers of PetaLinux specific to the Kria K26 SoM being used with the KV260 Vision AI baseboard. So if you try to create and build a project using the BSP without running this update, it will be a mess... Also, if you've already created a project using the BSP before upgrading PetaLinux, you'll have to scrap it and create a new one.
Source PetaLinux tools in your environment:
~$ source /tools/Xilinx/PetaLinux/2021.1/settings.shThen run the upgrade:
~$ petalinux-upgrade -u http://petalinux.xilinx.com/sswreleases/rel-v2021/sdkupdate/2021.1_update1/ -p "aarch64" --wget-args "--wait 1 -nH --cut-dirs=4"After successfully upgrading PetaLinux, create a new project using the BSP for the Kria KV260:
~$ petalinux-create -t project -s /<path to>/xilinx-k26-starterkit-v2021.1-final.bsp -n kv260_osChange directories into the newly created project:
~$ cd ./kv260_osAt this point I found that it was necessary to go ahead and run a build because this PetaLinux project gets so big/complex, especially when the AI models and Xilinx accelerated applications are added:
~$ petalinux-buildThe Kria K26 BSP configures the PetaLinux project for the Kria K26 SoM, but does not include configuration for the KV260 baseboard in the initial configuration. Which lends itself to the whole concept of a SoM where the FPGA is isolated to a smaller PCB that is interchangeable between baseboards that contain the peripheral hardware. To configure the PetaLinux project to include the packages in the root filesystem for the peripherals of the KV260 board in the starter kit, set the BOARD_VARIANT variable to kv in the petalinuxbsp.conf file.
echo 'BOARD_VARIANT = "kv"' >> project-spec/meta-user/conf/petalinuxbsp.confThen in the future as more baseboards become available for the Kria K26 SoM, it's simply a matter of changing this variable to re-target the PetaLinux project.
Open the petalinuxbsp.conf file to verify BOARD_VARIANT has been set.
Add Xilinx Accelerated ApplicationsNext, add the package groups for the accelerated applications to the root filesystem configuration file (user-rootfsconfig) so that they pop up as options to add to the next build in the root filesystem configuration editor:
echo 'CONFIG_packagegroup-kv260-smartcam' >> project-spec/meta-user/conf/user-rootfsconfig
echo 'CONFIG_packagegroup-kv260-aibox-reid' >> project-spec/meta-user/conf/user-rootfsconfig
echo 'CONFIG_packagegroup-kv260-defect-detect' >> project-spec/meta-user/conf/user-rootfsconfig
echo 'CONFIG_packagegroup-kv260-nlp-smartvision' >> project-spec/meta-user/conf/user-rootfsconfig
Then launch the root filesystem configuration editor, where the accelerated applications will appear under the user packages menu:
Finally, it's time to run the final build of this monster project. My laptop is pretty well spec'd out (64GB RAM, 8-core i9, etc.) and these builds were pegging it for 30+ minutes at a time, so be patient for this one.
~$ petalinux-buildAfter successfully building the project, package the wic image for the SD card with the compressed root filesystem, kernel, u-boot, and device tree:
~$ petalinux-package --wic --bootfiles "ramdisk.cpio.gz.u-boot boot.scr Image system.dtb"The generated wic image is output to ./images/linux:
Using a GUI like balenaEtcher, flash a microSD card with the wic image:
Install the SD card and boot the Kria KV260 by plugging in the 12V power source. The username is petalinux and it'll have you set your own password on the first boot.
Connect it to a network via an Ethernet cable (I plug mine straight into my router). Test the network connection by pinging something like google.com:
xilinx-k26-starterkit-2021_1:~# ping google.comUsing the platform management utility, xmutil, list the applications currently available on the Kria KV260 to verify the smart camera application is indeed there:
xilinx-k26-starterkit-2021_1:~# sudo xmutil listappsUnload the default kv260-dp app using the unloadapp option:
xilinx-k26-starterkit-2021_1:~# sudo xmutil unloadappAnd load the smart camera app using the loadapp option:
xilinx-k26-starterkit-2021_1:~# sudo xmutil loadapp kv260-smartcamRun the smart camera application targeting the display port as the output if so desired.
xilinx-k26-starterkit-2021_1:~# sudo smartcam --usb 0 -W 1920 -H 1080 -r 30 --target dpOr if you're like me and can never find the cable you need when you need it, you can stream the video over the network via an RTSP feed and view it with a VLC player.
xilinx-k26-starterkit-2021_1:~$ sudo smartcam --usb 0 -W 1920 -H 1080 -r 30 --target rtspMy VLC settings after selecting File > Open Network...:
And play the stream by double-clicking on it from the list or the play button:
And that's it! Up next is to add a custom recipe for another choice machine learning application...


Comments
Please log in or sign up to comment.