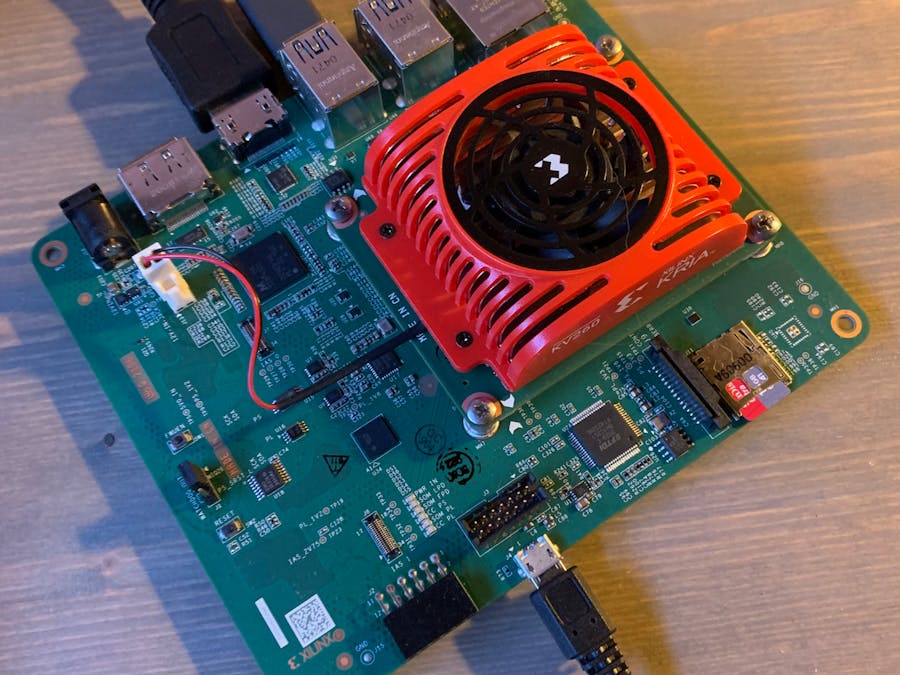
I've been lucky to spend quite a bit of time with the Kria KV260 this past year, and with the bigger updates that came along with Vivado/Vitis 2021, I keep discovering new little things with that make development with the Kria KV260 Vision AI Starter Kit a bit more straightforward.
Earlier this month, I went over how to create a base design for the Kria KV260 Vision AI Starter Kit in Vivado 2021.1 from scratch. Particularly, I showed how to target the project towards the KV260 Starter Kit specifically to make the board presets for the Kria chip available in the block design. But I overlooked a small piece that makes the presets for the peripherals on the corresponding carrier board available for quick/straightforward connection in the block design in Vivado.
In Flow Navigator > Settings > General > Select ... next to the field for Project device if you're starting with an existing project for the KV260 Starter Kit like I am.
Kria KV260 Vision AI Starter Kit is already selected, but click on the Connections hyperlink next to "Add Companion Card". You could have also selected this when the Vivado project was created in the setup screen where you select the KV260 Starter Kit as the target board.
Select Vision AI Starter Kit carrier card from the drop down menu for Connector 1 on kv260
Click OK on Manage Board Connections window, and click OK on Select Device window. Once back to the Settings window, click Apply and select the option to not create a new synthesis run, then click OK to exit Settings.
If you are doing this on an existing project like I did, you will need to report the IP status in the block design and upgrade the Zynq IP block.
Open the block design and navigate to the Board tab, you'll see that now all of the KV260 carrier board connections for the Kria KV260 Vision AI Start Kit are populated such that they can be easily connected with compatible IP blocks.
For demonstration, right-click on Bank 45 GPIO (som240_1_connector) and select Connect Board Component...
A list of compatible IP blocks will appear for you to choose from. I just chose an AXI GPIO block for now for simplicity.
After adding the AXI GPIO block, run all of the connection automation options that pop up (two instances popped up for me, one to connect the AXI GPIO to the Zynq and another to connect the reset to the second HPM master port on the AXI bus).
You'll also be prompted to rerun report IP status if modifying an existing project (say if you followed my last Vivado project tutorial for the Kria KV260 Vision AI Starter Kit).
Once complete, regenerate the layout and validate the design.
After validating the design, either generate a new HDL top level wrapper or open it to validate the bank 45 GPIO connections are there if you created one in the past and selected the option to let Vivado auto-manage it.
Run synthesis, and open the synthesized design once the run has completed. Navigate to the I/O Planning view and verify that the Bank 45 GPIO pins were automatically connected to the Kria's package pins.
Close the synthesized design and run implementation then generate a bitstream. Once a bitstream has been generated, you can then export the hardware platform with the bitstream included for use in Vitis or PetaLinux for corresponding software development.


Comments
Please log in or sign up to comment.