


Hardware components | ||||||
 |
| × | 1 | |||
| × | 1 | ||||
| × | 1 | ||||
| × | 1 | ||||
| × | 1 | ||||
| × | 1 | ||||
Software apps and online services | ||||||
.png?auto=compress%2Cformat&w=48&h=48&fit=fill&bg=ffffff) |
| |||||
Hand tools and fabrication machines | ||||||
 |
| |||||
Making a stem for the Pi Zero and adding a Nokia display to it, is as simple as saying "Baa Baa, it's democracy!".
Given good mathematics and algorithms, a thorough knowledge of engineering trade-offs, the 1GHz Pi Zero out-beats even the USB Armory, as a debug/rescue and installation tool. It is must have if you are a serious developer. At CoderDojo StPaul2, it is a must-beginner tool!
Retro Nokia, is going retro, named after my first Nokia cellphone, a 3110, we use a simple Nokia 5110 phone with the pi zero W and a new design principle. Making PCBs with German Precision!, using a Cameo cutter(Thanks to Andrea of George Latimer Library for suggesting this!) and simple copper foil tape and red acrylic, 0.6mm in thickness.
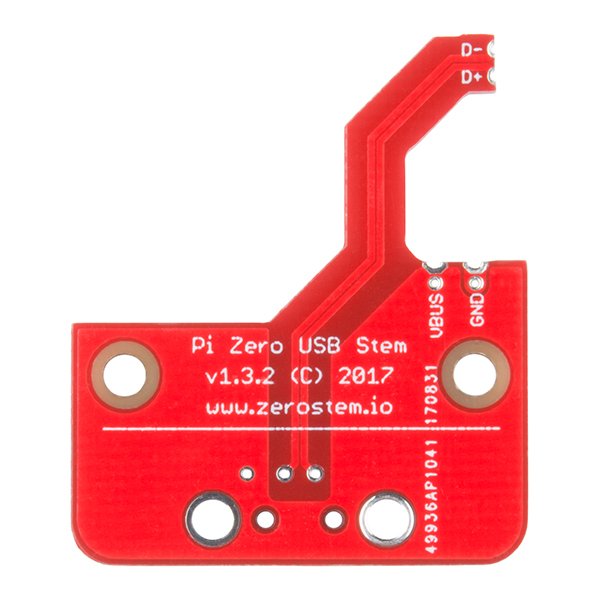
Step 1: Use a laser engraver to cut an outline of the acrylic with holes for adding the pi. plate p = [p.usb + p.holes[4]]
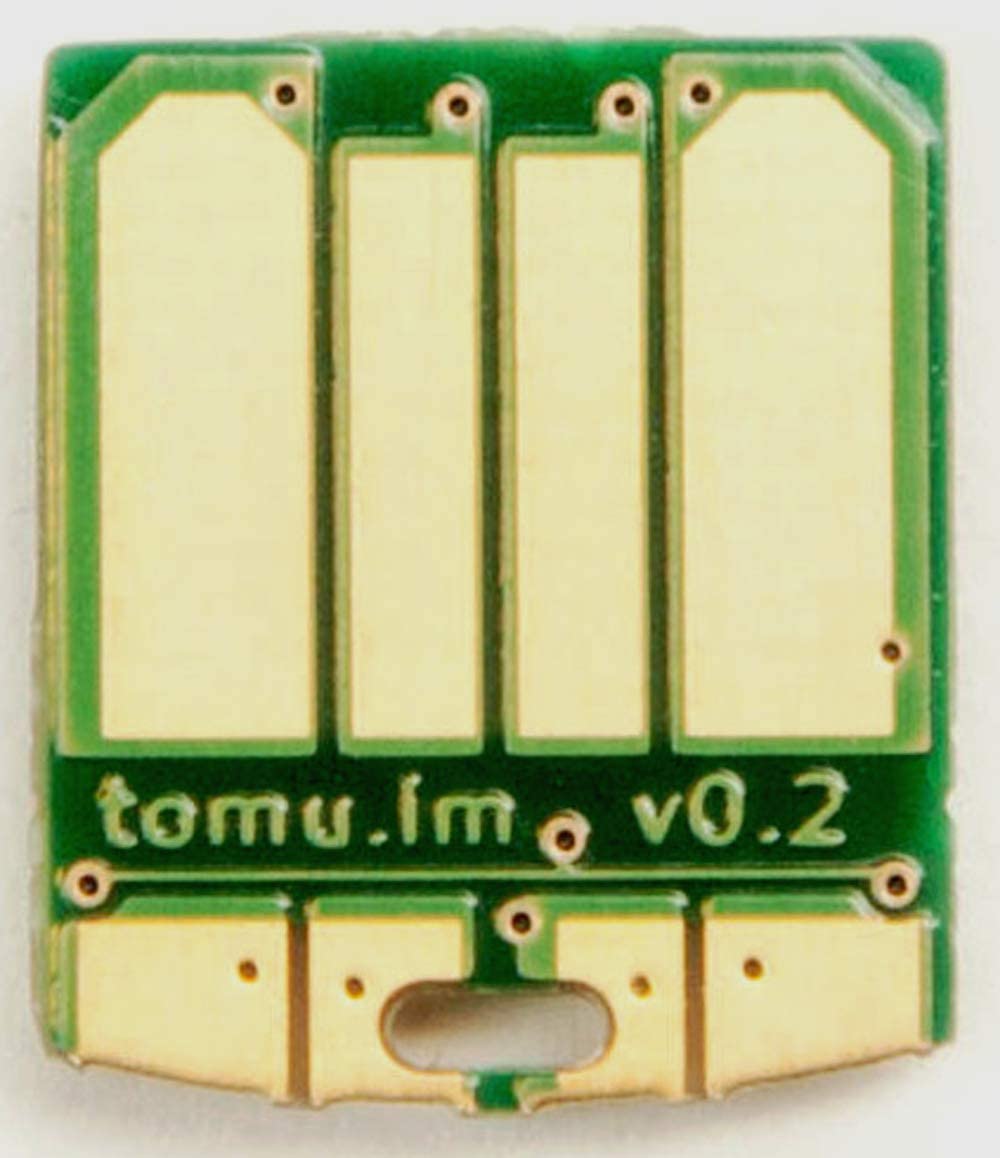
p.usb is the acrylic part that fits into the USB A female jack, so we do not need a male jack, similar to Tomu, hence in the same species and family!(Taxonomy)
Step 2: Stick a strip of copper tape to a flexible scaffolding and cut the pcb image on the tape using the cameo machine. The pattern is from the stem.io pattern.
Step 3: stick the copper pattern on the acrylic, add the pi t o it with hardware(fasteners etc) and solder the power and USB debug.
Step 4: Add the Nokia display or the UCTRONICS display, the details for these are:
Retro Nokia, is a must have tool in your tool kit, even as a mp3 player, to record hours of music like dc2dc's latest hits, like hollow swede park, hill teleport of utilities, power and fiber!


Comments
Please log in or sign up to comment.