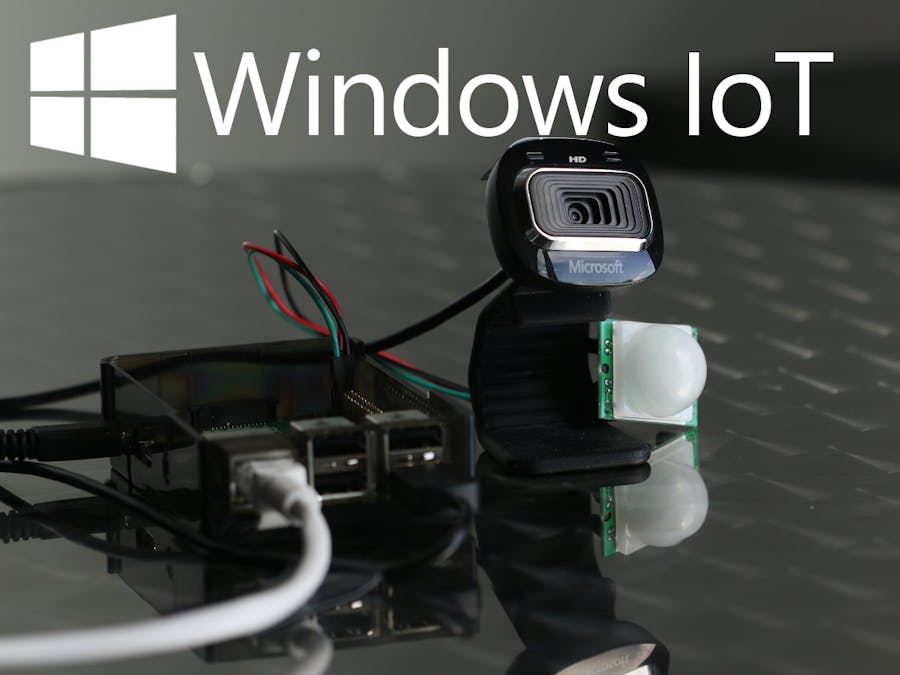
This project is part of Microsoft’s Hack the Home initiative, which provides makers with free, open-source components for effortless interfacing with devices and services that makers use most to hack their homes.
Home security systems are a growing field of projects for Makers. A self-built system is not only less expensive than a bulky professional installation, but it also allows for total control and customization to suit your needs.
For this project, you will need a regular USB webcam, a PIR motion sensor and a Raspberry Pi 2 or a MinnowBoard Max. Refer to the "Components and Supplies" section below for the store links of the required materials.
How will you expand the project? What features will you add? Let us know in the comments section below!
Initial Setup- Set up you PC according to these instructions.
- Follow the instructions provided hereto setup your Pi. If you are using a MinnowBoard Max in place of the Pi, follow the setup instructions here instead. All the following steps will be the same for the MBM as it is for the Pi unless otherwise mentioned.
- Next, wire the PIR sensor as shown in the image below. Note: It is a counter-intuitive but the PIR sensor uses the white wire for ground and the black wire for the signal.
- Use Command Prompt to navigate to the folder where you want the project:
cd
- Run the git clone command:
git clone https://github.com/ms-iot/securitysystem.git
- Change directory to the project root folder:
cd securitysystem
- Next, get the submodules for the USB camera and the PIR sensor by running the following commands:
git submodule initgit submodule update
- Open the SecuritySystemUWP.sln solution file, in the SecuritySystemUWP folder, using Visual Studio 2015.
- On the top menu of Visual Studio, select Debug and ARM if you are using a Raspberry Pi. If you're using an MBM, select Debug and x86.
- Next click Build -> Clean Solution. Wait for the solution to clean successfully.
- Select Remote Machine. You will have to enter your Remote Machine IP address and use "Universal (Unencrypted Protocol)" for Authentication Mode. Use WindowsIoTCoreWatcher to find your IP address.
- You can now run the code!
- To view your images, use your web browser to navigate to http://:8000
- Select Gallery from the left panel.
- You can now view the images.
You should be able to use any USB camera for this project. Find the list of tested cameras here, under USB Devices -> Cameras.
If you used and verified a different USB camera for the project, please add it to the list on GitHub!
Security Camera Project Add-Ons (Optional)You can find the STL files you will need to print a case for your setup below in the CAD section.
3D Printed Case (Optional)You can find the STL files you will need to print a case for your setup below in the CAD section.
Raspberry Pi Case
Minnowboard Case


Comments
Please log in or sign up to comment.