

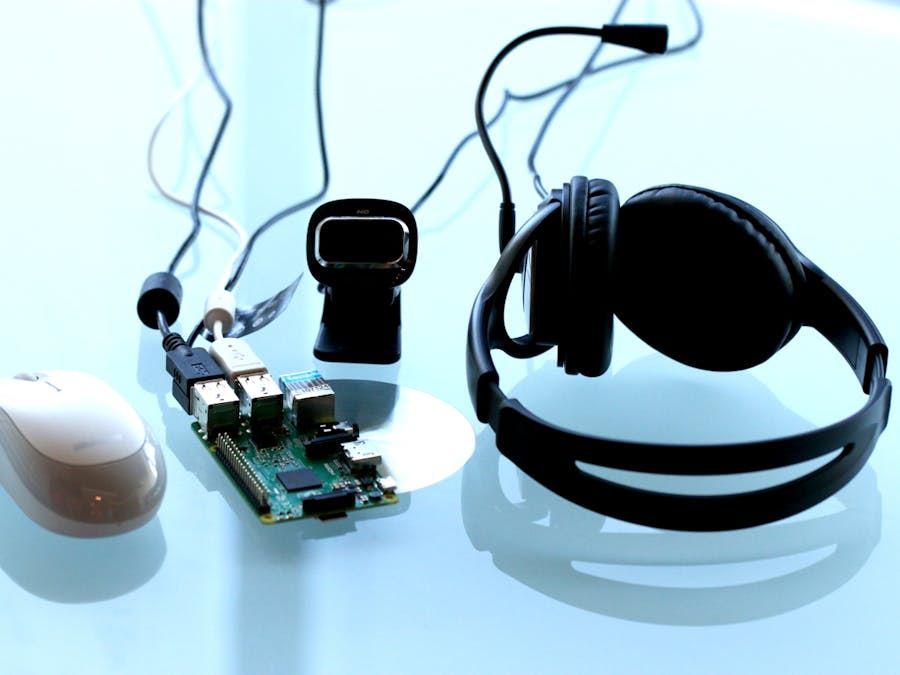
Hardware components | ||||||
| × | 1 | ||||
| × | 1 | ||||
| × | 1 | ||||
 |
| × | 1 | |||
Software apps and online services | ||||||
 |
| |||||
This is a simple App to show you how to create a video capture app on Windows 10 IoT Core. You can also preview the video during recording.
Components needed- 1 USB Mouse
- 1 HDMI Monitor and HDMI Cable
- 1 Raspberry Pi 2 board
- Connect the USB camera, USB mouse, HDMI monitor, Ethernet cable(or WiFi dongle if you are using WiFi) to Raspberry Pi 2, and then power it on.
- Download the sample, build it and deploy on Raspberry Pi 2.
- You will see how the app runs on Raspberry Pi 2.
1. Open VS 2015, create a new Windows Universal Blank App:
2. Enable the capabilities in the package.appxmanifest
as below; Make sureMicrophone
and VideoLibrary
(where we will save the audio file) and Webcam
capability selected:
3. In Mainpage.xaml
, Add buttons for "start Capturing", "end capturing", "play captured video", also add one CaptureElement for video preview and one mediaElement for video playback:
<Button x:Name="btn1" Content="Start Capturing" Click="startCapture" Margin="10,50,0,0"></Button><Button x:Name="btn2" Content="End Capturing" Click="stopCapture" Margin="10, 20,0,0"/><Button x:Name="btn3" Content="Play Captured Video" Click="playVideo" Margin="10, 20, 0,20"/><TextBox Text="Video Preview Window:" Margin="10,10,0,5" TextAlignment="Center" BorderThickness="0"/><CaptureElement Name="capturePreview" Height="300" Margin="10,10,0,10" Width="300"/><TextBox Text="Video Review Window" Margin="10,10,0,5" TextAlignment="Center" BorderThickness="0"/><MediaElement Name="media"AutoPlay="True"AreTransportControlsEnabled="False"Height="300"Width="300"Margin="10,10,0,10"></MediaElement>
4. In MainPage.xaml.cs, you will need to:
- Enumerate to find the video recorder device:
var devices = await Windows.Devices.Enumeration.DeviceInformation.FindAllAsync(Windows.Devices.Enumeration.DeviceClass.VideoCapture);- Setup CaptureSetting:
captureInitSettings = new Windows.Media.Capture.MediaCaptureInitializationSettings();captureInitSettings.StreamingCaptureMode = Windows.Media.Capture.StreamingCaptureMode.AudioAndVideo;captureInitSettings.PhotoCaptureSource = Windows.Media.Capture.PhotoCaptureSource.VideoPreview;
- Initialize MediaCapture:
mediaCapture = new Windows.Media.Capture.MediaCapture();await mediaCapture.InitializeAsync(captureInitSettings);
- Create profile:
profile = Windows.Media.MediaProperties.MediaEncodingProfile.CreateMp4(Windows.Media.MediaProperties.VideoEncodingQuality.Qvga);- Start recording
var storageFile = await Windows.Storage.KnownFolders.VideosLibrary.CreateFileAsync("cameraCapture.wmv", Windows.Storage.CreationCollisionOption.GenerateUniqueName);await mediaCapture.StartRecordToStorageFileAsync(profile, storageFile);
You can also start the preview during recording:
// start the previewcapturePreview.Source=mediaCapture;await mediaCapture.StartPreviewAsync();
- Stop recording and previewing
private async void StopMediaCaptureSession(){await mediaCapture.StopRecordAsync();recording = false;(App.Current as App).IsRecording = false;//stop the previewawait mediaCapture.StopPreviewAsync();}
- Play recorded video
private async void playVideo(object sender, RoutedEventArgs e){Windows.Storage.StorageFile storageFile = await Windows.Storage.KnownFolders.VideosLibrary.GetFileAsync(fileName);var stream = await storageFile.OpenAsync(Windows.Storage.FileAccessMode.Read);// mediaControl is a MediaElement defined in XAMLif (null != stream){media.Visibility = Visibility.Visible;media.SetSource(stream, storageFile.ContentType);media.Play();}}
5. Besides the recording and previewing, you can also add some video effects to the sample, like rotating the preview video and captured video, adding video stabilization etc on. You can find some of these effects in the downloaded sample as well.


Comments