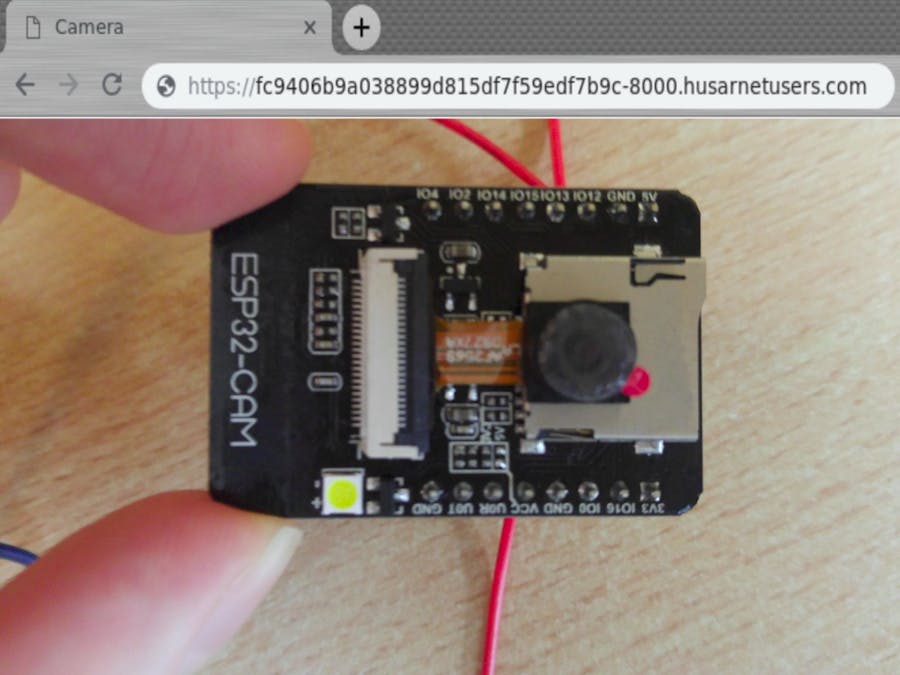
In this project we use ESP32-CAM module together with Husarnet secure network layer. The ESP32-CAM is a module available from Seeed Studio (but you can also use other modules with camera such as M5Stack one).
The ESP32-CAM module is very cheap (around $10) and Husarnet makes it easy to establish secure connection to the camera from anywhere around the world.
WiringFirst, make sure the camera is connected to the on-board connector - the module comes with an unconnected camera.
The ESP32-CAM module unfortunately comes without a USB port, so you will need a USB-UART adapter and 5V power source. Make sure your UART adapter has the same ground as the power source (if both are connected to your laptop via USB, it should be OK).
You will also need a wire connecting port IO0 to GND to make ESP32 go into flashing mode.
Set up ESP32 SDK with HusarnetYou will need to set up ESP32 SDK with Husarnet. (You might find the official Espressif documentation helpful).
1. Download the ESP32 toolchain
2. Get the ESP32 SDK with Husarnet:
git clone --recursive https://github.com/husarnet/esp-idf ~/apps/husarnet-esp-idf
3. Export the environment variable ESP_IDF:
export IDF_PATH=$HOME/apps/husarnet-esp-idf
First, make sure your ESP32 is in flashing mode - the IO0 port should be short to ground. You will also need to reset ESP32 (e.g. using the button on the board).
Then clone the project code:
git clone https://github.com/husarnet/esp32-cam-demo
cd esp32-cam-demo
Then edit a file called sdkconfig - look for CONFIG_WIFI_SSID and CONFIG_WIFI_PASSWORD - make sure to change them to name and password of your WiFi network respectively. If you are using board other than ESP32-CAM you might also need to edit section called Pin Configuration.
And flash the project to your ESP32-CAM:
make flash
After the project finishes flashing, disconnect IO0 pin, reset the board, and run the serial monitor to find out the ID address of your device:
make monitor
Look for "Visit https://app.husarnet.com/husarnet/XXX to configure your device" - and visit the link in your computer's browser.
If you don't have an account on husarnet.com, you will need to create it. After the device is added, you should see a screen with a line like that:
You can use "Web UI" button to access the camera image on any device.
If your computer is connected to Husarnet, you can also access the camera directly using URL like http://devicename:8000 or http://[fc94:xxxx]:8000/. This way, the traffic goes directly between your computer and ESP32, without being forwarded via any cloud. Husarnet client is only available for Linux.
You can also make the Web interface public, by flipping a switch in the element settings (the settings dialog pops up after clicking the element name). If you do that, you can simply publish the URL of the camera view.


Comments
Please log in or sign up to comment.