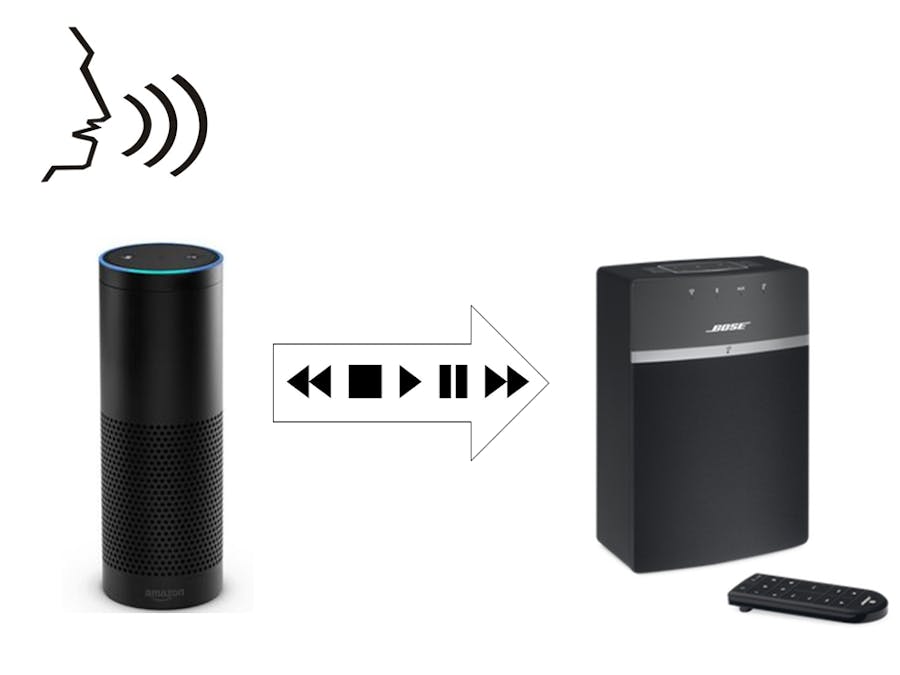
Alexa has proven to be a power interface for many things, including remote control. I wanted to empower Alexa to control the SoundTouch multi-room speakers throughout my house. By implementing this project, you can enable your Echo or other Alexa products to:
Start Playback
- "Alexa, ask Bose to play preset <1-6> on the <speaker name>"
- "Alexa, ask Bose to play on the <speaker name>"
- "Alexa, ask Bose to pause (the <speaker name>)"
- "Alexa, ask Bose to play (the <speaker name>)"
- "Alexa, ask Bose to skip (the <speaker name>)"
- "Alexa, ask Bose to skip back (the <speaker name>)"
- "Alexa, ask Bose to turn (it) up (the <speaker name>)"
- "Alexa, ask Bose to turn (it) down (the <speaker name>)"
Control Grouping of Multiple Speakers
- "Alexa, ask Bose to add my <Speaker 1 name> to my <Speaker 2 name> (Speaker 2 must already be playing)
- "Alexa, ask Bose to remove my <Speaker 1 name> from my <Speaker 2 name> (Speaker 1 and Speaker 2 must be in a group together, and Speaker 2 must be the master)
Turn Speakers Off
- "Alexa, ask Bose to turn off (the <speaker name>)
Items in () are optional.
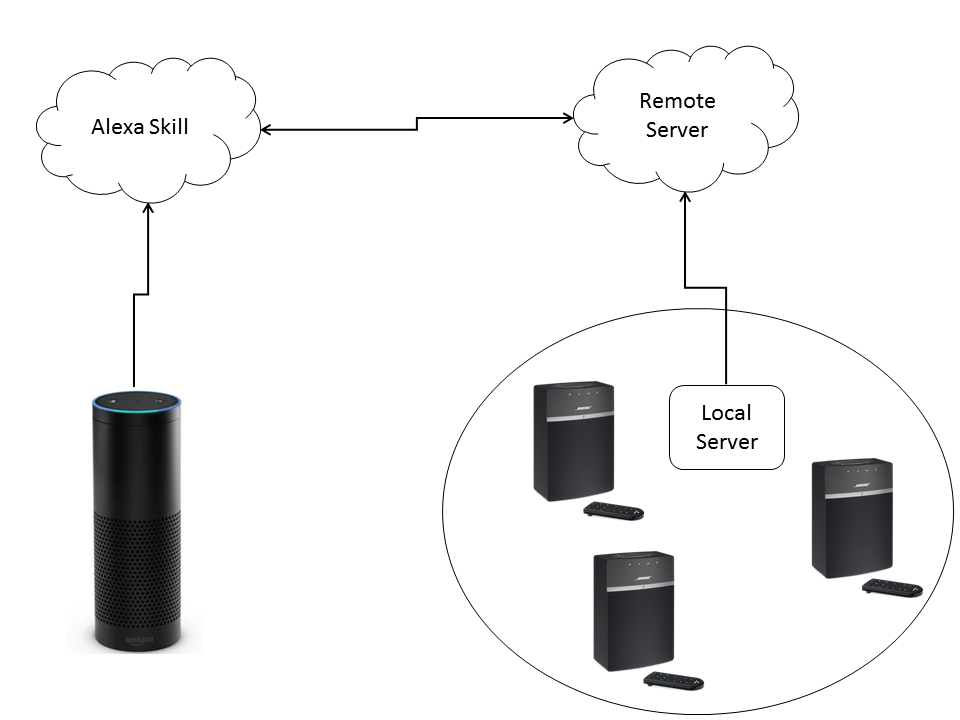
How The Pieces Fit TogetherThe SoundTouch Developers API surfaces many control capabilities for Bose SoundTouch speakers, and it is accessible by any device that's on the same (W)LAN as the speakers. Unfortunately, Alexa doesn't talk directly to other devices over the LAN, and Bose doesn't have a cloud-accessible API for SoundTouch speakers, so we need a few other pieces of software in the loop to connect the experiences.
There are three pieces of software in total:
Conceptually, the Alexa Skill needs to know the state of the speakers in one's home (so that it be smart about what control requests do and don't make sense), and it needs to be able to tell the speakers what to do based on user commands. Since the speakers are not inherently accessible via the Internet, there needs to be some software written to make this happen.
The Remote Server is the cloud interface that the Alexa Skill interacts with. It essentially is just a cloud locker for what I've dubbed a "Home". Each Home has an ID that's linked to the user's Alexa Skill, and contains two data structures: currentState, an object that represents what speakers are in the user's home and what they are doing; and keyStack, an array that the Alexa Skill can send commands to that then make their way down to the speakers.
The Local Server does two primary jobs. First, every 1 second it checks the Remote Server's keyStack to see if the Alexa Skill has sent any commands. If it has, it takes those commands and executes them. Second, every 5 seconds it polls the network to discover devices and their state, which it then updates to the Remote Server currentState.
With these pieces working together, the experience is able to come together!
Setting It UpThe Remote Server is the first of the three components that needs to be set up. It is assumed that this component will be set up on an internet-accessible server instance running node v4.x. For my project, I'm running this on an EC2 Ubuntu instance. To get set up:
- Step 1: Run
git clone https://github.com/zwrose/AlexaSoundTouch_RemoteServer.git - Step 2: Enter the newly cloned directory and run
sudo npm install - Step 3: Run
sudo node .
Once this is complete, it's time to set up the Alexa Skill. To get that set up:
- Step 1: From the AWS Console, create a Lambda function based on the alexa-skills-kit-color-expert nodejs blueprint.
- Step 2: In the Lambda Function configuration, copy the contents of src/index.js of the Alexa Skill repository into the Lambda Function Code editor field.
- Step 3: In the Lambda Function Code editor field, replace the placeholder
bridgeBasePathvariable (line 14) with the base path to your AlexaSoundTouch_RemoteServer instance. Be sure to include "http(s)://" in the string. - Step 4: Complete the function using the recommended defaults.
- Step 5: From the Amazon Developer console, go to Apps & Services >>> Alexa >>> Alexa Skills Kit >>> Add a new skill
- Step 6: Use the wizard to create the skill. I recommend you use "bose" as the invocation word. Use the ARN from your Lambda function for your Endpoint, and use the assets from /speechAssets in the Alexa Skill repository when defining the interaction model. Add any of your own custom SoundTouch speaker names to the LIST_OF_SPEAKERS.
- Step 7: Proceed to the Test step of the skill creator wizard and ensure the skill is enabled on your account. Then go to the Service Simlulator, and type in "ask bose to pause". You should see a response saying that the corresponding home was created or doesn't have and speakers associated with it. That response will also contain an AlexaID - use this to configure your AlexaSoundTouch_LocalServer instance (the
bridgeIDvar in server.js of the Local Server should be set as this AlexaID).
NOTE: This skill is currently built in such a way that it is somewhat "hard coded" and thus isn't suitable to be published. It's not recommended that you try to formally publish this skill! However, you can use it without any issues just by having it in development.
Now that the skill is ready, the Local Server needs to be configured. The below instructions assume installation on a machine running Ubuntu 14.04 on the same local network as your SoundTouch speakers. I used a BeagleBone Black for this purpose. To get set up:
- Step 1: Ensure these apt packages are installed:
git-core,libnss-mdns,libavahi-compat-libdnssd-dev,build-essential - Step 2: Ensure node v4.x is installed
- Step 3: Run
git clone https://github.com/zwrose/AlexaSoundTouch_LocalServer.git - Step 4: Enter the newly cloned directory and run
sudo npm install - Step 5: Edit server.js to set the appropriate
bridgeBasePathandbridgeIDvariables.bridgeBasePathshould be the path to your AlexaSoundTouch_RemoteServer instance.bridgeIDshould be your AlexaID as determined in AlexaSoundTouch_AlexaSkill setup step 7. - Step 6: Run
sudo node server.js
You may want to use a process manager such as PM2 for both your Local Server and Remote Server to ensure they stay running.
Now, you should be able to use your skill as described in the first section!


.png?auto=compress%2Cformat&w=48&h=48&fit=fill&bg=ffffff)


Comments
Please log in or sign up to comment.