


Hardware components | ||||||
 |
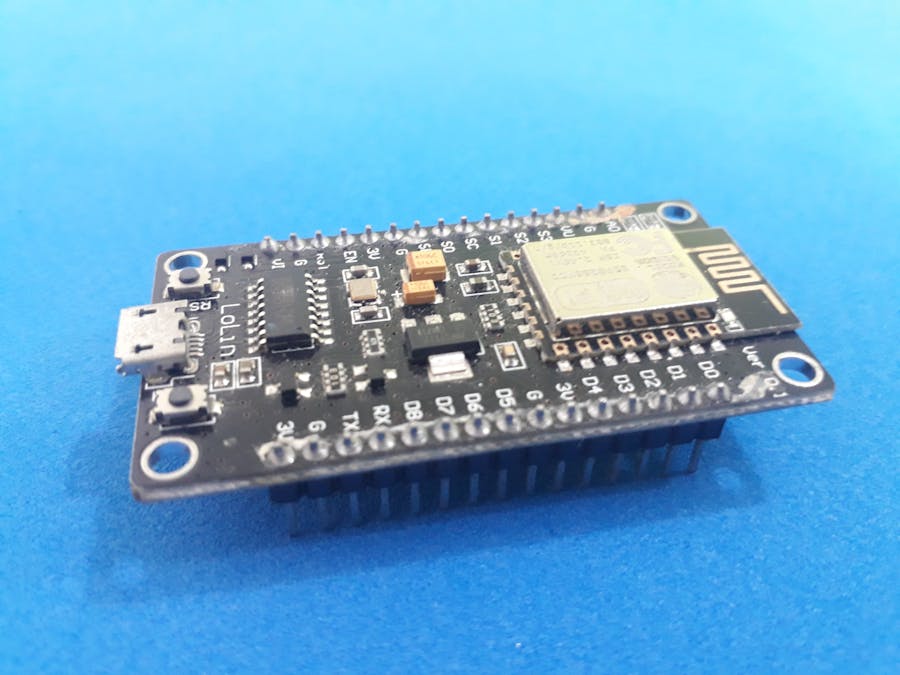
| × | 1 | |||
| × | 1 | ||||
| × | 5 | ||||
| × | 1 | ||||
Software apps and online services | ||||||
 |
| |||||
 |
| |||||
In many projects with NodeMCU, the people need implement the project in a PCB board, but don't know how to construct a circuit with few components, for mount a similar Arduino, also known as Standalone ESP8266 Basic Circuit. One other cause for people touse the Standalone ESP8266 Basic Circuit is because using the NodeMCU Board, the project will have greater financial value.
Therefore, in the article, I'll present how to construct a Standalone ESP8266 Basic Circuit in a Breadboard, for easy your project construction.
The CircuitIn Figure 2 is shown the basic circuit with to mount the ESP8266 - 12F Standalone. Are used two buttons, for flash and reset system. These buttons are very important to program the ESP8266.
For you to learn how to works this electronic schematic, I will explain each part for you:
Pin 01 - Is used to reset the ESP8266;
Pin 03 - Is used to enable the ESP8266 operation. Without this pin pull uped to +3V, the ESP8266 don't works;
Pin 08 - Is pin to supply energy for ESP8266 with max +3V3;
Pin 15 - Is pin to supply energy for ESP8266 with max 0V;
Pin 16 - Is used with 10kR resistor pull-down;
Pin 17 - Is used with a button to program the ESP8266;
Pin 18 - Is used with 10kR pull-up resistor;
Pin 21 and 22 - Are used to program the ESP8266.
How to program the ESP8266 StandaloneAfter you mount this circuit on a breadboard or a PCB with holes, to program the ESP8266 Standalone is very simple:
1 - Press and hold the reset button;
2 - Press and hold the flash button;
3 - Release the reset button;
4 - Release the flash button.
After the ESP8266 will be in boot mode and you can transfer the code for ESP8266-12F.
AcknowledgementI thank PCBWay for the partnership and for you that accompanying Silícios Lab articles. Subscribe to our YouTube channel.
The Silícios Lab thanks UTSOURCE to offer the electronic components.


Comments
Please log in or sign up to comment.