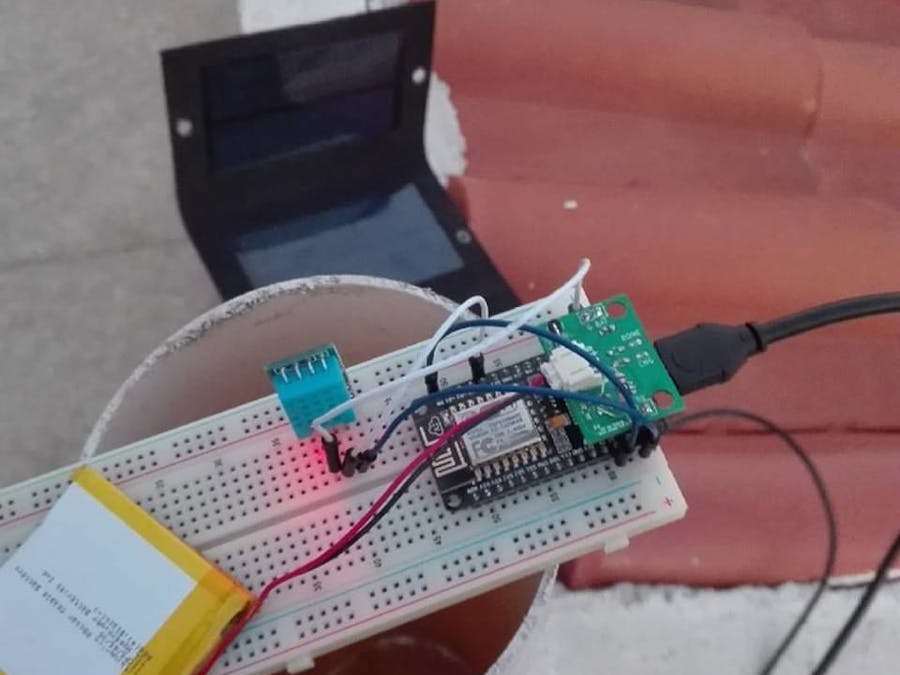
Today we're going to make a tiny weather station with our ESP8266 NodeMCU which will report temperature, humidity and dew point to the global community, wunderground with this station we'll get a better weather forecast of the city where we live, something that makes this tiny weather station, especial is that it works only by SOLAR ENERGY which is provided by a solar panel and by the night with a Lipo battery due to the backpack and it works all the night long without any electrical connection, if the battery level goes on a critical state of voltage the ESP8266 will notify you by IFTTT by Mail Smartphone or twitter.
Once explained it's features, lets get started.
By the low battery alert in our station we're going to use the IFTTT API which allows by the maker channel to make a notification on our smartphone with many services like Gmail, Facebook and more.
We'll need to have installed the IFTTT app in our smartphone. Once open we're going to create a new recipe like is shown in the screenshots, selecting first the trigger which in this case is Web Request of the Maker service, there we need to add the event name (Save this name) after this we select the action to do, in this case we select notification by the application, but you can select any else.
To do the connection with the ESP8266 we'll need a KEY supplied by the same APP that KEY is used in the code in order to make the Web Request so you may want to write it.
To access the key accede as if we want to create a new recipe but with the difference that we now select the Maker service and then go to settings and there we will find our KEY.
To create our weather station we will enter to wunderground and sign in, once logged in we create it in 5 steps
- Go to "My Weather Stations" clicking where the first image says.
- Click where the second image says to create a new weather station.
- With Google Maps help we select the ubication of our station and don't forget to add the distance between the floor and the station.
- Complete all the next fields, the only required field is your neighborhood but if you can add more information it would be great
- Save your ID to use it in the code more ahead
Ready we have finished now is time to use our station with the ESP8266.
Once preparated all its time to program our ESP8266 by the Arduino IDE and the plugin of the ESP8266, in the program you will need to change some information like your SSID Password your Key's and ID previously generated.
This circuit is easy but you need to remember that we are using the Backpack NodeMCU Lipo which allows the charge of a Lipo battery by the USB connector and by the time supply our ESP.
The connection of the temperature and humidity sensor DHT11 is very easy like any other Arduino circuit.
We have connect the GPIO16 (D4) to the Reset PIN in order to use the Sleep mode and save energy of our battery while the station isn't sending information if you forget this connection the ESP8266 wont comeback from sleep mode.
We have connect our analog input by a resistance array to our battery for monitoring the voltage level and by the time it goes to low it will connect with the IFTTT and send the notification to our smartphone.
Very important: The NodeMCU is the only model that has that resistance array, if you're using any other version of the ESP8266 DO NOT connect the ADC direct to the battery.
Once uploaded to our ESP8266 conect all Battery Solar Cell and DHT11 and it will start sending information to the page of wunderground, by the day it will work with the solar cell and by the night it will work with the battery, we have put the sleepmode each 10 minutes so, it sends information each 10 minutes that time can be change. And it saves energy while it is sleeping.
Thanks to my friend Wero by his support to get done this instructable.
English version by Wero. Hope you liked this instructable see you next time, inventors!!


Comments
Please log in or sign up to comment.