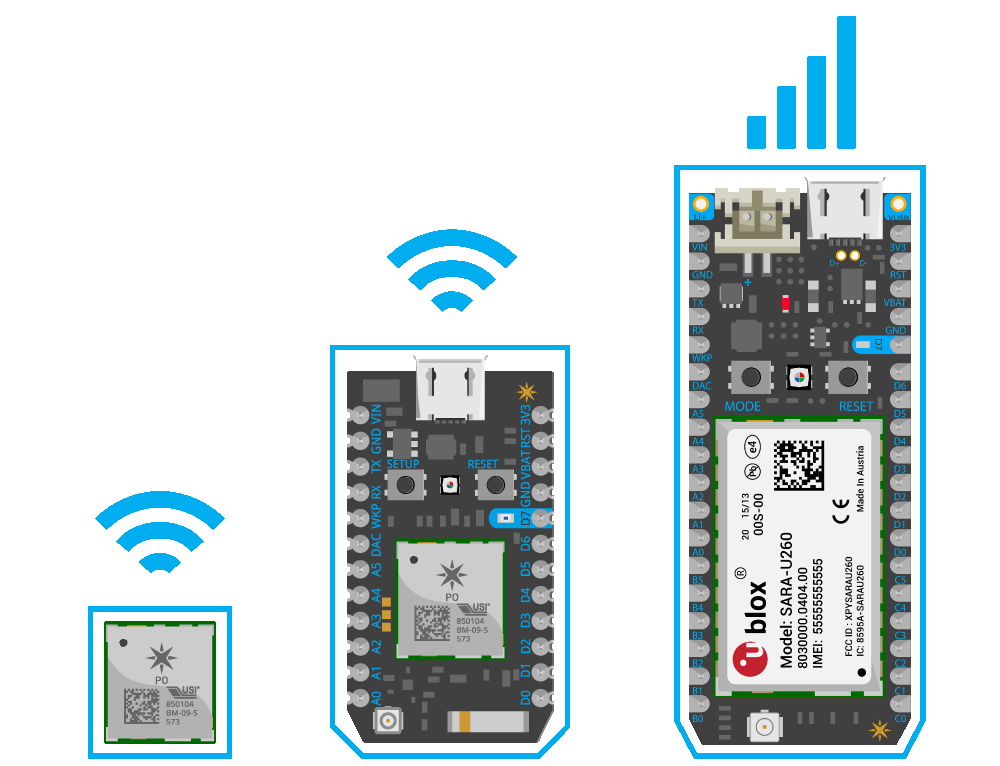
Particle creates really powerful devices that are cloud-connected to Particle.io. They have the Photon and the Electron and the same code works with both. In my project, I use the Wi-Fi powered Photon, but the same steps would work with the Electron that uses 3G cellular data. I will be connecting the Particle devices to ThingSpeak - a data collection services with built in analytics and visualizations tools using MATLAB. The connection will happen securely from cloud-to-cloud.
Requirements- Wi-Fi connected Particle Photon (or activated Particle Electron)
- Particle.io Build Account
- ThingSpeak User Account
We need to gather some credential information before we can build out the rest of the project.
ThingSpeak
Go to ThingSpeak.com and Sign In. Select Channels and then My Channels. Create a new channel. Click on API Keys and note the Write API Key and Channel ID.
Particle
Go to Particle.io and Sign into Build. Click the gear icon in the bottom left corner of the IDE. This will open the Settings panel. Make a note of the Access Token. This will be used to create the webhook in a later step.
In order to connect Particle and ThingSpeak together, we need to setup a webhook on Particle. This will make a secure connection from Particle.io to ThingSpeak so that data can be passed back and forth.
You have two options for settings up the webhook. You can use the Particle CLI Tools or IoT Debugger. I will document the steps for the IoT Debugger.
IoT Debugger
- Download a copy of IoT Debugger
- Open the index.html file in a web browser tab
- Select Particle
- Enter your Particle Access Token into the Access Token field
- Click on "Create Webhook"
In the Content (JSON) field, enter the following file:
{
    "event": "thingSpeakWrite_",
    "url": "https://api.thingspeak.com/update",
    "requestType": "POST",
    "form": {
        "api_key": "{{k}}",
        "field1": "{{1}}",
        "field2": "{{2}}",
        "field3": "{{3}}",
        "field4": "{{4}}",
        "field5": "{{5}}",
        "field6": "{{6}}",
        "field7": "{{7}}",
        "field8": "{{8}}",
        "lat": "{{a}}",
        "long": "{{o}}",
        "elevation": "{{e}}",
        "status": "{{s}}"
    },
    "mydevices": true,
    "noDefaults": true
}
Click "Save" to upload the webhook to your Particle account.
Go back to Particle.io and select the device that you want to program. This example will send the value of the analog pin (A0) to ThingSpeak every 16 seconds.
#define publish_delay 16000
unsigned int lastPublish = 0;

void setup() {
}

void loop() {
    unsigned long now = millis();
    if ((now - lastPublish) < publish_delay) {
        return;
    }

    int value = analogRead(A0);
    Particle.publish("thingSpeakWrite_A0", "{ \"1\": \"" + String(value) + "\", \"k\": \"XXXXXXXXXXXXXXXX\" }", 60, PRIVATE);
    lastPublish = now;
}
Verify Connections
Go over to the new ThingSpeak channel that you created and see if data is being collected and displayed on one of your charts. You should see a new data point being added every 16 seconds.
Now that your data is on ThingSpeak you can see this data on ThingSpeak using the MATLAB Visualizations app. On ThingSpeak, select Apps and then MATLAB Visualizations. Click "New", select "Custom (no starter code), and click "Create".
Enter the following MATLAB code and click Run and Save:
readChannelID = 93156;
fieldID1 = 1;

readAPIKey = 'MCI6XM81ZFOY8UCE';

%% Read Data %%
[data, time] = thingSpeakRead(readChannelID, 'Field', fieldID1, 'NumPoints', 10, 'ReadKey', readAPIKey);

%% Visualize Data %%
thingSpeakPlot(time, data);
Make sure to customize the MATLAB code with your readChannelID and readAPIKey.


Comments
Please log in or sign up to comment.