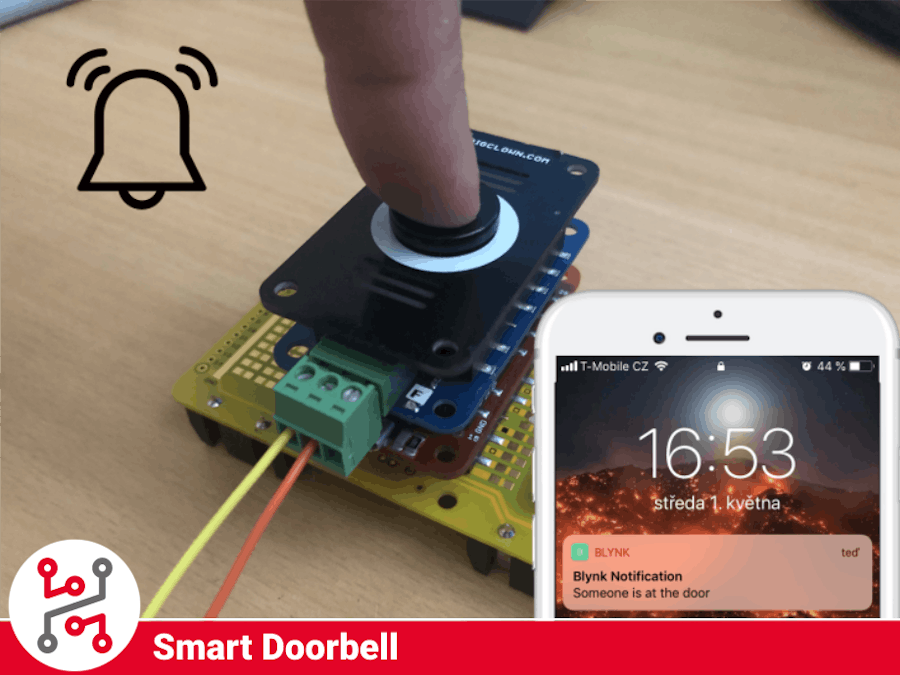
With this easy solution, you can make low Power smart Doorbell.
If someone presses the button it will ring your doorbell but also send a notification to your phone, so you never overhear anyone, while you are working.
Prepare everything you will need on your table, plug you Radio Dongle into your Raspberry Pi or into any computer that you have.
Connect Core Module with your Battery Module, then connect Relay Module to it and finally the Button Module. You can use Mini-Battery Module if you want to make it a little bit smaller.
For more information about all the modules, you can visit Documentation.
2. Flash firmware- Download HARDWARIO Playground.
- You can see documentation page on how to flash the firmware with HARDWARIO Playground.
- You will need the bcf-radio-smart-doorbell firmware for this project.
You need to pair the Core module with the Radio dongle that you are using, follow the instructions below to see how it is done.
The same thing will go if you are using a Raspberry Pi as a server, just access the Raspberry through the IP address instead of the Playground
- Connect your USB Radio Dongle to your computer.
- Open HARDWARIO Playground
- Click Start Pairing the LED on the dongle should start blinking
- Connect the device that you want to pair into your computer or insert the batteries.
- Wait for the device to appear in the table
- It should add the device with the Alias: smart-bell:0
- Click Stop Pairing
After you did all this you can unplug the device from the computer and insert the batteries, it will run on them without a problem. Next steps will be done on the computer, so you can leave the device and focus on the Playground.
4. Import functionOpen Node-RED in Playground (Functions tab) or on your Raspberry Pi and import this simple function. Just copy everything, go to Menu -> Import -> Clipboard and paste it there.
You can change the message that will appear in the notification. Just open Message Block and change the text.
After Import hit Deploy in the top right corner to upload the change.
5. Blynk integrationThis project is ready for Blynk integration. How to set up Blynk with your HARDWARIO Playground is described in this guide.
Follow the guide if you want to make your own blynk app. If you want to use the one specified for this project in the Blynk app click this Icon and scan the QR code bellow.
This is just a simple application with the notification module in it.
6. Connect your doorbellIf you want to maintain your doorbell sound, just replace your current switch with this whole module. On the Relay module plug one wire into the middle hole and the second one to the hole with letter 'T' next to it. A Button press will then ring the bell as usual.
If you have everything done you can get one of the 3D printed enclosures and put this smart doorbell instead of your ordinary doorbell switch.
You can also use Blynk video stream function and take photo when someone rings the bell.
If you want to be able to open your doors remotely, you can add my other project to this solution.
I will be happy for any suggestion or idea about this project.
Feel free to ask and I will try to answer any question.
- Visit HARDWARIO page on hackster.io for more interesting projects or go directly to their website
- Go to HARDWARIO documentation to learn more about their modules and other possibilities of the platform.
- Try more firmware from HARDWARIO Playground or write your own, it is easy to start.
- Because everything is Open source you can get all firmware on GitHub, get some inspiration and try to make your own applications.
- Get your own HARDWARIO Hub to replace your computer in this project so you have always access to your applications.
- Check out more applications that can be used with HARDWARIO IoT Kit in Integrations section.


Comments
Please log in or sign up to comment.