


Hardware components | ||||||
 |
| × | 1 | |||
 |
| × | 1 | |||
Software apps and online services | ||||||
 |
| |||||
 |
| |||||
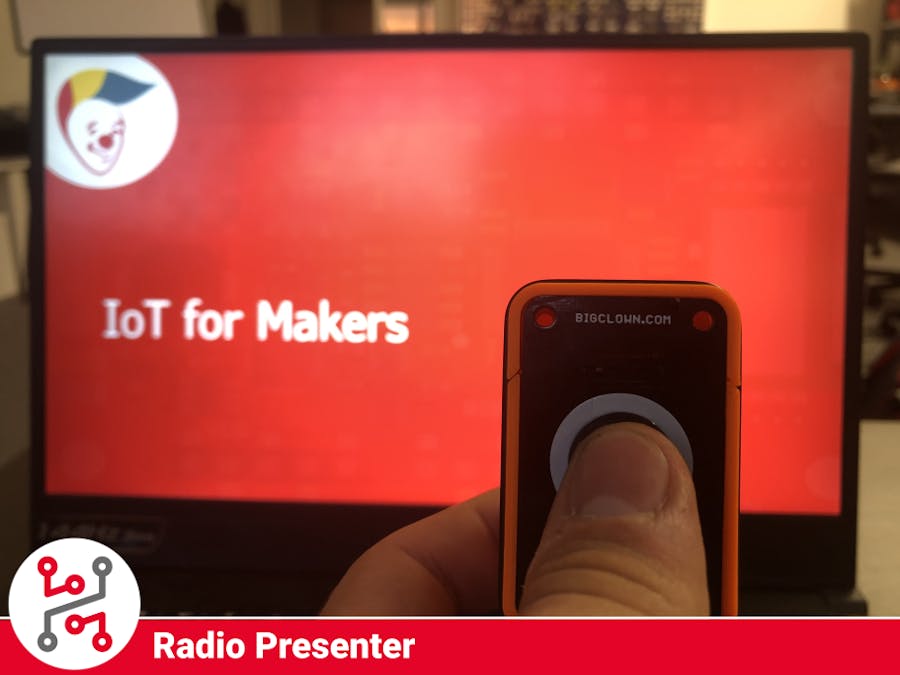
I hated that ordinary presenters have just a few buttons on them and they don't always work as they should.
So I took HARDWARIO IoT Kit Push Button kit and I made my own with it. It was really easy thanks to the integration with Node-RED and HARDWARIO Playground I had it done in no time at all.
I have just a few functions there, but it is easy to expand them, so you can add some more functions or change the ones that are already there.
1. Build hardwareYou will need just the Push Button Kit from HARDWARIO IoT Kit and that is basically all the hardware. Just put a Mini Battery Module, on top of that put the Core Module and then Button Module.
Put all of that into the 3D-printed enclosure and you are done with the hardware for now.
- Download HARDWARIO Playground
- You can see documentation page on how to flash the firmware with HARDWARIO Playground.
- You will need the bcf-radio-presenter firmware for this project.
After you hit Flash firmware just wait a while, after it is done, you can unplug the device from the computer.
3. Pair device- Connect Radio Dongle into your computer
- Open HARDWARIO Playground
- Follow the instructions below
- After this power up the device by inserting the batteries into the battery module or by plugging it into the computer
- It should appear in the table with Alias radio-presenter:0
Open Node-RED in the Playground or Raspberry Pi and import the flow from the Attachements. In the Menu -> Import -> Clipboard. Do not forget to hit "Deploy" in the top right corner to apply the changes.
You can customize what will be sent to the Python script in the two function flows on the right.
Specifically: hold button functions and press button functions.
Just open one of them and change what should be sent on some axis rotation. You will have to change the values in the Python script as well, but more on that later.
5. Install PythonFor this to work, you will need the python script running in the background on your computer that has the presentation running on it. If you don't have Python installed you can get everything you need on their website.
On Windows systems make sure to check to include Python into the PATH so you can use the script with no additional problems.
You will also need to install two Python packages, one for MQTT messages and the second one for simulating your keyboard presses.
After the installation, download the script from my gitHub, you will need to customize some things in there for it to work.
In the picture above you see part of the actual script. You can change the IP address of your MQTT broker if you are using a raspberry pi as your server for instance.
Next thing is the block next to the # symbol. There you can change what message from mqtt, send on the presenter/action topic, will do what action on your actual keyboard. For a complete list of supported key presses visit pynput documentation.
After the edit is done, just run the script on the computer that you want to control and you are ready to send the commands.
6. Functions listIn this firmware and python script that comes with the project and are available on GitHub, there are some functions that I put there. Here is a list of them so you can test it and maybe think about some extensions. The directions will match only if you hold the module with the Button Module facing you.
Click Button
- Tilt right - Right arrow press
- Tilt left - Left arrow press
- Tilt forward - F5 (start presentation)
- Tilt backward - Alt+Tab
- Level position - Esc button
Hold Button
- Tilt right - Tab key press
- Tilt left - Shift+Tab
- Tilt forward - Space button press
- Tilt backward - Enter button press
- Level position - Alt+F4
Start some presentation on your computer that is running the python script in the background and try all the positions of the Presenter. After you set it to the position just press or hold the button and you should see the immediate reaction on your computer.
There is a lot of possibilities for this project. There is no actual limit for a number of devices that can control the presentation, so you can have more people presenting at the same time without a problem.
The range of the Core Module is good enough to cover any space you want to make a presentation in, so you can walk freely in the room without the need to go back to the computer.
Feel free to ask any questions about this project.
- Visit HARDWARIO page on hackster.io for more interesting projects or go directly to their website
- Go to HARDWARIO documentation to learn more about their modules and other possibilities of the platform.
- Try more firmware from HARDWARIO Playground or write your own, it is easy to start.
- Because everything is Open source you can get all firmware on GitHub, get some inspiration and try to make your own applications.
- Get your own HARDWARIO Hub to replace your computer in this project so you have always access to your applications.
- Check out more applications that can be used with HARDWARIO IoT Kit in Integrations section.


Comments
Please log in or sign up to comment.