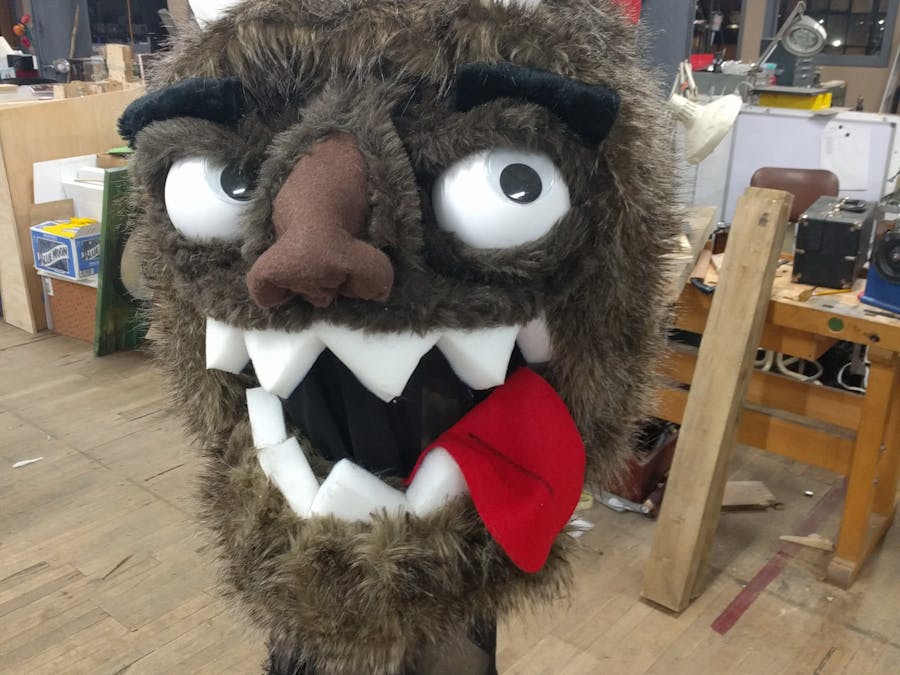
I have used BowerStudio to design a series of animatronic robot heads. The heads all have 2 forward facing eyes and one mouth, but besides that, most everything else is parametric. From doll head with micro servos up through huge wearable anamatronic heads! Long noses or short, Wide heads, 2 different sized eyes even!
in BowlerStudio, run:
https://gist.github.com/madhephaestus/e67b5f75f23c134af5d5054106e3ec40
For the maker, there is no specific servo, bolt or material thickness needed. You set parameters with slide bars and drop downs right in the 3d model your material thickness (as you measure what you have laying around), whatever servo you actually have, and whatever bolts ar handy.
All hardware measurements are pulled from here:
https://github.com/madhephaestus/Hardware-Dimensions
DetailsHelp support me so I can keep doing things like this!>
I built this script as part of a summer camp i taught this summer. We had 2 weeks with 18 kids and i want them to walk away with an awesome project. I also wanted them to be able to customize their robots and make them unique. I also had less than a month to make 18 of the kits, and design it, i knew I had to work fast.
I started in BowlerStudio and created a new groovy script. In the script i created LenghtParameters for all of the measurements I wanted to be able to change on the fly. I then used those measurements, and constants based on them, to construct all of the geometry of the head. I made the pieces one plate at a time, using the interconnection pieces as cutouts for the next plate. This ensured that each plate would make the exact fitting hole in the corresponding plate in exactly the same place.
I minimized the 3d printed parts to just the eye mechanism. It is a delightful mechanism. It is a 3d printed ball socket, that once assembled, prevents the ball from popping back out with no friction, and no friction to assemble. It als prevents z rotation using a radial axis pin constraint.
The whole pair of eyes worth of 3d printed parts takes about an hour to print, and a bed full of 12 eyes and ball sockets prints in 12 hours. The laser cut parts take about 11 mins to cut out of 3mm luan.
For Halloween this year, Technocopia Makerspace held a weekly event for the month of October. Over 5 weeks we would have one build day a week, and the plan was to do a set of Where The Wild Things are costumes.
Here is the build process of Morice the Wild Thing:
Lawrence the WIld Thing:
Another member, Cory Halpt showed up and wanted to do an Ork from Warhammer 40k, so I said "close enough!" and we added him to the group build.
In addition I have been working on a hand puppet sized one so my other hand could have a mini one.
The goal is to complete 3 wearable animatronic costumes, one mini one, and have them all done over 6, 8 hour days.
Wearable animatronics and NodeMCU FWMain Head generator
Build instructionsStep 1
Install Java 8.
Step 2
Download and install BowlerStudio for Windows, Mac and a PPA for Ubuntu
Step 3
In BowlerStudio, navigate to the Parametric Animatronic Head url https://gist.github.com/madhephaestus/e67b5f75f23c134af5d5054106e3ec40
Step 4
Hit the green run button.
Step 5
In the Creature Lab window, right click on the parts laied out on the ground, and export to SVG.
Step 6
If desired, right click on the head and change its parameters like side of head and eyes, length of snout, and which servos you have, which bolts, and what thickness material you will cut it out of.
Step 7
Assemble and program a NodeMCU with the nunchuck to servo code. https://github.com/madhephaestus/Halloween2016/tree/master/WiichuckDemo
Step 8
Assemble head like its assembled in the 3d window, and wire up the servos to the NodeMCU breakout board.
Step 9
Add foam and fur to taste.


Comments
Please log in or sign up to comment.