


Hardware components | ||||||
 |
| × | 1 | |||
 |
| × | 1 | |||
Software apps and online services | ||||||
 |
| |||||
In this tutorial you create a simple project with a button, that sends you push notification to your phone everytime you press it.
1. Build hardwareYou will need the Push Button Kit and the Radio Dongle. You can watch the video on how to build the Push Button Kit.
Be careful on how you put the battery module on the bottom. It is the only module that can be inserted the wrong way.
- Download HARDWARIO Playground,
- Flash firmware to the Core Module
- Firmware is named: bcf-radio-push-button
- How to flash firmware is shown in the documentation.
You need to pair the Core module with the Radio dongle that you are using, follow the instructions below to see how it is done.
- Connect your USB Radio Dongle to your computer.
- Open HARDWARIO Playground
- Click Start Pairing the LED on the dongle should start blinking
- Connect the device that you want to pair into your computer or insert the batteries.
- Wait for the device to appear in the table
- It should add the device with the Alias: push-button:0
- Switch to Functions tab
In case you don't see the flow, you can copy the text below and paste it into the Node-RED's Menu > Import > Clipboard
[{"id":"103c675c.c81139","type":"mqtt in","z":"2c41a2bd.aa36ae","name":"","topic":"node/push-button:0/push-button/-/event-count","qos":"2","broker":"29fba84a.b2af58","x":270,"y":360,"wires":[["ff41c7e0.06eba8"]]},{"id":"f507ecc3.8f82b","type":"blynk-ws-out-notify","z":"2c41a2bd.aa36ae","name":"Blynk notification","client":"fc4bbabb.9bb1b8","queue":false,"rate":5,"x":790,"y":360,"wires":[]},{"id":"ff41c7e0.06eba8","type":"change","z":"2c41a2bd.aa36ae","name":"Set message","rules":[{"t":"set","p":"payload","pt":"msg","to":"Button pressed, you're the best!","tot":"str"}],"action":"","property":"","from":"","to":"","reg":false,"x":570,"y":360,"wires":[["f507ecc3.8f82b"]]},{"id":"c131dd35.bb855","type":"comment","z":"2c41a2bd.aa36ae","name":"Push Button Kit flow","info":"","x":190,"y":300,"wires":[]},{"id":"29fba84a.b2af58","type":"mqtt-broker","z":"","broker":"127.0.0.1","port":"1883","clientid":"","usetls":false,"compatmode":true,"keepalive":"60","cleansession":true,"birthTopic":"","birthQos":"0","birthPayload":"","willTopic":"","willQos":"0","willPayload":""},{"id":"fc4bbabb.9bb1b8","type":"blynk-ws-client","z":"","name":"","path":"ws://blynk-cloud.com/websockets","key":"5cf554e34caf4d49a1b24cd07c5e2c13","dbg_all":false,"dbg_read":false,"dbg_write":false,"dbg_notify":false,"dbg_mail":false,"dbg_prop":false,"dbg_sync":false,"dbg_bridge":false,"dbg_low":false,"dbg_pins":"","multi_cmd":false,"proxy_type":"no","proxy_url":""}]
[{"id":"103c675c.c81139","type":"mqtt in","z":"2c41a2bd.aa36ae","name":"","topic":"node/push-button:0/push-button/-/event-count","qos":"2","broker":"29fba84a.b2af58","x":270,"y":360,"wires":[["ff41c7e0.06eba8"]]},{"id":"f507ecc3.8f82b","type":"blynk-ws-out-notify","z":"2c41a2bd.aa36ae","name":"Blynk notification","client":"fc4bbabb.9bb1b8","queue":false,"rate":5,"x":790,"y":360,"wires":[]},{"id":"ff41c7e0.06eba8","type":"change","z":"2c41a2bd.aa36ae","name":"Set message","rules":[{"t":"set","p":"payload","pt":"msg","to":"Button pressed, you're the best!","tot":"str"}],"action":"","property":"","from":"","to":"","reg":false,"x":570,"y":360,"wires":[["f507ecc3.8f82b"]]},{"id":"c131dd35.bb855","type":"comment","z":"2c41a2bd.aa36ae","name":"Push Button Kit flow","info":"","x":190,"y":300,"wires":[]},{"id":"29fba84a.b2af58","type":"mqtt-broker","z":"","broker":"127.0.0.1","port":"1883","clientid":"","usetls":false,"compatmode":true,"keepalive":"60","cleansession":true,"birthTopic":"","birthQos":"0","birthPayload":"","willTopic":"","willQos":"0","willPayload":""},{"id":"fc4bbabb.9bb1b8","type":"blynk-ws-client","z":"","name":"","path":"ws://blynk-cloud.com/websockets","key":"5cf554e34caf4d49a1b24cd07c5e2c13","dbg_all":false,"dbg_read":false,"dbg_write":false,"dbg_notify":false,"dbg_mail":false,"dbg_prop":false,"dbg_sync":false,"dbg_bridge":false,"dbg_low":false,"dbg_pins":"","multi_cmd":false,"proxy_type":"no","proxy_url":""}]This project is supposed to work with the Blynk. How to set up blynk is explained in HARDWARIO tutorial.
If you did the whole tutorial you should have a downloaded Blynk app in your phone.
Click the QR code icon in the top right corner and scan the following QR code.
You will need an Auth Token to setup the Blynk and Node-RED connection, you can email it to you through the app.
- Click on the Settings in the project that you just imported
- Click on Email all
- Now click Play in the project to start it
- You need to put the Auth Token from the email into the Blynk server setting that you did in the tutorial above.
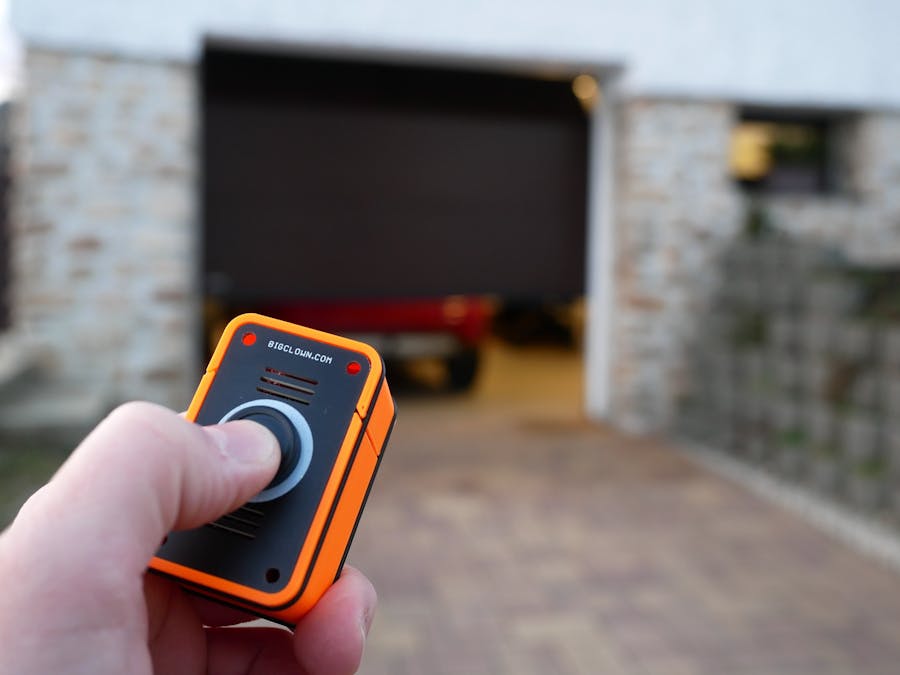
Now you just have to PUSH THE BUTTON
After the push, you should get a notification on your phone
This is just a basic project that you can do with the HARDWARIO IoT Kit. Of course, you can expand this a lot more and make a great things with just the button press.
If you want to see more starter projects like this, you can visit projects in this category.
Feel free to ask and I will try to answer any question.
- Visit HARDWARIO page on hackster.io for more interesting projects or go directly to their website
- Go to HARDWARIO documentation to learn more about their modules and other possibilities of the platform.
- Try more firmware from HARDWARIO Playground or write your own, it is easy to start.
- Because everything is Open source you can get all firmware on GitHub, get some inspiration and try to make your own applications.
- Get your own HARDWARIO Hub to replace your computer in this project so you have always access to your applications.
- Check out more applications that can be used with HARDWARIO IoT Kit in Integrations section.


Comments
Please log in or sign up to comment.