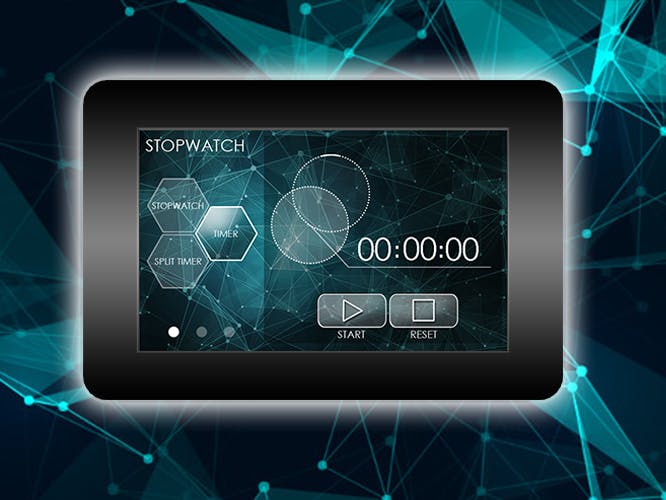
This Digital Timer project lets you choose from three functions: timer, stopwatch and split timer. Each function can be operated with the touch screen of the gen4-HMI display module. Using the Visi Environment of Workshop 4 IDE, these functions are made possible. The GUI are user friendly and easy to use.
ImplementationStep 1: Build- Build the circuit as shown in the diagram.
- Connect the gen4-PA to gen4-uLCD-50DCT-CLB or any gen4-HMI Display module with 480x800 px resolution.
Note: The graphics used in this project have 480x800px, but you can still customize them into smaller displays.
Step 2: Program- Download the code here.
- Open the Visi project using Workshop 4. This project uses the Visi Environment.
- You can modify the properties of each widget and button.
- You can also check and modify some part of the code according to your preferences. Each sections and functions has comments for your reference
Step 3: Compile- Click on the “Compile” button.
Note: This step could be skipped. However, compiling is essential for debugging purposes.
Step 4: Comms Port- Connect the display to the PC. Make sure that you are connected to the right port. Red Button indicates that the device is not connected, Blue Button indicates that the device is connected to the right port.
Step 5: Compile and Upload- Go back to “Home” tab. This time, click on the “Comp’nLoad” button.
- Workshop 4 will prompt you to select a drive to copy the image files to a uSD Card. After selecting the correct drive, click OK.
Step 6: Mount uSD Card- When the uSD card is not yet inserted, this message will appear on your gen4 Display: "Drive not mounted"
- After inserting your uSD card this GUI should appear on the gen4 Display:


Comments