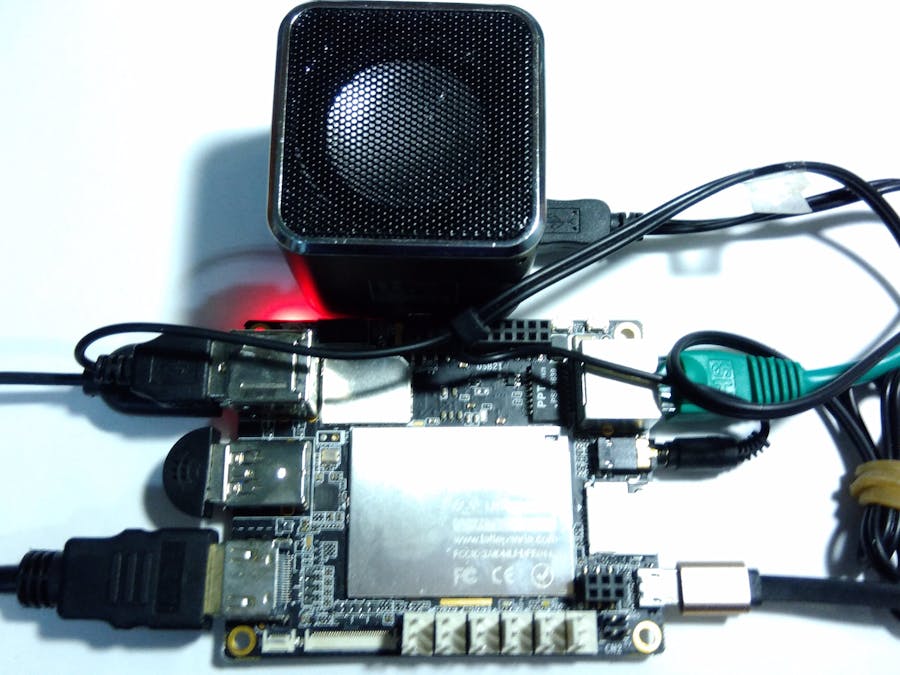
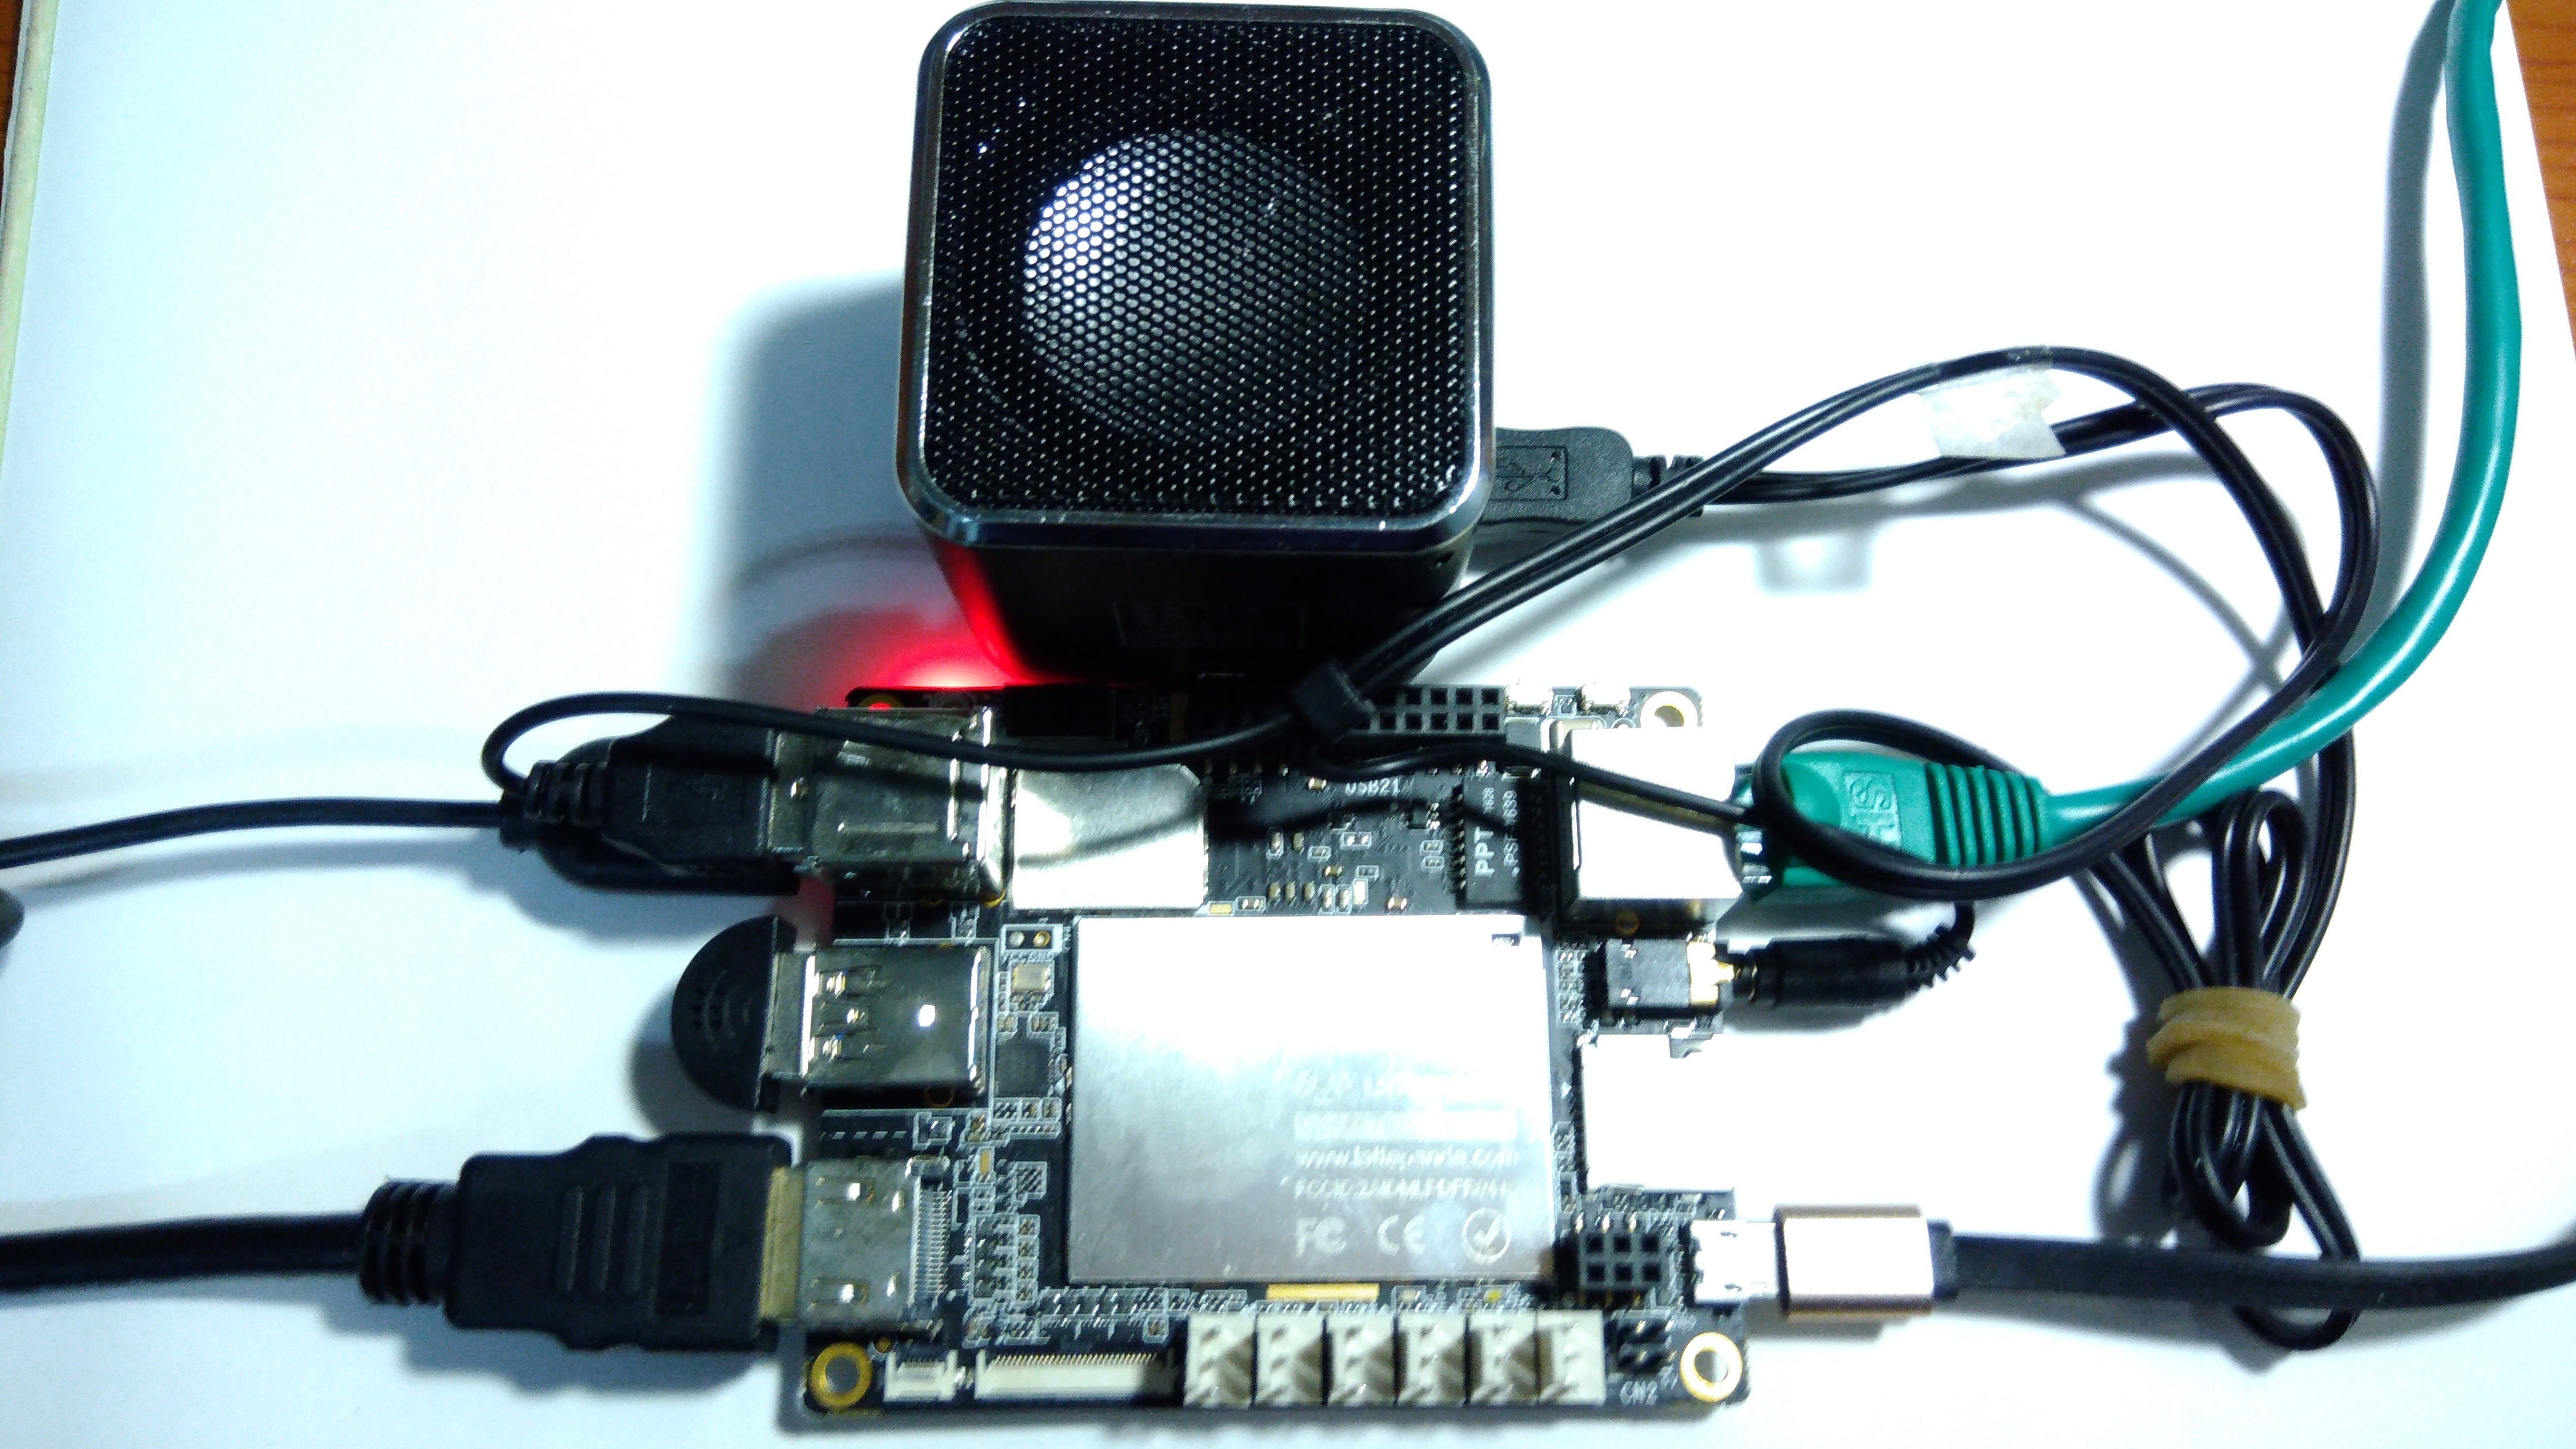
This project is going to show you how to build a Google Assistant with Lattepanda Windows SBC.
VideoLet's begin:STEP0. Preparation
In order to build a Google Assistant, we need Lattepanda Windows SBC, microphone (USB) and speaker (audio jack). On the other hand, since we are using Google speech API, please make sure your Lattepanda is connected to Internet correctly.
STEP1. Create an Google Developer Project
Start your favorite browser and open Google Cloud Platform.
Click "CREATE PROJECT" to establish new project. Here we use "my-google-assistant" as project name.
It takes several minutes to establish your project. You can see the ongoing processing on the up-right corner.
STEP2. Set Google Assistant API
Open Google API and set Google Assistant API to "ENABLE".
We need an oauth client ID for authentication to access Google Assistant API. Click here to open the oauthclient webpage.
System will ask you to fill several fields within OAuth Consent Screen. Please filll in the required fields, as below:
Back to "Create client ID", set Application Type to Other.
OK, Client ID is ready.
Now download this Client ID by clicking the download icon. It is required when authenticating by Google.
STEP3. configure Google Acitvity
Before installation, we have to configure this Google account's activity, click here.
Each activity is an option representing whether you allow Google to access specific personal information, such as voice, app data, etc. For our project's requirement, please set these three activities to "Enabled".
Web & App Activity
Device Information
Voice & Audio Activity
STEP4. Install Google Assistant SDK library for Python
Google Assistant SDK used in this project is based on Python. If your computer is not installed yet, please follow steps below. (For Windows OS, you need to install Python on your own, but for MAC OSX and almost all Linux, Python is installed as default).
Please download latest Python 3.x version, click here.
Execute the .exe file. Check the "Add Python to PATH" option in the installation wizard, this will add Python path into Windows system variables.
Press Windows+R and type in "cmd" to start Windows Command Prompt.
Input below in the Command Prompt:
pip install --upgrade setuptools
This will call pip to upgrade the setuptools module.
Next, input below to install Google Authentication tool.
pip install --upgrade google-auth-oauthlib[tool]
Remeber the Client ID JSON file we just downloaded? Please move this file to here: path/to/client_secret_XXXXX.json.
Input below to authenticate:
google-oauthlib-tool --client-secrets path/to/client_secret_XXXXX.json --scope https://www.googleapis.com/auth/assistant-sdk-prototype --save
Google will notice you whether the authentication process is finished. Errors may be caused by path and file name error. Finish as below:
credential.json after authentication will be save on your computer, so you don't have to do that process again while access Google Assistant API.
Click here for assistant-sdk github.
Here has complete tutorial of how to install, access APIs and sample projects. Click "Download ZIP" or use github command to get all the files.
Now we are going to use the sample project, use pip to install google-assistant-sdk first:
pip install google-assistant-sdk[samples]
Input below to run a simple sample project: pushtotalk
googlesamples-assistant-pushtotalk
pushtotalk will ask to press ENTER to start Google Assistant in order to interact with you. Please check that your microphone and speaker are all connected correctly to LattePanda, all configuration are set.
Now, please say something to the microphone, what is your LattePanda speaking to you?


Comments