This project was built as the final deliverable for our Embedded System course.
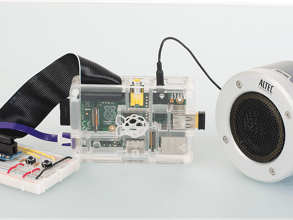
There are thousands of free radio stations on the internet, and with this project you can listen to all of them from one tiny little box. So let’s build easily our streaming radio using a Raspberry Pi, a speaker and a few odds and ends.
Step 1Firstly, we need to prepare our Pi. Using Raspbian, and a Pi connected to the internet, open a terminal and switch to the root user:
sudo su
And update your list of packages, then upgrade your Pi to the latest software:
apt-get update && apt-get upgrade -y
Install some extra packages.
We need to install the Python packages to access the GPIO. In a terminal, logged in as root, enter the following:
apt-get install python-rpi.gpio
Now install MPlayer, which is what will be playing our audio.
apt-get install mplayer
We created a txt file: wpa, which saves our hot spot's address and password.
Step 4We need to use a URL to use internet radio. We used https://www.internet-radio.com/. With switches it changes.
[In the URL, there is a pls file that should be downloaded and enter in our address box.]
Step 5Configure the radio to start at boot.
In a terminal, as root, navigate to /etc/init.d/ and then create a file called radio using nano.
nano radio
In that file, type in the following:
#! /bin/bash
modprobe snd_bcm2835
amixer cset numid=3 1
python /home/pi/radio.py
This loads the kernel module for the sound card; Amixer sets the outputs of speaker.
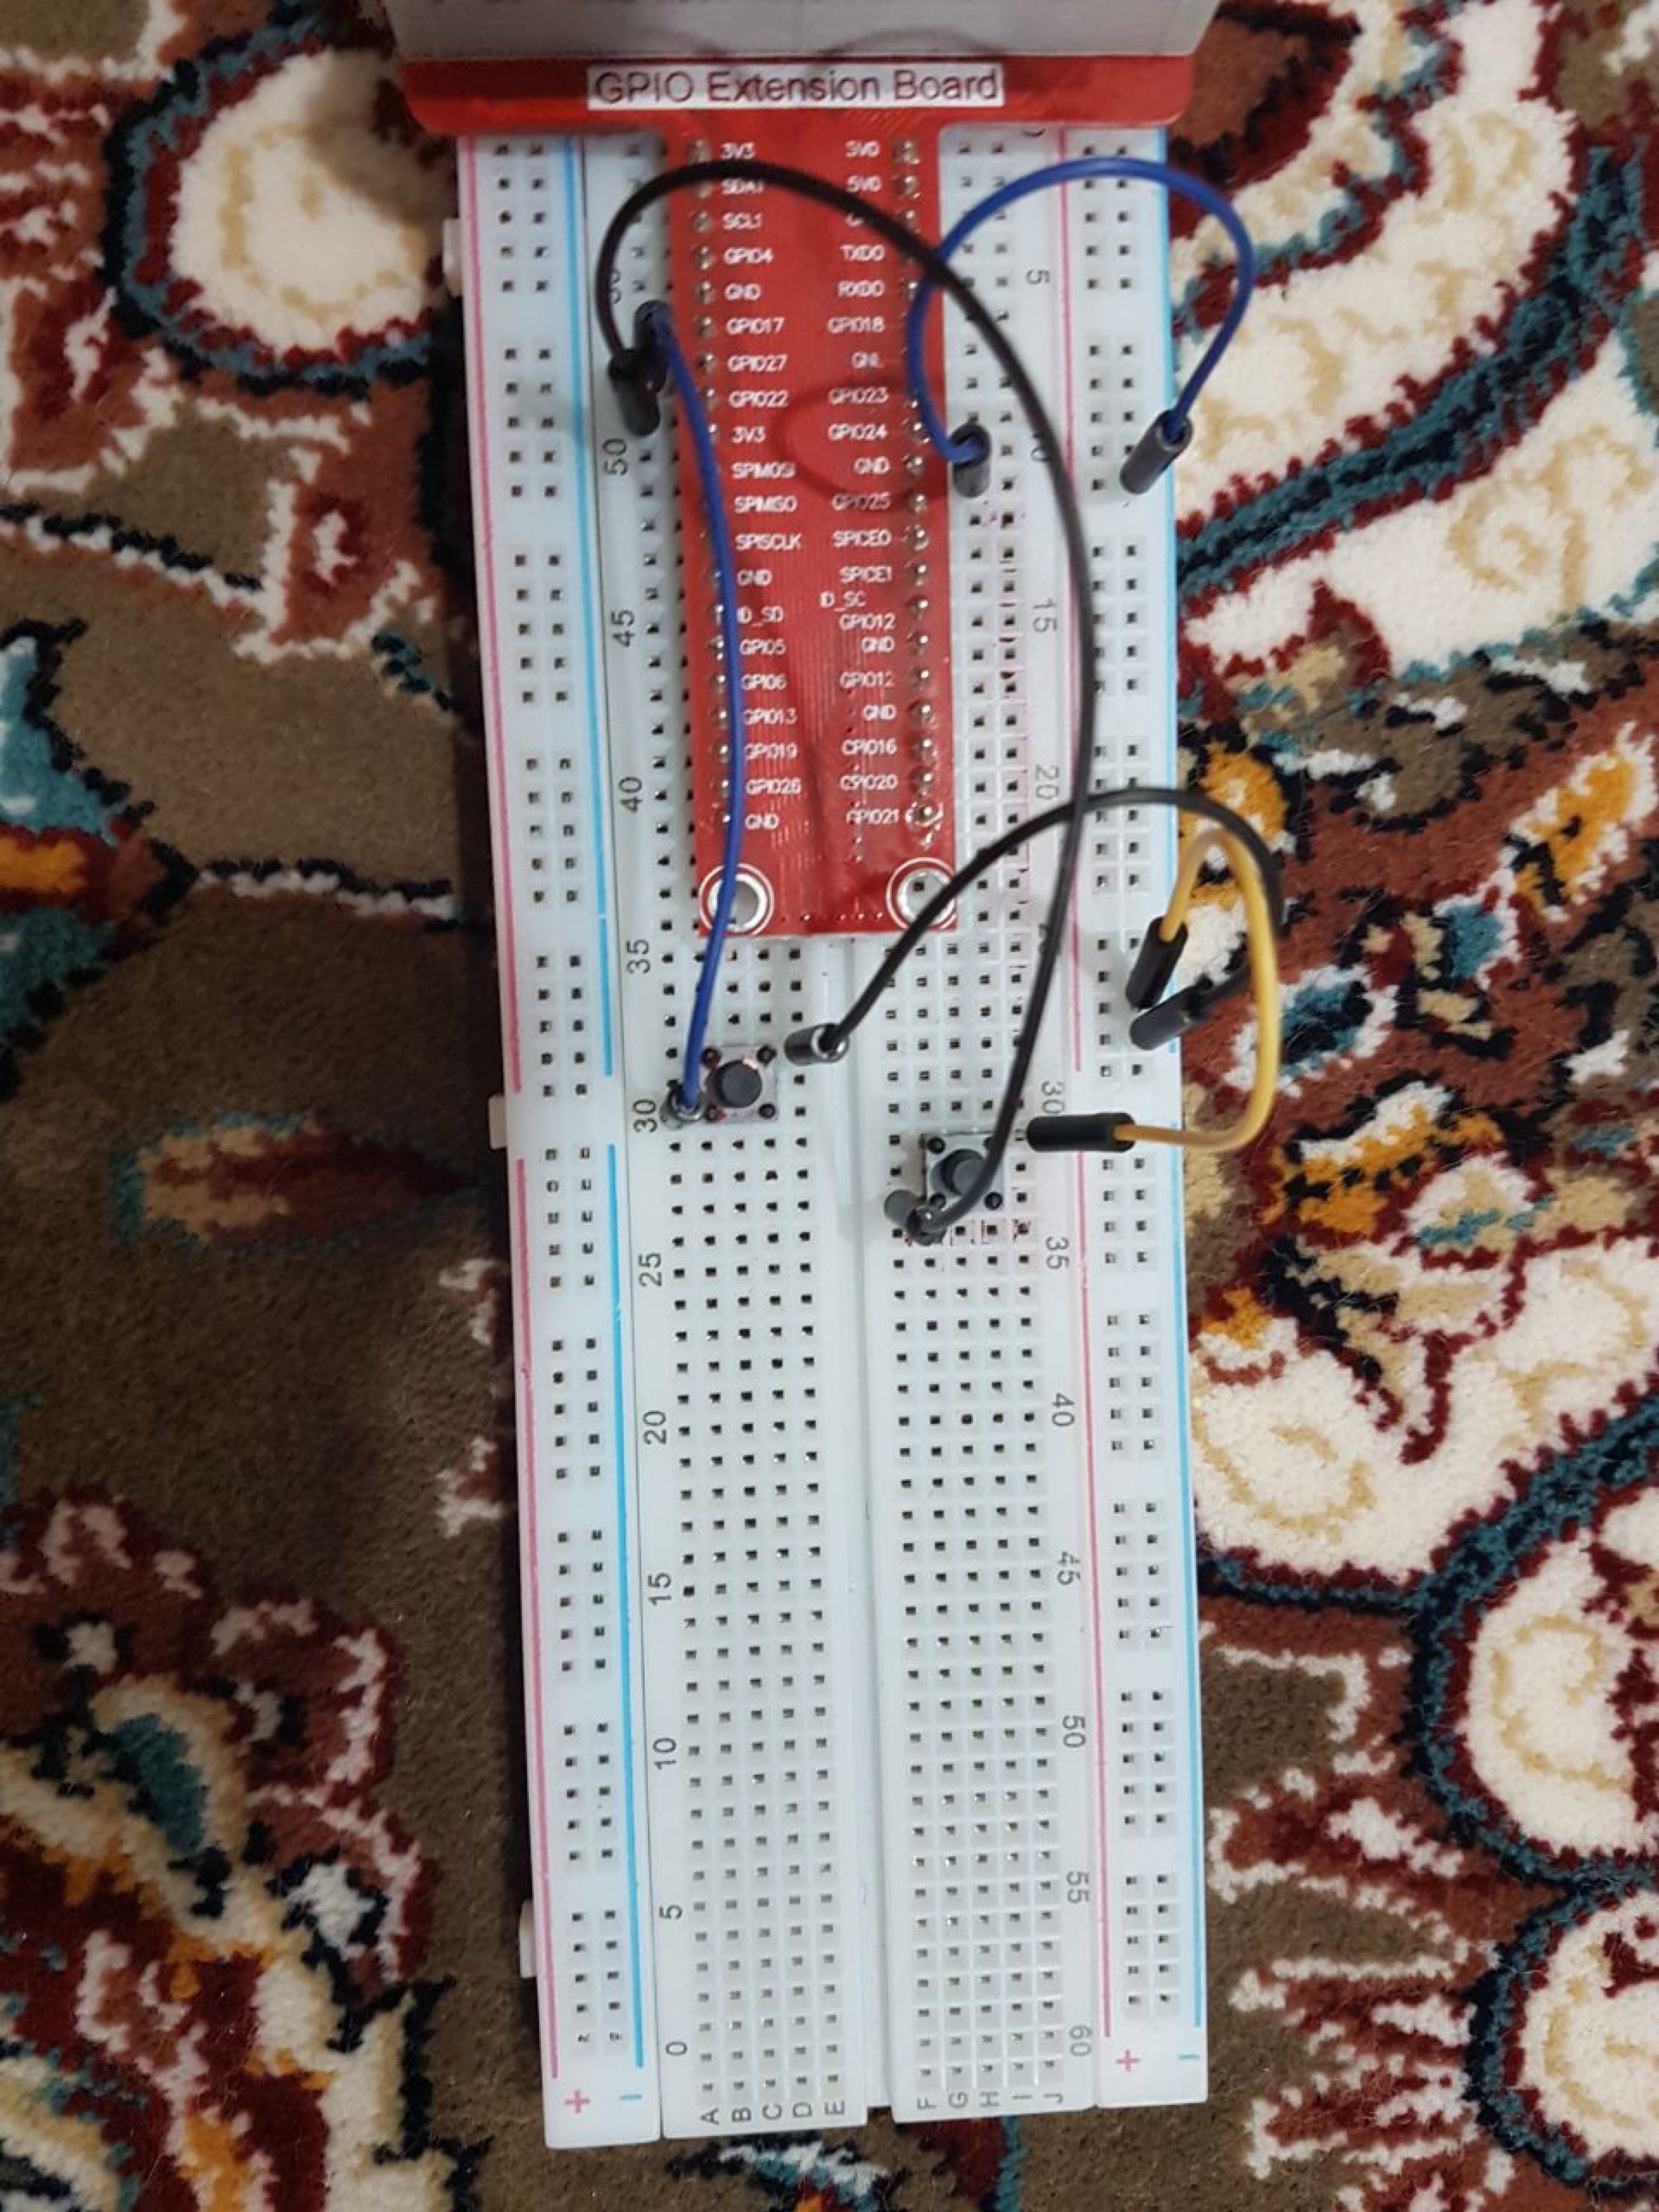
Step 6We wrote our code on services; when the OS has boot the service, it will be work. In etc/init.d, we define our services. In this directory, we define our services based on kill and start (use nano). Also in our code we use pull_up_down for GPIO.


Comments
Please log in or sign up to comment.