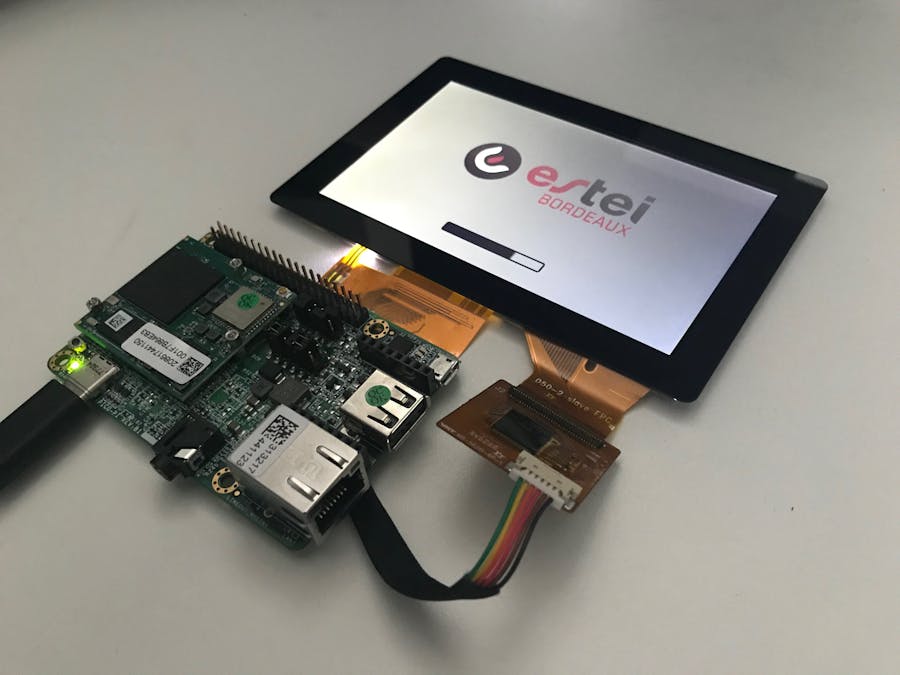
PICO-IMX7 is an IOT oriented board with high speed connectivity which allow the user to develop IOT project.
This tutorial is for beginner with Yocto and the PICO-PI.
In this tutorial we are going to setup the Yocto environment, build a basic image and put it on our board.
Setting up the environment1. Installation of imx_usb_loaderTo install imx_usb_loader you need to install first libusb(1.0) and git:
$ sudo apt-get install libusb-1.0-0
$ sudo apt-get install git
$ git clone https://github.com/boundarydevices/imx_usb_loader.git
$ cd imx_usb_loader
$ make
$ git clone https://github.com/Oliviers-OSS/microcom.git
$ cd microcom
$ ./configure && make
$ mkdir ~/bin
$ curl http://commondatastorage.googleapis.com/git-repo-downloads/repo> ~/bin/repo
$ chmod a+x ~/bin/repo
$ PATH=${PATH}:~/bin
$ mkdir edm_yocto
$ cd edm_yocto
$ repo init -u https://github.com/TechNexion/edm-yocto-bsp.git -bkrogoth_4.1.y_GA
$ repo sync -j8
To create your image, you need to execute the following commands:
$ MACHINE=pico-imx7 BASEBOARD=pi source edm-setup-release.sh -bbuild-fb-pico-imx7 -e fb
$ bitbake fsl-image-qt5
The files generated by bitbake are located in ${BUILD-TYPE}/tmp/deploy/images/${MACHINE}.
InstallationFirst of all, to put your image on your baseboard you must place the pico board into serial download mode as shown in this document.
Then you need to open 2 terminals, in the first one you must launch microcom with the following command:
$ microcom -s 115200 -p /dev/ttyUSB0
You should see something like this:
To continue you need to download this file.
The second terminal is used to execute imx_usb_loader:
$ ./imx_usb u-boot.imx
The result of this command look like the following picture:
Rigth after executing the previous command you must select the other terminal and hit any key to enter the board console. Then you need to run:
=> ums 0 mmc 0
You should see in your console something like this:
This command will mount your partition on your computer. To find it, go to /dev/.
Find your image in this directory ${BUILD-TYPE}/tmp/deploy/images/${MACHINE}its name is: {file_name}-${date}.rootfs.sdcard
Extract it and install using the following command in the imx_usb console with the right partition:
$ sudo dd if=<extracted_image>.rootfs.sdcard of=/dev/sdX
The result of this command look like the following picture:
Now you need to put your board into “boot mode” and reset, to restart your board and launch your linux.
Download source with the following command:
$ git clone git://git.yoctoproject.org/psplash
Generate your splash screen with this command:
$ ./make-image-header.sh logo.png POKY
Then you need to create a meta:
$ yocto-layers create meta-estei
In meta-estei/recipe-estei, create a directory psplash with the following tree:
psplash/
├── files
│ └── estei-logo-img.h
└── psplash_git.bbappend
estei-logo-img.h is the file generate from your picture.
In the file psplash_git.bbappend you must write this line of code:
FILESEXTRAPATHS_prepend := "${THISDIR}/files
Bitbake again and your linux minimal image is ready. You can modify it as you want by adding new meta to support devices, application, etc.
Now it's up to you !!!


Comments
Please log in or sign up to comment.