


Part2: https://www.hackster.io/AJB2K3/accessing-the-atecc608-part-2-edbe5e
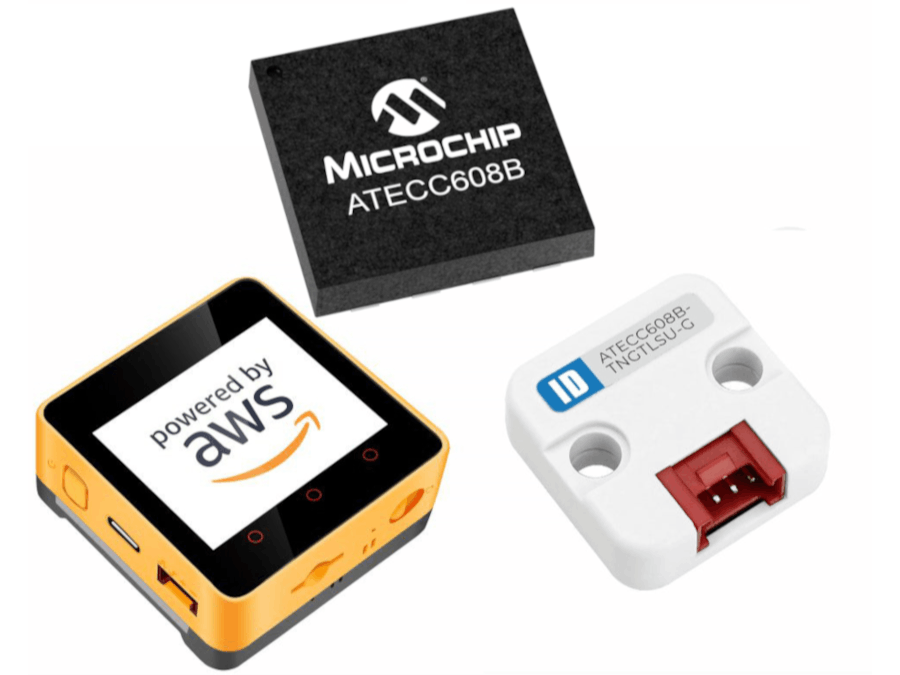
In this guide I will show you how to access the ATECC608b encryption chip used by M5Stack in ID Unit and Core2 AWS using UIFlow. This has been a bit of an issue for several of us in the community and I have found that it is caused but an error in UIFlow where the I2C code is not set up and initialised in the correct order.
This guide came about after a member of the M5Stack forum https://community.m5stack.com called gabrielgc75 found an issue trying to access the ATECC608b chip in the Core2 AWS using UIFLow.
After some digging I found that the issue may also be affecting the ID Unit as well as the Core2 AWS and after several days of poking at code, the issue turned out to be with how UIFlow was inserting I2C Master code.
In the above screenshot you can see how UIFlow inserts the I2C functions into the Micropython code. Without Looking at the Micropython widow I would not have found the issue and normally UIFlow looks like this:
For a week I have been looking at this and the code window:
I ran through all the code blocks and code function not seeing the error until I added a label.
Every time I ran this code I kept getting Kernal panics or Guru Meditation faults. After spending two nights looking at this, I drink a bottle of beer (gluten free) and went to bed early.
The Fix.The next morning (while half asleep) I looked at the screen and spotted the issue!
The I2C code was being initialised after the Label was being configured. I had come across a few issues where code was run in the wrong order and so I move the I2C code to the beginning and things all started to work.
I dropped a print function into the code:
And the I2C address started to show up (btw 53 is the decimal address of the ATECC608b which equates to 0x35 in hex.)
Now we have the address showing we can start communicating with the ATECC608b.
Communicating with the ATECC608bThis step proved to be a bit more complicated and took several more days of work and messaging to solve.
Now I have the basics after poking away at micropython I import machine and units._ID0
import units
from units import _ID
ID_0 = unit.get(unit.ID, (21,22))
I can now wakeup the ATECC608b by issuing:
ID_0.wakeup()To see what the output status of the function is, I put it in a print function to give me some output feedback.
>>> print(ID_0.wakeup())
True
When run in Thonny, this returns a "True" so say the ATECC608b is now active.
Generating a Key!I spent ages typing in several functions into Thonny using REPL and started to get feedback.
Typing revisionNumber:
print(ID_0.revisionNumber)returned a byte array of:
bytearray(b'\x00\x00`\x02')And serialNumber:
print(ID_0.serialNumber)gave me a byte array of:
bytearray(b'\x01#\xce\xa0\xcf\x06\x90\x0b\x01')I thought I was on a roll here and so typed:
print(ID_0.publicKey64Bytes)This unfortunately returned and empty byte array of:
bytearray(b'\x00\x00\x00\x00\x00\x00\x00\x00\x00\x00\x00\x00\x00\x00\x00\x00\x00\x00\x00\x00\x00\x00\x00\x00\x00\x00\x00\x00\x00\x00\x00\x00\x00\x00\x00\x00\x00\x00\x00\x00\x00\x00\x00\x00\x00\x00\x00\x00\x00\x00\x00\x00\x00\x00\x00\x00\x00\x00\x00\x00\x00\x00\x00\x00')After more reading I found I needed to generate a new key using:
print(ID_0.generatePublicKey())When I re ran print(ID_0.publicKey64Bytes) I now had a byte array filled with a random generated code:
bytearray(b'\x84\xf8\xda\xf6\xda\x18&r\x1b\xf0\xdbv\x1a\xcc\xf6z\xfd\xe2>\xdcY\xd5l\xf4kk\xb7D\xffI6\x1d\xcfDO\x9f\xc8bv\x80\xa9\xb8\xe75\xc5\x13\xe4\xe91\x9b\xcelg\xeb\x01Q\x18\xd0<\x91\xcb\xd8\xc1\xa1')With this success my brain has given up and I need some sleep. until next time keep watching!
Stalk/Contact me!If you would like to reach out you can drop a message here or you can drop a message on our Facebook group here: https://www.facebook.com/groups/m5stack
The Official forums here: https://community.m5stack.com
Via Twitter : https://twitter.com/Cpt_J_Purcell


Comments
Please log in or sign up to comment.