

Hardware components | ||||||
 |
| × | 1 | |||
Software apps and online services | ||||||
 |
| |||||
 |
| |||||
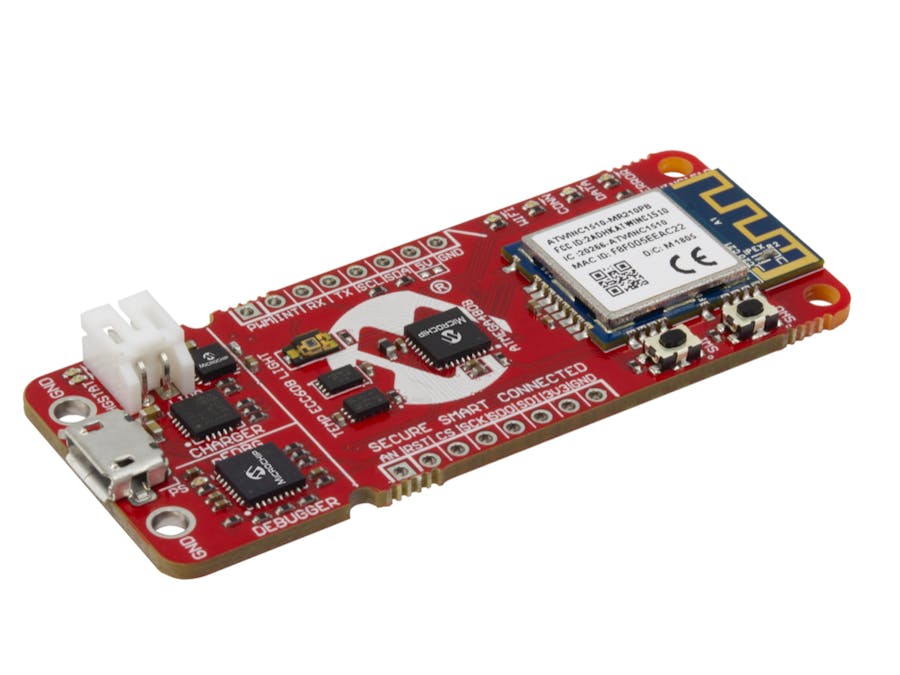
The AVR-IoT WG development board is a neat device capable of publishing sensor data directly to Google Cloud with minimal setup. While use of this board is simple with the provided example code, actually modifying the software to fit your needs is a more difficult task. In this tutorial we'll walk through the process of gathering example code, changing it, and using it to program your device.
This tutorial will only work on Windows systems, as Windows-only Atmel Studio 7 is necessary to compile the project. In theory one can use MPLAB-X (available for Windows and Mac) to accomplish this same task, but I have yet to get this project to compile without errors using MPLAB.
The first thing needed is Microchip's example code. You can find a variety of different applications on Atmel Start, a modular code configuration tool. Visit start.atmel.com and select "Browse Examples." Search for "AVR-IoT WG Sensor Node", click on the top result, and finally select "Open Selected Example"
A dialog box will appear with status messages about the configuration. Once this finishes, you will be presented with the default project screen. By this point I'll assume you've already configured your device to publish data to your own Google Cloud project. If you have not, you can find a tutorial for doing so here.
The first change to make on Start is modifying the Google Cloud information. Scroll down on the default page until you see the "CLOUD CONIGURATION" header. Change the project ID field to the ID of your project in Google Cloud/Firebase. You may also need to modify the information below it, too.
Scroll back up to the graphical view of the project and select the "WiFi" module. You can enter the credentials to your desired WiFi network on this screen.
And that's all for setup on Atmel Start! You can click the "Export Project" button, then click "Download Pack" on the next screen. Double click the resulting .atzip file and it should open in Atmel Studio. If you don't have Atmel Studio installed, you can find it on Microchip's website.
Importing the project in Atmel Studio is easy. Choose where you want to place the project, select a name, and select OK. You're now ready to start modifying the code.
Step 2 - Atmel StudioIn the right-hand pane you can find all the associated project files. The first file you'll want to take a look at is application_manager.c. The code itself is actually quite readable if you're at all familiar with C. You can follow along as the board's various sub-components are initialized. If you need to place any setup code, such as what you might place in the Arduino setup() routine.
The next pertinent file is main.c, which contains all of the loop code. The runScheduler() function is called inside of a continuously-executing while loop. This then in turn calls sendToCloud(). You will likely want to modify this function to change the information published to Google Cloud.
// This will get called every 1 second only while we have a valid Cloud connection
void sendToCloud(void)
{
    static char json[70];
    // This part runs every CFG_SEND_INTERVAL seconds
    // int rawTemperature = SENSORS_getTempValue();
    int light = SENSORS_getLightValue();
    int mic   = SENSORS_getMicValue();
    int len = sprintf(json, "{\"Light\":%d,\"Mic\":%d}", light, mic);
    if (len > 0) {
        CLOUD_publishData((uint8_t *)json, len);
    }
    LED_flashYellow();
}
I modified the function to receive data from a different sensor and publish it. You can find the sensor code in sensors_handling.c. Many MikroElektronika Click boards use an analog interface, which can be read at analog pin 9. Example code to communicate with I2C sensors is also included in this file.
Step 3 - Building and DeployingTo build the solution you can click the small hammer icon at the top of the interface. Among many other things this will generate a.hex file that you can use to program your device. You can find this.hex file at the following location <Project Name> ➡ <Project Name> ➡ Debug ➡ <Project Name>.hex
You can drag and drop this file onto the drive that appears when you connect the AVR-IoT board to your computer. Additionally, if the board is already connected to your computer, you can click the green arrow icon to directly program the board and start debug mode.
That's all! If you have any questions, don't hesitate to comment them below. To see more of my projects check out my website and my profile.


Comments