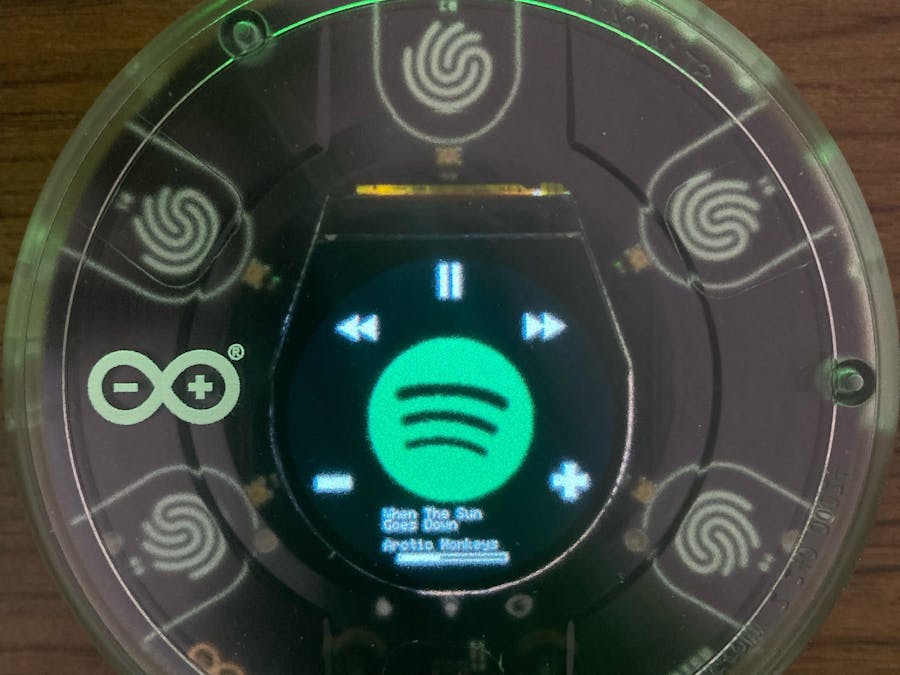
This project has won the 3rd place 🥉 award on Arduino Cloud Games 2022!
This project makes you control your Spotify player using your Arduino Oplà IoT kit. #cloudgames2022
Implementation TutorialTo implement this project, you need to authenticate with Spotify using OAuth2 flow. The details of OAuth2 flow can be seen in the picture below.
To use the OAuth2 flow, you need create a Spotify application here.
After creating your application, copy your Client ID and Client Secret to the secret tab of your editor.
After creating your application, boot up your Arduino and you'll see an IP address prompt like below.
You have to enter a redirect URI using your Arduino's IP address to your Spotify application. You can use the template below.
http://[Arduino's IP address]/redirect/
After adding the Redirect URI, simply enter your Arduino's IP address to your browser and you'll be greeted with the authentication webpage.
After you get the "Authenticated!" message, you will see this at your Arduino's screen.
If you didn't open Spotify before, open it and play a song. Pressing a button will update your Arduino's screen. You can press the buttons to Skip to Next, Skip to Previous, Play/Pause, Increase Volume and Decrease Volume. Please note that volume controls are not supported in mobile by Spotify API.
Using Arduino IoT CloudYour Arduino will use the IoT Cloud to show you the information of your player. You can see my IoT Cloud dashboard below.
I would like to thank Benoît Blanchon for creating the ArduinoJson library, Brian Lough for creating the Arduino Spotify API, and Jasper van Loenen for creating the image2cpp tool.
ContributionIf you would like to contribute, please open a pull request on my GitHub.


Comments
Please log in or sign up to comment.