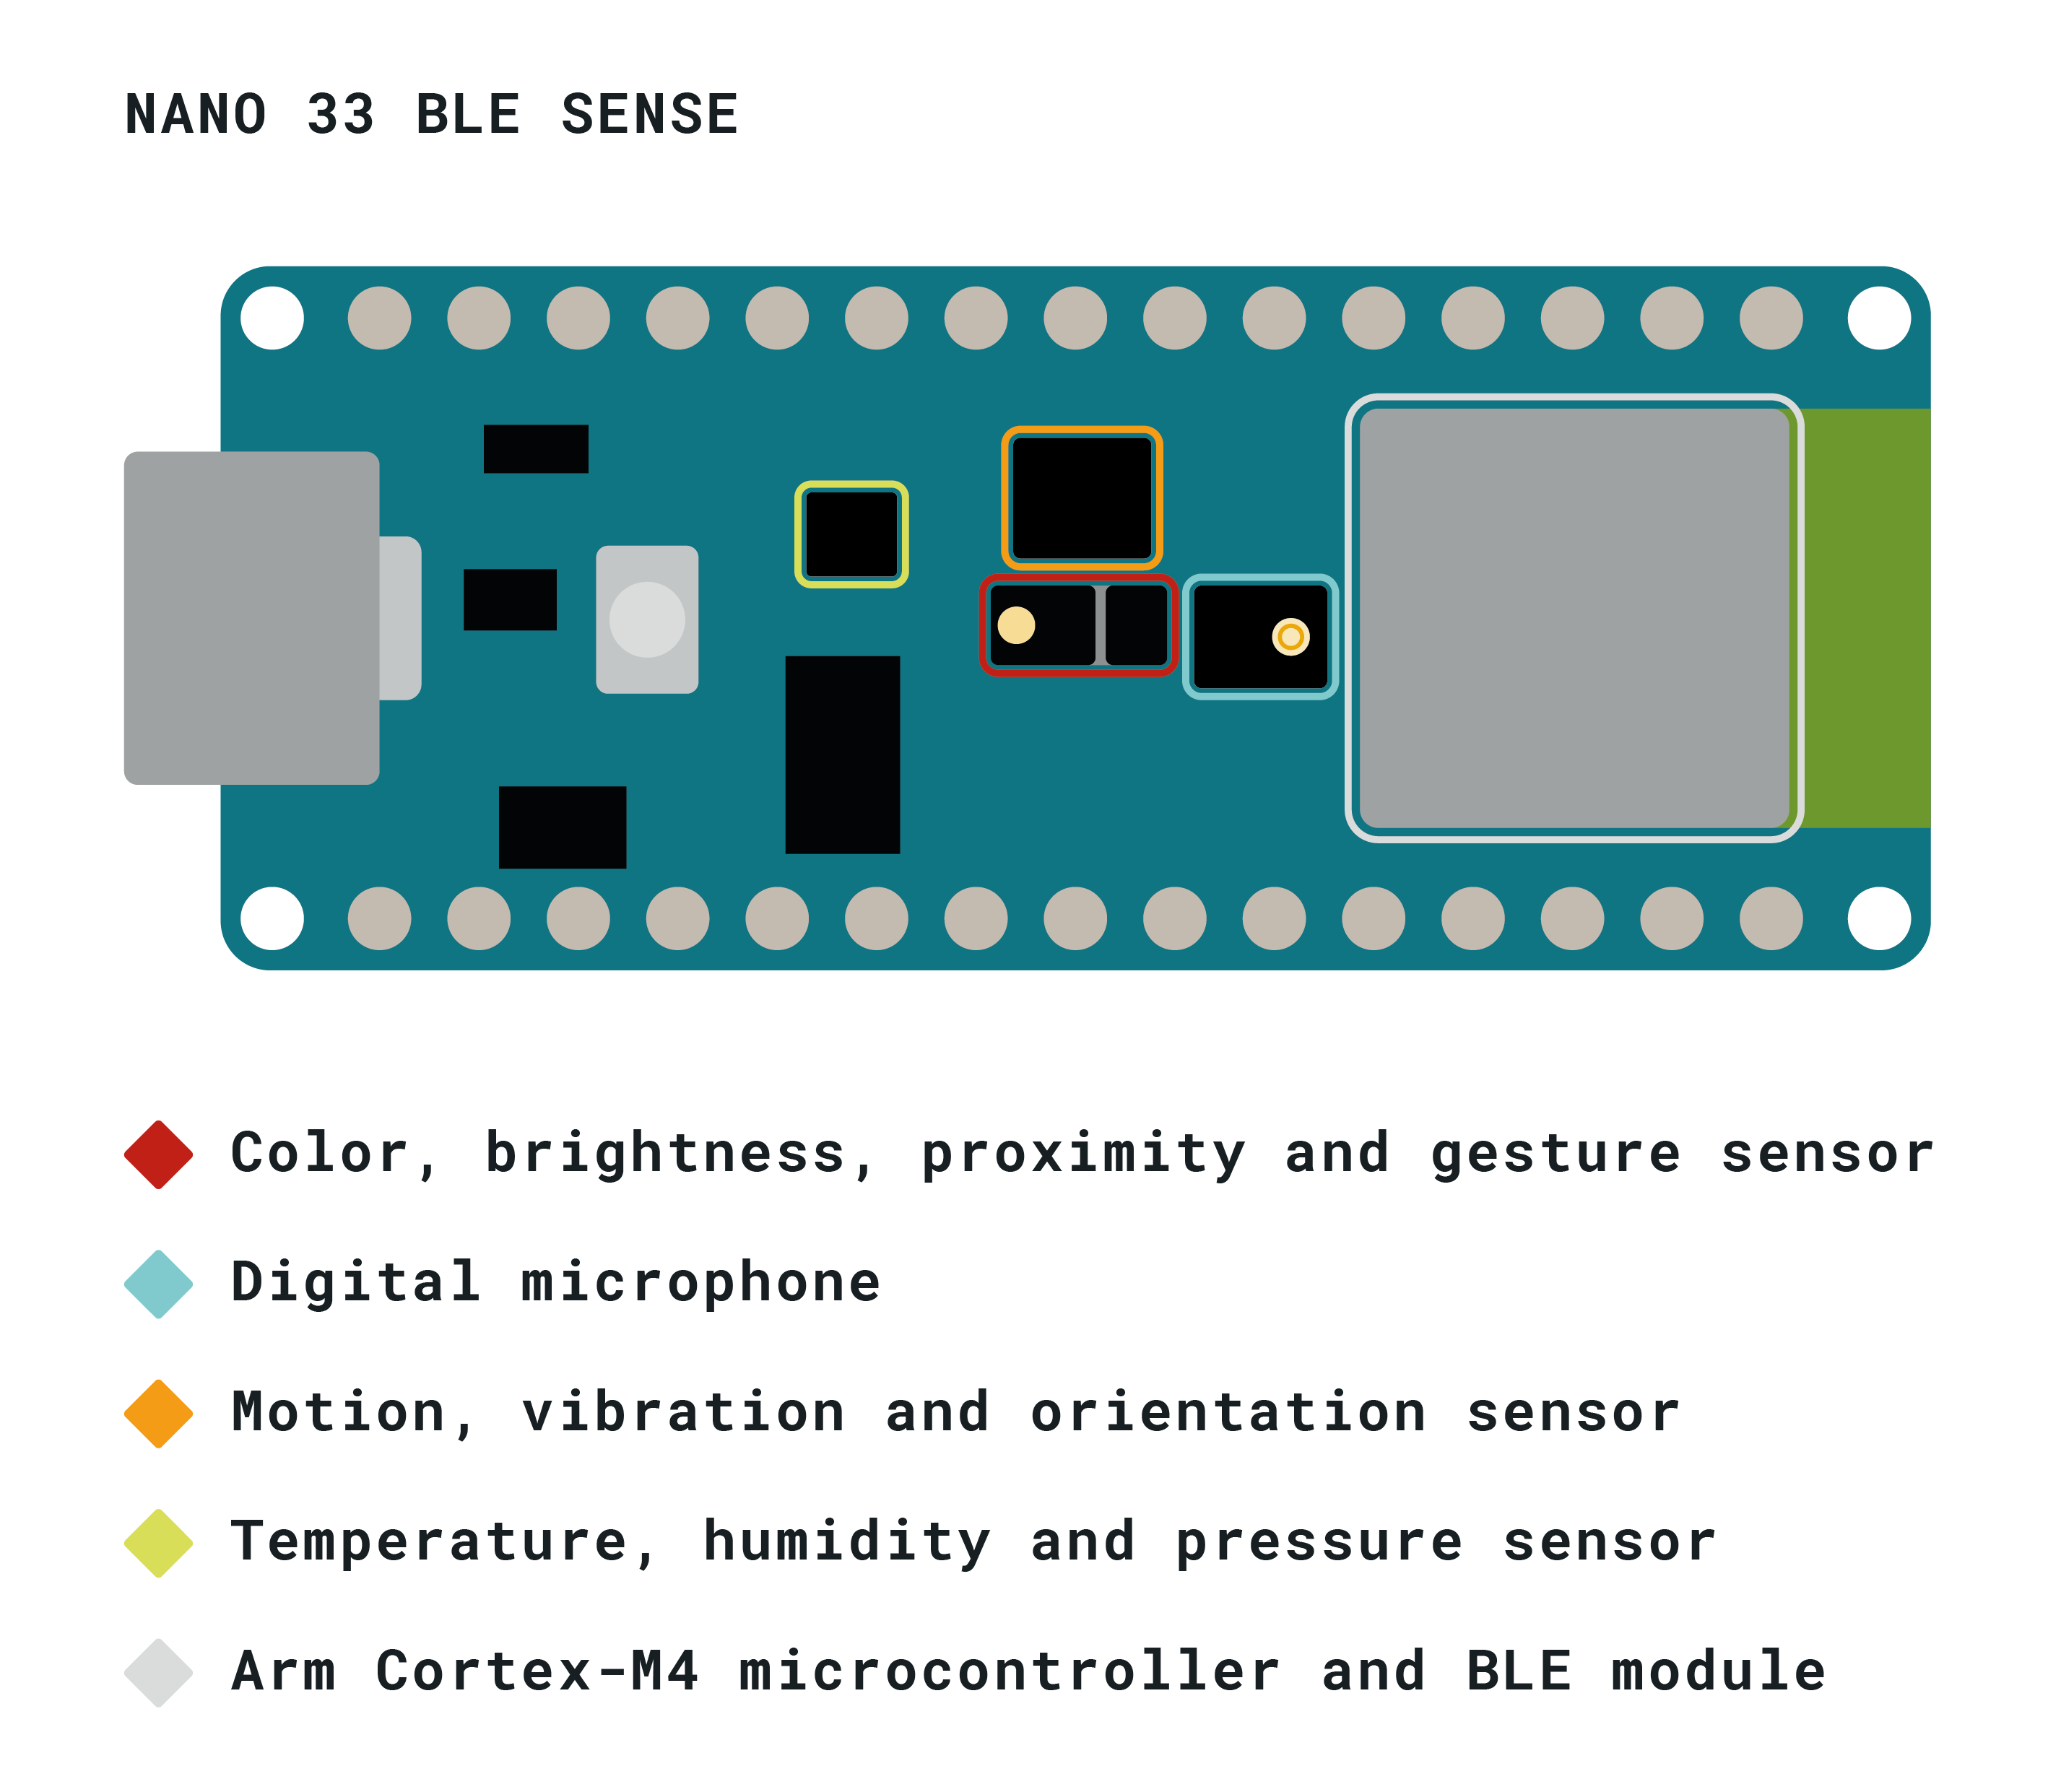
1. Install Arduino Nano 33 BLE Sense Board Libraries
- Arduino nRF528x Boards (Mbed OS)
2. Install Arduino Nano 33 BLE Sense Peripheral Libraries
- ST LSM9DS1 - 3-axis accelerometer and 3-axis gyroscope and 3-axis magnetometer
Library: Arduino_SM9DS1
- ST MP34DT05 - Digital MEMS microphone
Library: AudioSound
- ST LPS22HB - barometer sensor
Library: Arduino_LPS22HB
- BC APDS9960 - Gesture sensor
Library: Arduino_APDS9960
- ST HTS221 - Relative humidity and temperature sensor
Library: Arduino_HTS221
- Nano 33 BLE
Library: ArduinoBLE
3. Install TensorFlow Lite library (Arduino IDE)
Library: Arduino_TensorFlowLite
4. Download IMU_Capture.ino example and load into Arduino IDE :
https://blog.tensorflow.org/2019/11/how-to-get-started-with-machine.html
5. Use Arduino IDE Serial Plotter to view sensor data
Tools→Serial Plotter
a. attach the Nano 33 BLE Sense to wrist and simulate a face touch movement to see the data plotted in the Serial Plotter:
https://blog.arduino.cc/2019/10/15/get-started-with-machine-learning-on-arduino/
1. Capture gesture data
Collected data for the following files from the Serial Monitor
- punch.csv (10 times)
- flex.csv (10 times)
NOTE: Ensure to disable “Show timestamp” from Serial Monitor
Example Punch:
a. Pickup the Nano 33 BLE Sense and simulate a punch motion with the board in your hand.
b. Repeat 10 times
c. Notice the data that is collected in the Serial Monitor.
d. Copy the data from the Serial console and create a .csv file associated with the action: touch.csv
NOTE: Ensure the first line in the file looks like the following:
aX,aY,aZ,gX,gY,gZ
2. Go to Colab for Jupyter notebook
GitHub Examples:
https://github.com/arduino/ArduinoTensorFlowLiteTutorials/
NOTE: When first loading the Jupyter Notebook, a Warning screen will appear.
Just click RUN ANYWAY
3. Run Setup Environment.
NOTE: This will result in the install of a number of required packages
4. Upload the capture data
- touch.csv
Select the Folder icon in the left Window Pane to upload the .csv files
5. Train Neural Network based on .csv data
Output if successful:
TensorFlow version = 2.0.0-rc1

 Processing index 0 for gesture 'touch'.
  There are 10 recordings of the touch gesture.
 Data set parsing and preparation complete.
6. Randomize and split the input and output pairs for training
Output if successful:
Data set randomization and splitting complete.
7. Build and Train the Model
From Notebook:
- Build and train a TensorFlow model using the high-level Keras API
Output when run:
Train on 12 samples, validate on 4 samples
 Epoch 1/600
 WARNING:tensorflow:Entity <function Function._initialize_uninitialized_variables.<locals>.initialize_variables at 0x7fe172912ae8> could not be transformed and will be executed as-is. Please report this to the AutoGraph team. When filing the bug, set the verbosity to 10 (on Linux, `export AUTOGRAPH_VERBOSITY=10`) and attach the full output. Cause: module 'gast' has no attribute 'Num'
 WARNING: Entity <function Function._initialize_uninitialized_variables.<locals>.initialize_variables at 0x7fe172912ae8> could not be transformed and will be executed as-is. Please report this to the AutoGraph team. When filing the bug, set the verbosity to 10 (on Linux, `export AUTOGRAPH_VERBOSITY=10`) and attach the full output. Cause: module 'gast' has no attribute 'Num'
 12/12 [==============================] - 1s 50ms/sample - loss: 0.3119 - mae: 0.5501 - val_loss: 0.2502 - val_mae: 0.4998
 Epoch 2/600
 12/12 [==============================] - 0s 3ms/sample - loss: 0.2653 - mae: 0.5116 - val_loss: 0.2498 - val_mae: 0.4994
 Epoch 3/600
 12/12 [==============================] - 0s 3ms/sample - loss: 0.2620 - mae: 0.5116 - val_loss: 0.2493 - val_mae: 0.4991
 Epoch 4/600
 12/12 [==============================] - 0s 3ms/sample - loss: 0.2628 - mae: 0.5082 - val_loss: 0.2488 - val_mae: 0.4985
8. Verify
Graph the models performance vs validation
- Graph Loss
- Graph the loss again, skipping a bit of the start
- Graph the mean absolute error
9. Run with Test Data
10. Convert the Trained Model to Tensor Flow Lite
- Output from Notebook
WARNING:tensorflow:Entity <function Function._initialize_uninitialized_variables.<locals>.initialize_variables at 0x7fe16a17d598> could not be transformed and will be executed as-is. Please report this to the AutoGraph team. When filing the bug, set the verbosity to 10 (on Linux, `export AUTOGRAPH_VERBOSITY=10`) and attach the full output. Cause: module 'gast' has no attribute 'Num' WARNING: Entity <function Function._initialize_uninitialized_variables.<locals>.initialize_variables at 0x7fe16a17d598> could not be transformed and will be executed as-is. Please report this to the AutoGraph team. When filing the bug, set the verbosity to 10 (on Linux, `export AUTOGRAPH_VERBOSITY=10`) and attach the full output. Cause: module 'gast' has no attribute 'Num' Model is 147764 bytes11. Encode the Model in an Arduino Header File
- Output from Notebook
/bin/bash: xxd: command not found
Header file, model.h, is 35 bytes.
Open the side panel (refresh if needed). Double click model.h to download the file.
- Once complete, copy the contents of the model.h file to the model.h in the Arduino IDE
12. Classifying IMU Data
- Switch back to tutorial
https://blog.arduino.cc/2019/10/15/get-started-with-machine-learning-on-arduino/
13. Down load the IMU_Classifier.ino Sketch and create a model.h tab in the IMU Arduino IDE project to load the model.h code from step 12.
14. Compile and Upload the Sketch to the Nano 33 BLE Sense
15. Open the Serial Monitor and perform the touch motions again.
The results from the model will be shown in the Serial console:
16. Combine the red led on the ble sense with the IMU-Classifier.


Comments
Please log in or sign up to comment.