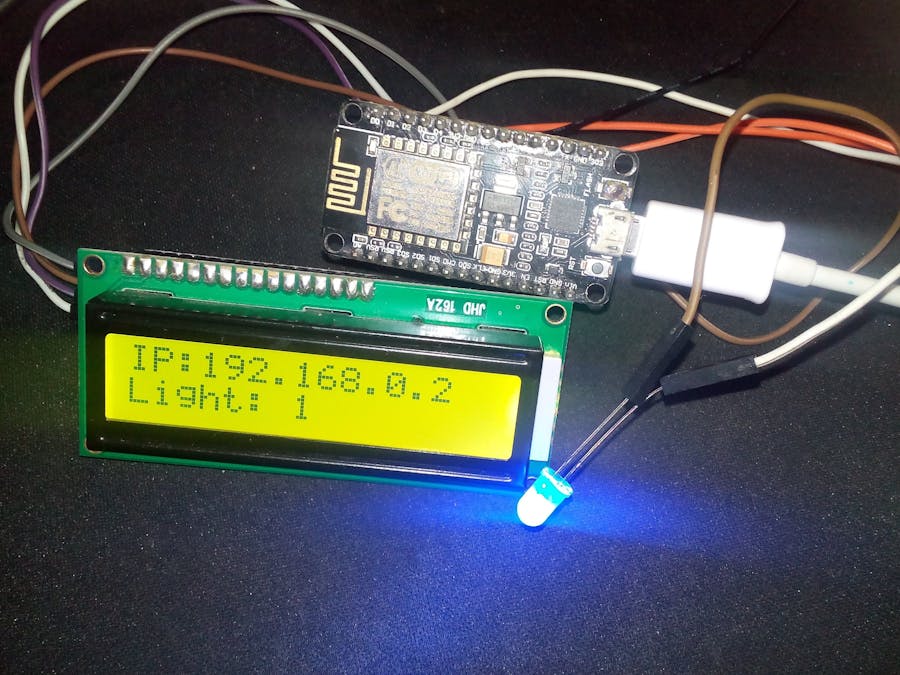
While scavenging the web for non-AT/Lua ESP8266 firmware, I stumbled upon a very powerful firmware called ESPEasy (https://www.letscontrolit.com/wiki/index.php/ESPEasy)built for use in multi-sensor node Home/Industrial Automation environment.
A really cool feature of the ESPEasy firmware is it's ability to simply hook-up pre-defined Sensors/Actuators and read/control them over simple Web requests without having to write any code at all!
The Sensors/Actuators configuration and other device settings are edited through a minimalistic webServer bundled in the ESPEasy firmware.
Another cool feature is the ability of ESPEasy to communicate with other Home Automation Controllers/Services like Domoticz, OpenHab etc (which I'll be demoing in Part 3 of this tutorial).
List of Sensors/Actuators Supported:The following components are supported by ESPEasy out of the box:
I've used the NodeMCU Dev Board for trying out this firmware as this dev-board speeds up the development time (instead of haggling around with an ESP8266 and a USB-Serial Converter). You can also try it around on an ESP8266-01 Module, though I'd recommend an ESP-12/E for it's many GPIO pins.
Download the firmware from here or https://www.letscontrolit.com/wiki/index.php/ESPEasy, unzip it and simply hit the flash.cmd file to be presented with a simple command line interface that automates the process of flashing the firmware onto the ESP. Make sure you select the right COM port and flash size. Detailed ESPEasy firmware tutorial can be found here.
Once it's flashed successfully, the ESP8266 will now show up as an AP/hotspot.
The default AP password is: configesp
Configuring ESPEasy over WebAfter connecting to the AP, it's now time to configure the ESP to connect to our network. Navigate to http://192.168.4.1 in your web browser and you'll be presented with this first config page:
Once we've successfully connected to your local network, obtain the dynamically assigned IP and open it up in a browser. I simply open up my Router's admin page to find the list of active clients and their IPs. If you don't have access to the Router's admin page, simply use Advanced IP Scanner to determine the new IP of ESP8266.
Now open up this IP in a browser to get a detailed overview page with tabs for settings etc:
More information on different settings and configurations can be found here: http://www.esp8266.nu/index.php/ESPEasy or https://www.letscontrolit.com/wiki/index.php/ESPEasy
Controlling a LED over WebLet's now add a simple LED in the Devices tab and toggle it using simple GET requests.
Click the Devices Tab and hit the Edit button on any of the Task number. Select the Device type as Switch Input from the dropdown, give it a Name (Blue), and choose the GPIO pin as shown below:
Once done, hit Submit and click again the Devices tab link to see your newly created device listed:
We can now toggle the LED (which I've hooked up to GPIO 16 aka D0 on the NodeMCU) by invoking this URL in a browser:
http://192.168.0.2/control?cmd=GPIO,16,0
which is of the format: http://<ESP IP address>/control?cmd=GPIO,<pin>,<value>
We can now fire GET requests from any networked app/device to toggle the LED!
Congrats! You've now successfully built a minimalistic Networked Embedded Device (often hyped as IoT :P) without writing a single line of Code ;)
In Part 2 (Coming Soon) of this tutorial, we'll walk through the process of adding more devices (an I2C Display Adapter and DHT11).
In Part 3 (Coming after Coming Soon), we'll look at getting Domoticz control this Node and trigger some notifications.
Please comment below if you've hit a roadblock or need any help.
Happy IoTing.


Comments
Please log in or sign up to comment.