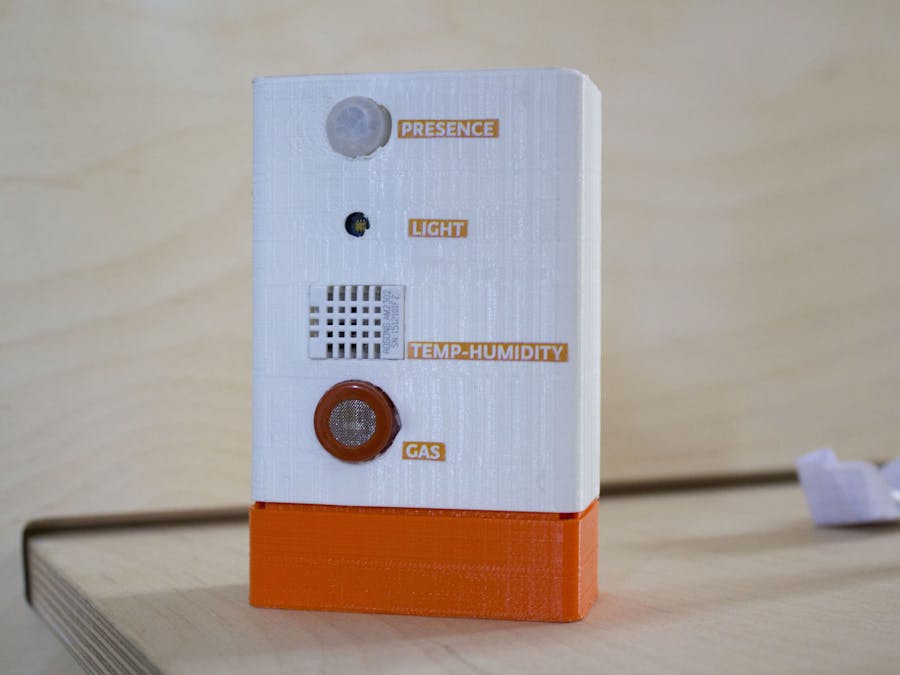
Following this tutorial you will build a little tower with several sensors and connect it to Arduino Cloud to visualize Real time data.
Connect to Arduino CloudCreate an account and login to Arduino Cloud.
If this is your first time on Arduino Cloud we suggest to follow the getting started flow to download the Arduino Cloud Library and create your first device.
Go ahead, create a new thing and name it "sensorTower" without quotes.
Now you can create a property.
A property defines the kind of data you want to monitor from the Arduino Cloud dashboard.
Specify:
- Property name
- Property type: specify the measurement unit
- Property policy: specify when you want the data to be sent to the dashboard, either when the property values changes or after certain intervals of time.
- Update Frequency: If Update Regularly is selected: specify the duration of the intervals.
For this project we will need as many properties as data we want to monitor: Temperature, humidity, gas detection, motion detection and light intensity.
Once you created all the 5 properties, click on the Code button and visualize a pre-filled sketch.
As you can see, the generated code already contains the code necessary to create the ArduinoCloudThing Object ():
Creates the object
ArduinoCloudThing sensorTower;
Initialize it with the device credentials
sensortower.begin(thingName, userName, thingId, thingPsw, sslClient);
Enable the debugger (this is optional)
sensortower.enableDebug();
The generated sketch also contains the properties configuration.
sensortower.addProperty("temperature", FLOAT, R);
In order to change the value of the property you can use
sensortower.writeProperty("temperature", "val");
Download the generated code and upload it to your board.
!!! Remember to fill in the data required to connect to the network!!!
/////// Wifi Settings ///////
char ssid[] = "";
char pass[] = "";
Switch back to the dashboard view. If everything is working correctly you should see some value changing on your screen. OH YEAH!!!
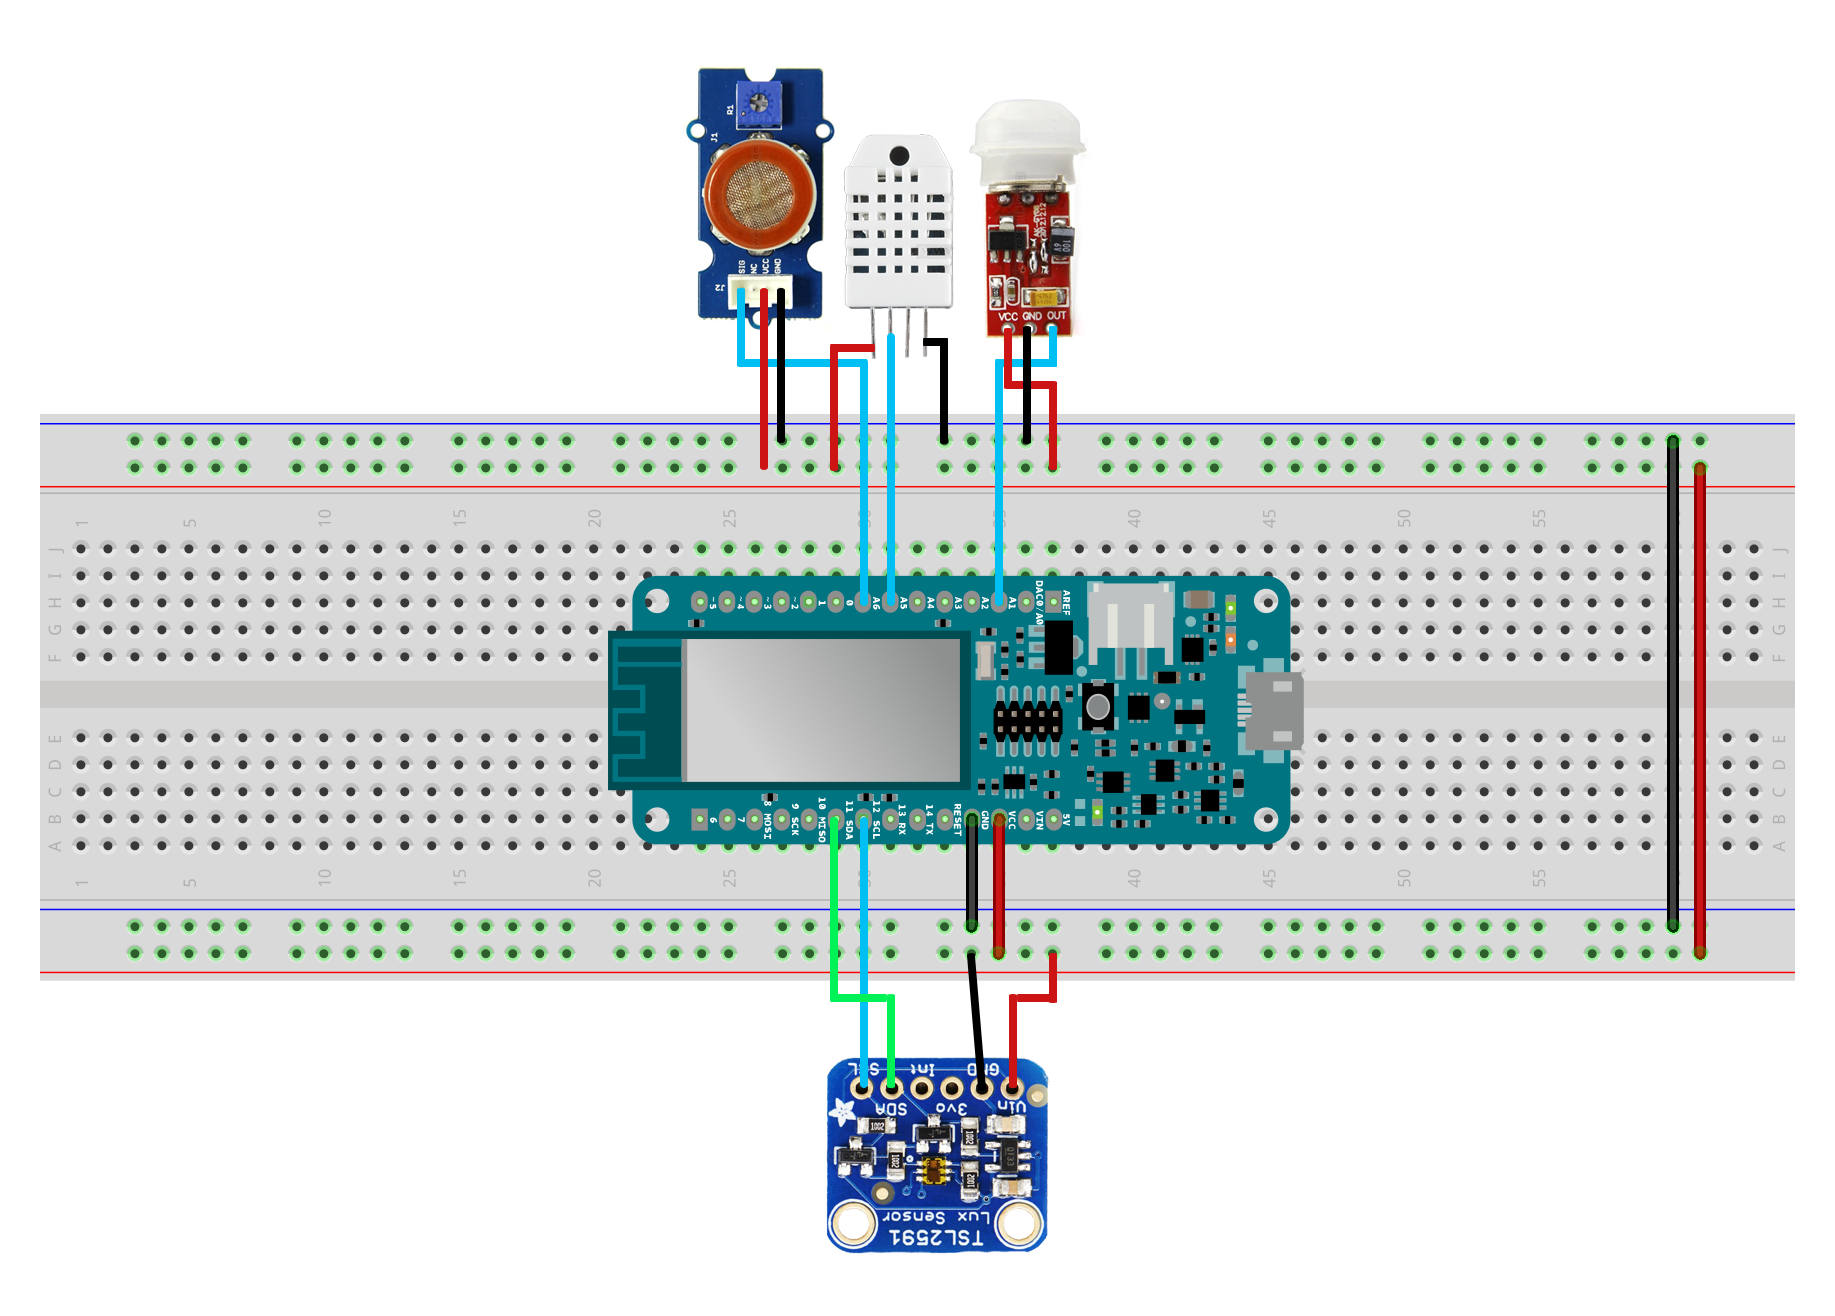
Connect your sensor to the Arduino following their datasheet.
To reproduce the exact same setup of this tutorial just look at the wiring on the image below.
The Code
Starting from the code you received in the Arduino Cloud dashboard, all you have to add is the declaration of the pins where the sensors are plugged, and the code necessary to read specific sensors.


Comments
Please log in or sign up to comment.