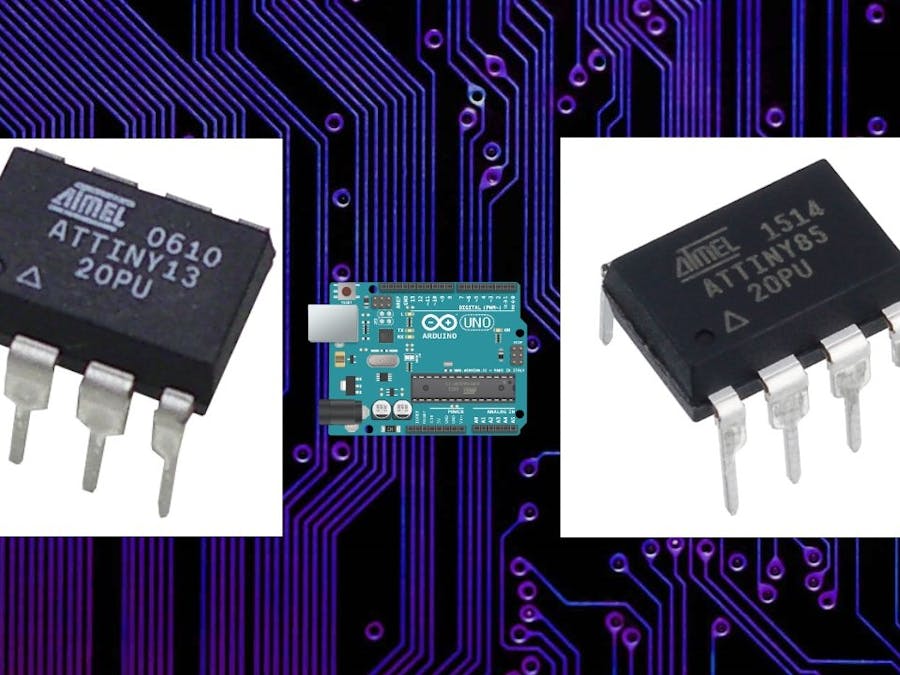
Watch the video for a basic tutorial.
Thanks UTSOURCE.net to offer electronic components for this project!
you can check UTSOURCE.net, they deal in all kinds of electronic components, for example, Arduino board, attinys, and many more.
You can program literally any attiny microcontroller if you follow these steps
1. Get the Core files for your Microcontroller (in this case we need core files for ATtiny85 and ATtiny13A)
ATtiny85: https://github.com/SpenceKonde/ATTinyCore
ATtiny13A: https://github.com/MCUdude/MicroCore
Download these cores and install them.
2. Now understand the ATtiny's pinout.
3. Spot the ATtiny ICSP pins (MISO MOSI SCK RESET VCC GND) and prepare your Arduino Uno.
4. Upload Arduino as ISP sketch on your Uno board. Now you can use your arduino as an ISP programmer.
Connect the ATtiny85 to your Uno board. (Do not forget to add a 10uf cap on reset and ground of your Arduino.)
Use jumper wire for connections or MAKE A SHIELD USING PERF BOARD AND DIP8 SOCKET.
5. Wire everything together. (WIRING IS SAME FOR BOTH ATtiny85 AND '13A)
VCC to VCC
SCK of ATtiny to Pin 13 of Arduino
MISO of
ATtiny to Pin 12 of Arduino
MOSI of ATtiny to Pin 11 of Arduino
RESET of ATtiny to Pin 10 of Arduino
GND to GND
6. Choose your ATtiny in tools> Board manager
Select the right clock frequency for ATtiny85 select 8 MHz and for ATtiny13A select 9.6 MHz.
Change the programmer to "Arduino as ISP" and then BURN BOOTLOADER.
(Only have to do once for each chip)
7. And now finally you can upload your sketches on your ATtiny by pressing Ctrl + Shift + U or Sketch> Upload using Programmer
"BANG" you have successfully programmed your ATtiny microcontroller.
I hope this was helpful. :-)
I MADE THIS Attiny85/13A programmer with Arduino nano and a custom PCB, do check that out for more reference about this topic.
https://www.hackster.io/Oniichan_is_ded/multiple-attiny85-13a-programmer-84adf8
after programming attiny85 and 13A, try to program attiny84 with the same process


_ztBMuBhMHo.jpg?auto=compress%2Cformat&w=48&h=48&fit=fill&bg=ffffff)


Comments
Please log in or sign up to comment.