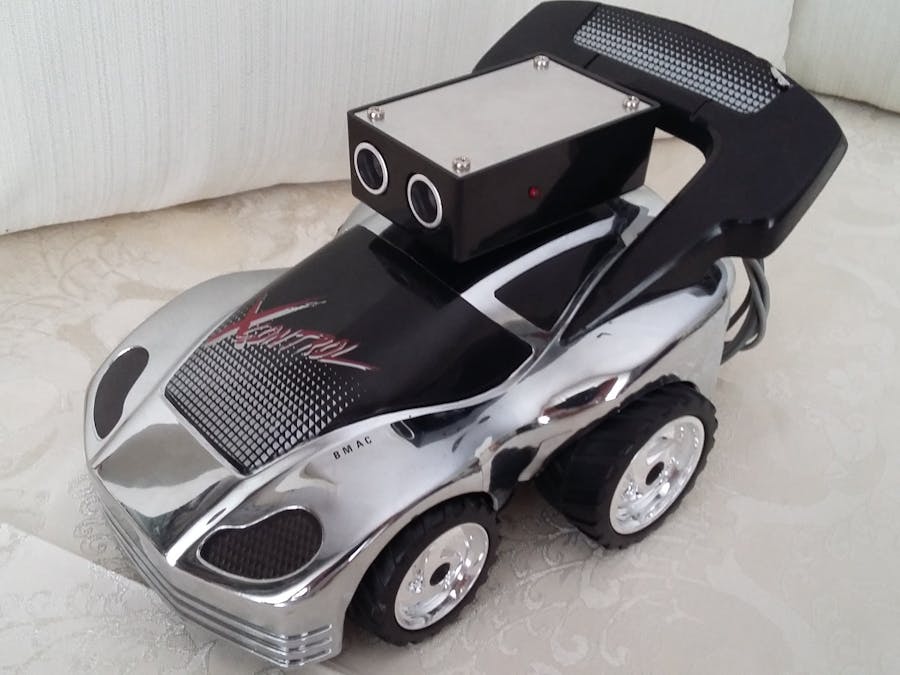
With this project I want to show you how to convert an RC car into an Auto Controlled car with Arduino Uno R3.
WiringI opened the car and found the PCB which is controlling the two motors. I identified the points that are responsible for the four motor movements (left motor front, left motor back, right motor front, right motor back) and soldered four wires on to them. Then I connected those to the pins 9, 10, 11, 12 of the Arduino board as shown in the picture. Lastly, I connected the GND of the H-BRIDGE to the GND of the Arduino board.
Then I connected the Ultrasonic sensor to the Arduino board like this:
- VCC pin to pin 5V
- GND pin to GND pin
- Trig pin to pin 8
- Echo pin to pin 7
To power the Arduino I joined it with a 9V battery to the DC jack and because I didn't want to waste the battery's power I cut the Volt wire and soldered an On/Off switch. Then to make it more stylish I made a hole at the car with the electric drill at the size of the switch and put it in there.


Comments
Please log in or sign up to comment.