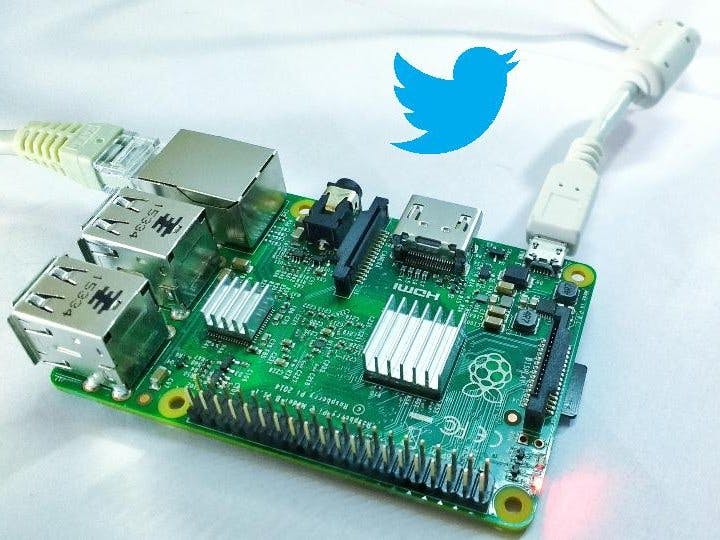
In this rapidly growing moment of Internet of Things, you wouldn't want to get left behind. Here is a small tutorial to connect your raspberry pi to internet and sent tweets.
Lets get started.
Step 1: Quick videoHere is a small 5 min video that tells it all.
Click here to watch on YouTube
Step 2: Things neededFollowing is the list of things needed for this mini-project-
- Ethernet cable (for connecting to internet) Two- one for Raspberry Pi and another for PC/laptop (if you are using wifi this component can be avoided),
- SD card (with raspbian installed in it) and
- PC/laptop with linux installed in it (we will use it to remote login in to our Raspberry Pi) (No worries if you don't have windows, you can use PUTTY to perform same tasks that we will do with linux terminal)
For anyone who is not familiar with raspberry pi, you can follow THIS to familiarize and setup your raspberry pi for this mini-project. HERE is the helping videos for Raspberry Pi.
Step 3: Register your app with apps.twitter.comFollowing are steps to register an app with apps.twitter.com. We need to perform these steps in order to allow a machine to access twitter on your behalf.
- Open your web browser,
- Go to apps.twitter.com,
- Once this page loads click on 'Create new app' button, (Remember to make an account on twitter before doing this)
- You will be asked to give application name, description, website and callback URL (optional); Provide appropriate details, and
- Scroll down this page and click on 'Create your Twitter application' button.
Once application is created, the next step is to note down the 4 important keys.
Step 4: Get keysTo allow Raspberry Pi to access twitter on your behalf, you need to provide Raspberry Pi with the 4 keys namely-
- Consumer Key (API key)
- Consumer Secret (API Secret)
- Access Token
- Access Token Secret
To get these keys, on successful creation of Twitter Application, click on 'Keys and Access Token' tab. Note down first two keys, scroll down and click on 'Create my access token' and note down remaining two keys.
Step 5: Plug in your Raspberry PiGet your Raspberry Pi (any version will do), insert SD card with Raspbian installed in it. Connect Raspberry Pi on the internet enabled network using Ethernet cable and make sure that your laptop/PC is also connected to same network using another Ethernet cable. Finally power on the Raspberry Pi using 5V wall adapter.
Step 6: Find IP address of Raspberry Pi connected on your networkTo remote login to your Raspberry Pi from your PC/laptop, first step is to find its IP address. Open Linux terminal on your PC/laptop and type 'sudo nmap -sn <your network subnet with astrisk(*) in place of host address>'. (This is to avoid the struggle of connecting display, keyboard and mouse to find Raspberry Pi's IP address)
On typing this command you will get list of all devices on your network with their IP address and details of their manufacturer. Note down IP address of device with manufacturer as 'Raspberry Pi foundation'. This is the IP of your Raspberry Pi that we will use to remote login to it.
Step 7: Install Twython on Raspberry PiTwython is python package of twitter APIs. To install it on your Raspberry pi first remote login to it, using IP address obtained in previous step.
To remote login to Raspberry Pi from PC/laptop, open terminal and type 'ssh pi@'. Once logged into your Raspberry Pi, update list of available packages and their version, to do this type 'sudo apt-get update' in remote logged terminal.
Next we need to install python package manager on Raspberry Pi, to do this type 'sudo apt-get install python-pip'. Now finally install twython using 'sudo pip install twython'.
Step 8: Python code to send tweetsI am attaching code for sending tweets. You need to fill in your keys at commented places in order to get a working code.
To execute this file type- 'python <File name>'
That's all for this instructable; I hope you guys come up with useful application that uses this instructable. Thanks for reading.


Comments
Please log in or sign up to comment.