Delivery of urgent required medicaments by drones is very important during a lock down - especially for example for diabetics, which require insulin, or other illness, which require special drugs (like pain-medicaments). This could be problematic, if the people are not allowed to go out and conventional delivery services are overloaded.
For usage of drones for autonomous deliveries defined places for start and landing are one possible solution. That the medicaments will reach the right receiver and to protect the delivery against abuse a certain infrastructure with e.g. closed boxes or restricted areas are required. This solution here do not require complex landing infrastructure at the receiver, because the drone will identify the receiver and will decide whether the package is allowed to drop off or not and fly back to the base.
Idea behindOur idea is that the drone will fly autonomous to a specific GPS point, certain meters away from the target in a secure height, but will drop off the package only if the receiver being able to identify yourself. Once the drone arrived at the final destination, defined by the GPS position communicated by the customer and verified before departure, the customer (receiver) can interact with an on-board module responsible for the delivery process (drop off from a certain height).
That solution allows secure deliveries in various environments without speciall landing infrastructure. So it is possible drop off the package e.g. on a flat roof of a skyscraper in urban and densely populated areas or in the front yard of family houses, some meters away from the receiver. This ensures receptions by certified recipients.
Process detailsThe following steps describe the total process from the box loading until the arrival to the delivery location and drop the box without landing
Step 1 :
Connection, remotely, to the drone
Define the final destination data using QGround Software or other
Rechecking if no obstacle (building, bridge, etc..) using google map
Upload the mission data to the drone
Step 2:
Generate a password of the mission and send it to the Customer with details about how
to connect to the drone and use the interface to drop the box and inform about the approximate arrival time (estimation)
Step 3:
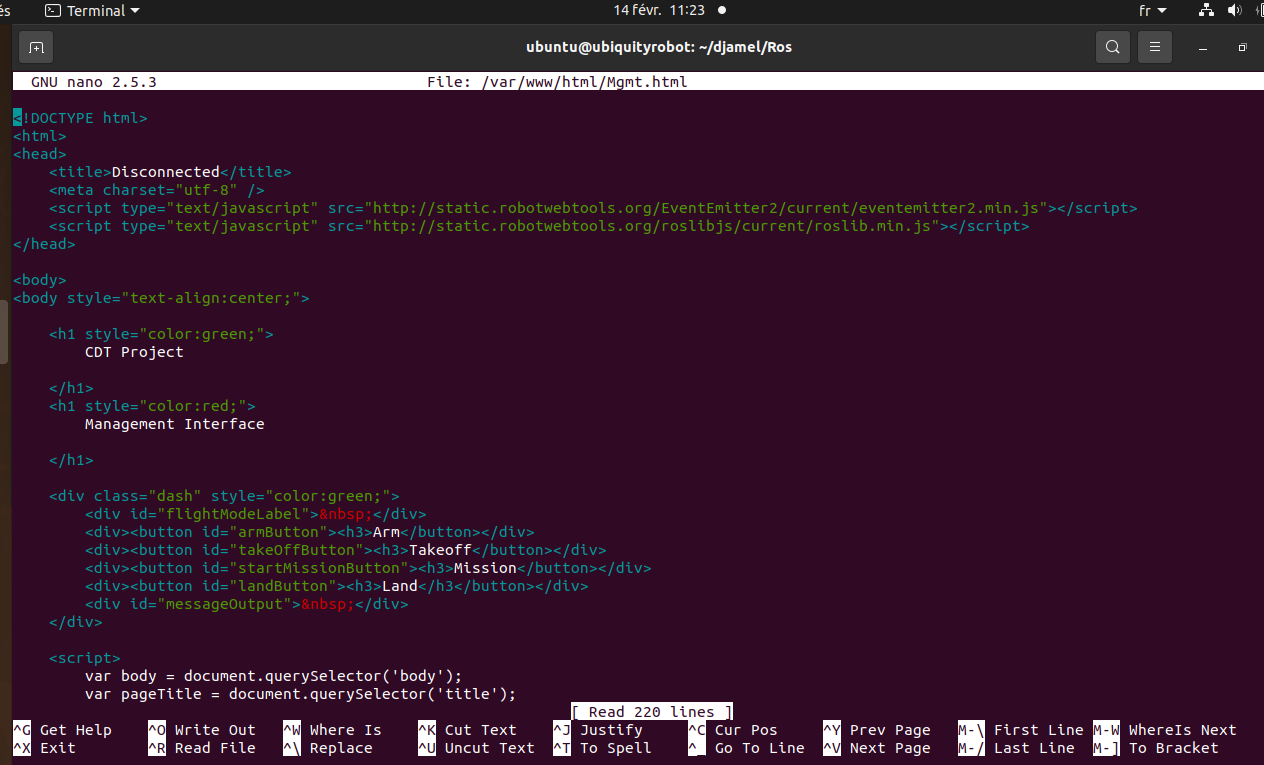
Connect to the companion computer (the on-boarded RaspberryPi) via the Mgmt interface
Do a self checking of the mechanical system
Put/place the box and lock the mechanical system
Input the password of the mission
Step 4 :
Waiting for the acknowledgment from the customer
Step 5:
Use the Mgmt interface of the on-boarded RaspberryPi or Qgroudsoftware
- Arm the drone
- Takeoff
- Switch to “Auto.mission”
- Switch off the Wifi
The drone will start the uploaded mission until the predefined arrival location
Step 6:
(arrived at the final destination),
- Switch to “STABILIZED”
- Switch on the Wifi
- Set the watchdog to 3 minutes
Waiting for:
- The mechanical system unlocked by the Customer interface (using his mission password)
or
- The activation of the watchdog (End of 3 minutes)
- Switch off the Wifi interface
- Clear the mission
- Switch to RTL mode
Final step (once arrived at home location):
- Switch to AUTO.LAND mode
- Switch on the WIFI interface and Select LAND using the web interface
- Drone disarmed
The main components and programs developed to implement the process, described above, are a mechanical system / the hardware and the software.
Mechanical system / Hardware
As basis two sets of the drone KIT-HGDRONEK66 with the RDDRONE-FMUK66 were used. We designed a dropping fixture including two separate battery case and as well including mounting points for the servo motor. The 3D design work was done in AutoCAD. The dropping fixture and all cover plates were produced in 3D-printing with PA material. With that design we still reached a useable space for the box of about 12 cm high and about 20 cm in width (without modification on the standard landing gear form the drone KIT-HGDRONEK66). The box itself is developed as non-reusable packaging system made from recyclable honeycomb cardboard.
In addition we used a Raspberry Pi 3, powered from the Drone battery via a DC/DC adapter (12V/5V). For the OS, we installed this version Linux ubiquityrobot. This Raspberry Pi is connected to the FMUK66 controller via the USB interface and the communication is ensured by following scripts:
1. roslaunch mavros px4.launch
2. roslaunch rosbridge_server rosbridge_websocket.launch
All our programs are developed using ROS commands based on the subscription of some rostopics and send commands using rosservices
Software
A - Main program
The main responsible of the control the drone starting the Power-on until the landing
The main roles of this program are:
1 - The monitoring the battery voltage status
a - Before the mission start: Mission mode not authorized if the battery voltage is under a predefined value BV1
b - During the mission
If the battery voltage is under the predefined value BV2 then:
- Clear the mission
- Switch to “AUTO.RTL” mode (Return to Launch)
2 – Mechanical system checking
1. First auto-check on Power-on : If the mechanical system is NoK, Mission mode not authorized
2. Execution of Unlock/Lock instruction received from the Management interface before the start of the mission
3. Execution of the Unlock instruction received from the Customer interface at the arrival destination
3 - The management of the activation of the WIFI interface
The on-boarded computer is powered directly from the drone battery.
To optimize the usage of this battery, the WIFI interface will be activated only during the takeoff and the delivery time and deactivated during the mission or RTL mode.
4 – Flight assistance during the mission (To be developed)
Flight assistance based on the inputs of different on-boarded sensors, camera or other running AI programs on the companion computer
5 – Advanced Emergency assistance (To be developed)
The on-boarding of a 4G interface to allow the remote monitoring and receive remote command from the control tower
B - Management interface
Using this interface, the manager will be able to do the following tasks:
a) Unlock & Lock the mechanical system after the box loading
b) Upload the mission (from file, option)
c) Arming the Drone
d) Takeoff
e) Start the mission
f) Land the Drone
This access to this interface is protected by Mgmt_password.
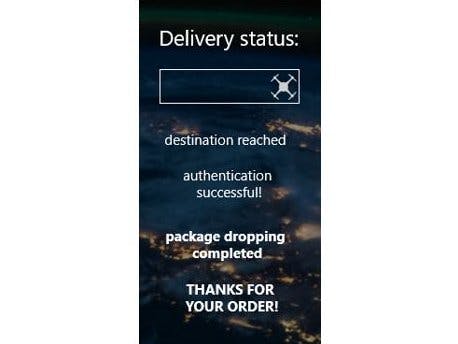
C - Customer interface
Using this interface, the customer will be able to do the following tasks:
- Enter the mission_password communicated previously by SMS
- Unlock the mechanical system to drop the box loading if the password is correct.


_t9PF3orMPd.png?auto=compress%2Cformat&w=40&h=40&fit=fillmax&bg=fff&dpr=2)


Comments
Please log in or sign up to comment.