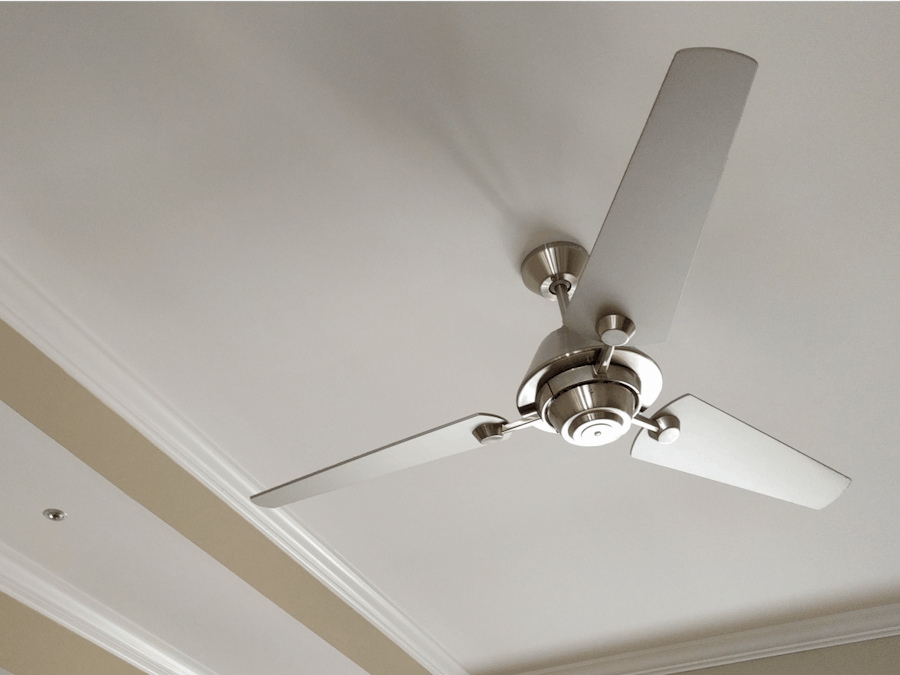
Ever wanted to control your regular ceiling fans from your smart phone? Or wish that you could schedule them so you don't have to worry about it? Or how about integrating them with your Nest Learning Thermostat?
Now you can do it with fanremote.io and it's simple DIY hardware kit that you can put together for less than 50$.
Here is what you'll need to get started:
Receivers - Per Fan
If your fans don't have a remote control, you can purchase this kit on Amazon for about 25$ per fan. If your fans already have a remote and its a Hampton Bay, then it might work. If not, you will need to replace the receiver unit in your fans.
This is what the Amazon kit looks like:
The unit (black box on the right) that you install in each fan has small dip switches, these will need to be unique if you install more than one fan. Also write down each fan's dip switch. You'll need them later for the app.
Transmitter - 1 Per House
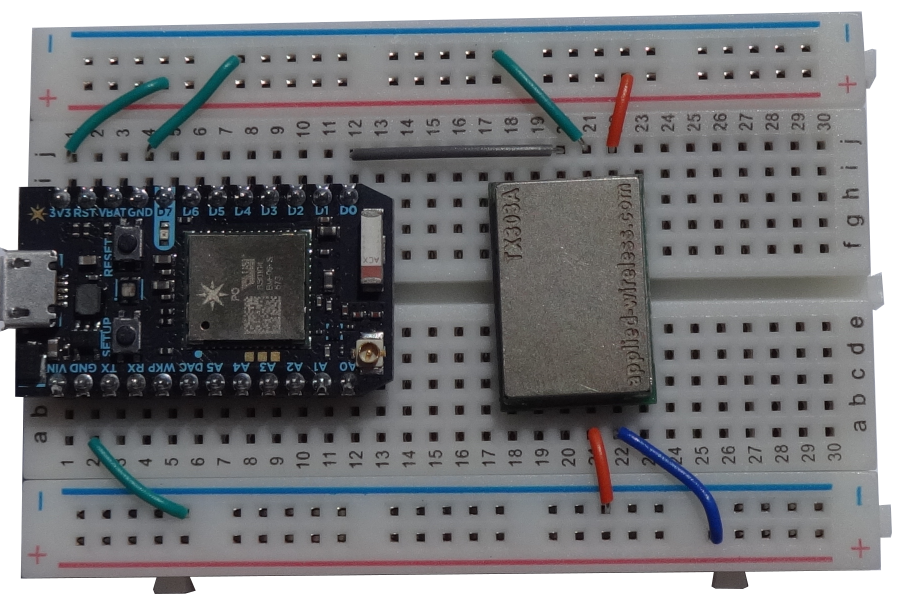
Once the receivers are in place, you can continue to build the transmitter. All the components that you need are listed above. It's primarily 3 items you'll need (Photon, Breadboard, Transmitter, and a couple of wires).
The entire transmitter unit assembled looks like this:
Make sure the wiring matches each pin on the breadboard and you should be set.
Once you get the breadboard assembled, you'll need to connect the Photon to your WiFi. I suggest using the CLI (command line interface) to get you started.
Run this command to join Photon to your Wifi
particle setup wifi
Next up, run this command to get the DeviceID:
particle identify
This will return a unique string that looks something like this:
0123456789ABCDEFGHI
Copy it to your clipboard or write it down.
The App (Web App)
Visit www.fanremote.io and sign up for an account. Next click Settings | Controllers, then hit Add:
Enter a nickname for your device (ex. Home) and then your Device ID that you collected earlier:
This will began the OTA (Over-The-Air) update for the Photon. The Photon should start flashing magenta. Once the update is complete, the Photon should start breathing cyan (fade in and out). If the the Photon does not flash magenta, make sure the Photon is not married to your Particle account. See troubleshooting at the very bottom of this page for more information.
Next click on 'Ceiling Fans', then hit 'Add':
Here you enter information about the fan:
- Controller - The Photon that you added earlier
- Name - Name of the fan (Living Room, Masterbed, etc)
- DIP Switches - Here you'll need to select the DIP switches that each fan has. Hopefully you wrote them down as you installed the receivers in each fan.
- Light - Check if you have your light wired up to the receiver as well.
- Sequence - The order of how the fans are listed on the site (if you have more than one).
That's it! You should now be able to control your fans remotely!
Extras!
Phone/Tablet App - Visit the page on your mobile device and bookmark it. It is responsive and should work great on any iOS device or Android.
Schedule - Schedule your fans to turn on/off automatically based on your schedule. Set it once and forget it!
Works with Nest - Integrate your fans to your Nest Learning Thermostat.
- Save energy when you leave your house automatically turn your fans off when Nest goes Away or Auto-Away.
- Help circulate air by automatically turning on your fans when your HVAC runs.
- Turn off your fans automatically if smoke or co2 is detected.
More features coming soon (Amazon Echo - Alexa integration).
Troubleshooting
Verify FanRemote firmware is flashed - Once you enter the Photon ID in FanRemote.io, your Photon should start flashing magenta. This indicates that a firmware update is in progress. Once complete, when you reset or power on your Photon, the D7 LED should blink blue 3 times:
Photon not flashing - Make sure that your phone is not linked to your Particle account. You can check this by going to build.particle.io and checking if your Photon ID exist in the devices menu:
If it does exist on your Particle account, hit REMOVE DEVICE. Now you should be able to join your Photon to FanRemote.IO
Release Photon from FanRemote.IO - If you want to remove the Photon from FanRemote.IO, simply go to Settings | Controllers | and hit the 'X' button. This will allow you to rejoin your Photon to your Particle account.


_3u05Tpwasz.png?auto=compress%2Cformat&w=40&h=40&fit=fillmax&bg=fff&dpr=2)
Comments
Please log in or sign up to comment.