


Hardware components | ||||||
| × | 1 | ||||
| × | 1 | ||||
| × | 1 | ||||
Software apps and online services | ||||||
| ||||||
 |
| |||||
| ||||||
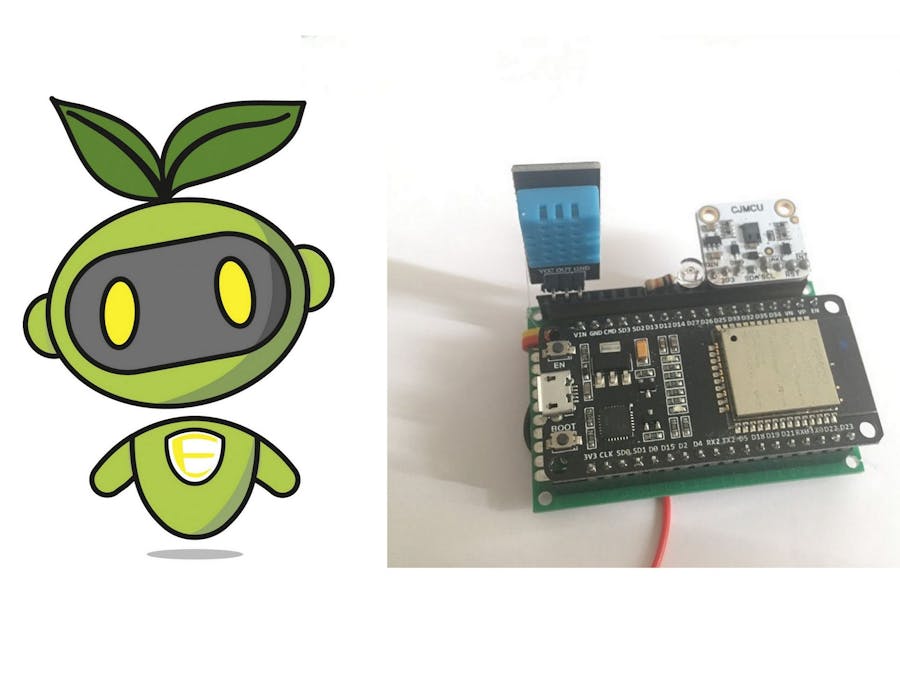
In this activity, participants will set up their weather station, sent it up in the air, and monitor the recordings (light, temperature, humidity) in real time via the Blynk app. On top of all this, you will learn how to publish the values recorded by your weather station on a shared online map.
Follow the instructions HERE.
Step 2: Monitoring the Values Recorded by the Station Via BlynkFollow the instructions HERE.
Step 3: Setting Up the Flying StationIn order to send your weather station up in the air, first of all you ll need to engineer a system similar to that of a hot air balloon. Create a case to accommodate the weather station. This can be made of cardboard or any other material, as long as the weight is not too significant. Beware that helium balloons can only lift very light masses.
Once you've secured the weather station to the case, attach the former to the helium balloons. You may need to use multiple balloons in order to be able to lift the weather station off the ground.
Don’t forget to tie some nylon wire to the flying system so that you ll be able to take it back to the ground at any time.
Step 4: Plotting the Values Recorded by the Station on UMapYou will be sharing the data recorded by your water probe on UMap, which allows users to create their own maps embedding the data of their choice. First, head to https://umap.openstreetmap.fr/en/.
You ll need to create an account to be able to edit your own maps.
Once you have successfully logged in, hit the “Create a map” button.
You can now draw markers and enter any description you wish to publish.
Let’s add a marker featuring the recordings of the weather station above Cedar Lake, in Minneapolis. Today the temperature in the air above Cedar Lake is 26° Celsius and the humidity is 90%. Indeed, it is raining!
Once you’re done, hit the Save button. To share this map with anyone, you just need to provide them with the appropriate link.
Go to Update permissions and editors.
You can choose who can view and who can edit this map. To enable editors to edit the map, copy the link of your map (the web address of your map) and share it with whoever you want.
his tutorial has been produced as part of the DEEDU project, co-financed by the Erasmus + Programme of the European commission. Project n°: 2018-1-FR02-KA205-014144.
The content of this publication does not reflect the official opinion of the European Union. Responsibility for the information and views expressed therein lies entirely with the authors. For more information, email us at info@digijeunes.com.


Comments
Please log in or sign up to comment.