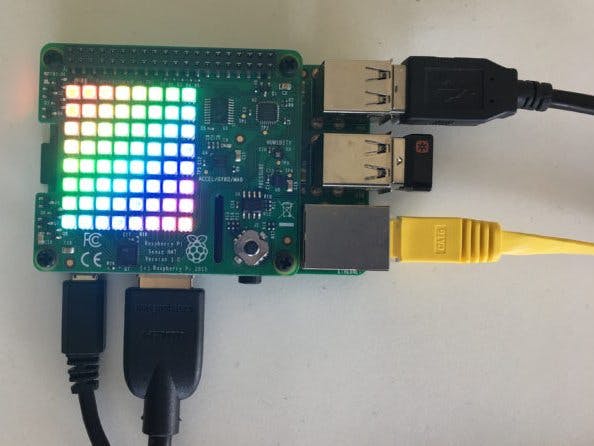
Abstract: Ten 12-year-old students, divided into 2 groups, learn to use Raspberry Pi 3, programmed with Scratch 2 and Python 3, for the measurement of temperature, humidity and air pressure with Sense HAT. They learn to combine knowledge of different scientific fields, in order to build their first mini Weather Station. At the end, they make a case for which programming language of the two, they prefer most.
Scientific fields: Science, Geography, Coding, Computer Science, Meteorology
Materials used: 2 Raspberry Pi 3, 2 Sense HATs, HDMI cable, Raspberry Pi HDMI to VGA converter, 2 keyboards, 2 mice, 2 screens, 2 Raspberry Pi powersuppliers, WiFi connection
Programs used: Raspbian OS, Scratch2, Python 3, Chromium Webbrowser
Project Duration: 4 didactic hours
Inspiration: The inspiration for the implementation of this project was our participation in Astro PiMission Zero: We learnt to program in Python by using the SenseHat emulator, https://trinket.io/mission-zero
Difficulties ofthe project: Because of its attachment to the Raspberry Pi processor, the SenseHat temperature sensor shows approximately 10 degrees higher. The solution to ourproblem would be the use of a GPIO extender cable, but we didn't have one.
Question 1: Why is it important for humans to predict the weather?
Activity 1: Watch the Greek video «Weather and Climate» https://www.youtube.com/watch?v=sG2u8J0vMdw
Question 2: According to the previous video, what are the differences between weather and climate?
Question 3: What is the air temperature?
Question 4: What is humidity?
Activity 2: Watch the English video «How does atmospheric pressure affect weather?» https://www.youtube.com/watch?v=4ozwCtUuU_s
Question 5: According to the previous video, what is the air pressure? How does it affect the weather conditions?
Activity 3: Programmingwith Scratch: On desktop, choose from the menu, up-left, "Programming"and then "Scratch 2". Choose "More Blocks" button and then "Add an extension".
In the new window, choose Pi GPIO and then ΟΚ button.
You repeat the previous procedure in order to add the library of Pi SenseHat. These 2 procedures are essential in order Scratch 2 get connected with Raspberry and SenseHat. Now, we are ready to code!
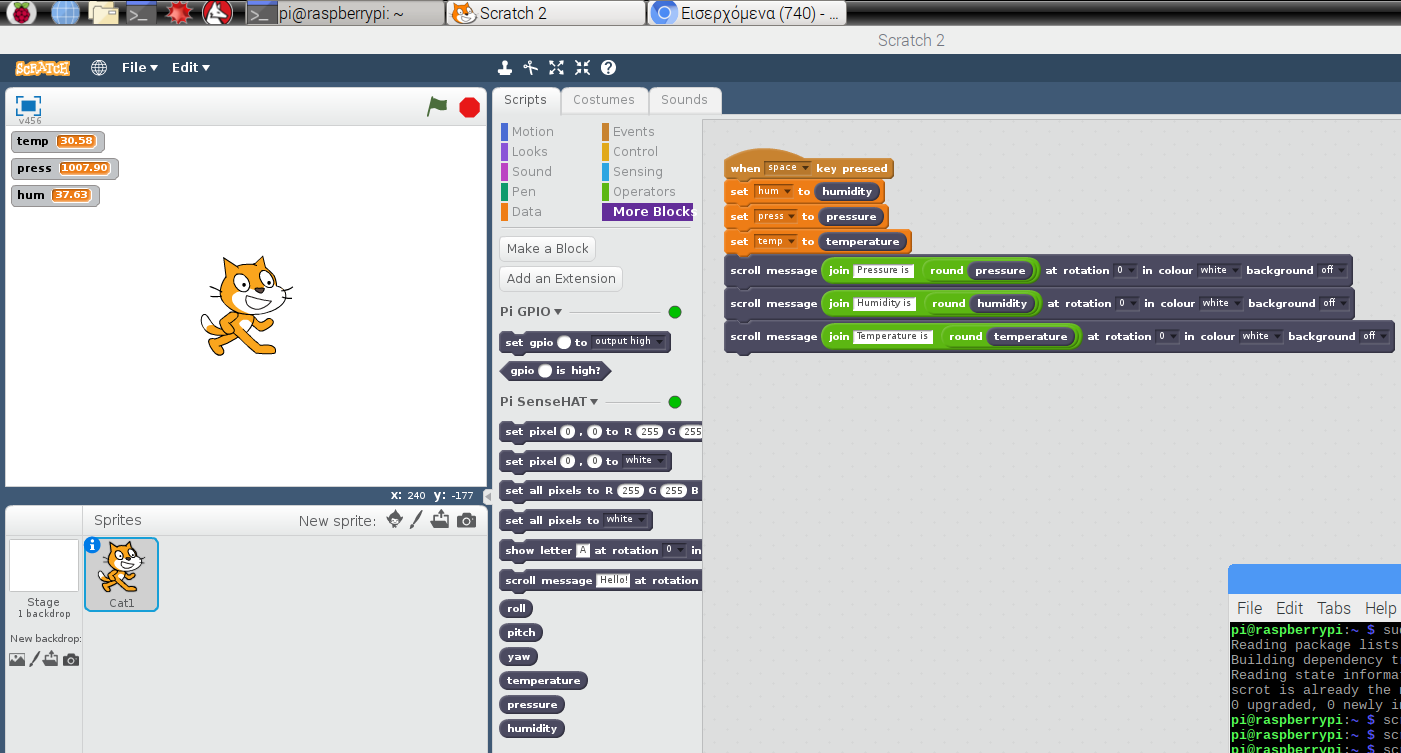
Activity 4: Writing the code in Scratch for the operation of our mini weather station. Our weather station will measure the air pressure, the humidity and the temperature. In the picture below, you can see the command for the measurement of the air pressure. In the same way, you have to add the commands for the measurement of the temperature and the air humidity. Plus, you can adjust/change the color of the SenseHat LED matrix with the appropriate command.
Activity 5: Make variables for the temperature, the humidity and the pressure in order to be shown not only on the LED matrix of SenseHat, but also on the Scratch interface.
Choose "Data" and "Make a Variable"
The variables must be shown like on the picture below
Question 6: What is a variable;
Activity 6: You can create your own virtual world on Scratch 2 for your project. Save your program as "Mini_Weather_Station". Close Scratch 2 environment.
Activity 7 Programming with Python: From the menu, open "Programming" and then "Python 3". In the new window, choose File --> New File. You have to write the same program in Python 3. You can get help from the link:
https://projects.raspberrypi.org/en/projects/getting-started-with-the-sense-hat/8
To run the program, choose from the menu, Module --> Run Module
Activity 8: Write the programs below, run them and tell which their differences are.
Activity 9: Write the program below and run it. What does it happen?
Activity 10: Replace the if statement for the temperature, with an if statement for the pressure and then, with an ifstatement for the humidity. Choose your own values for the variation of the variables. Execute the programs.
Notice: You can test/change colors and their combinations using the link rapidtables.com/web/color/RGB_Color.html
Activity 11: You can change the commands of the above program, not only them for the LED matrix colors, but also them for text color, scrollspeed, round the values with no/any decimals, etc.:
· scroll_speed command is for the speed of the text on the LED matrix. Default value is 0.1 and while the value is higher, the speed is lower.
· text_colour command is for the color of the text
· back_colour command is for the color of the LED matrix background
Activity 12: Save your program as "Mini_Weather_Station". Close Python 3 environment.
Activity 13 Self-assessment: Conversation about what you liked most in this project, the difficulties that you faced, and which programming language you prefer (Scratch vs Python).
P.S. For the history, the debate finished with Python prevalence!


Comments
Please log in or sign up to comment.