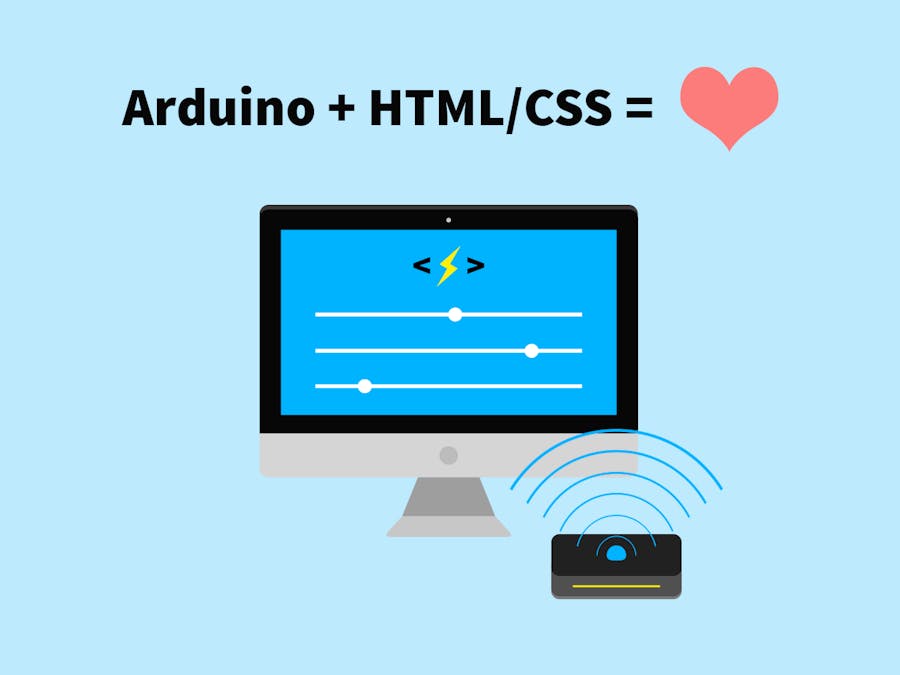
Arduino is easy hardware prototyping platform but things get complicated when software is involved in project - even if there are many great tools and frameworks for app prototyping. It's a huge obstacle that blocks many concepts from making it to the real world. In many cases, for prototyping interactive projects, there are a lot of interactive devices that are controlled via app. Not only as IoT solution. I decided to create Involt for maximum simplification of such prototyping scenario. Isn't it cool to have your Arduino controlled with HTML-based app? You can work on both interactions and layout at the same time. I like to call it "tangible CSS" because it exactly describes how does the project work. I think it's fresh and innovative approach.
This text is a smart tip for anyone who understands the idea and its context or want to have simple app that control Arduino based project.
Project website:
IMPORTANT:
Even if it's HTML based, currently Involt has no IoT online support. However, for prototyping purpose - in most cases it doesn't matter.
Why to use CSS and Involt for hardware prototyping?
As an interaction designer, I can tell that it's important to start testing on users on real scenarios as soon as possible. For software development we can use wireframing tools (like UX Pin) or create HTML prototype. Using arduino alone (without software) is easy to learn, but how to make it easy for people who are not programmers and use such skills in creating the concept from both sides? That's the main goal of Involt - to easily create prototypes, iterate them and quickly start testing on user. Instead of focusing on advanced coding you can focus on overall experience.
Other solutions in my opinion are not suitable for prototyping. They are not "out of the box" solutions and you need to know Javascript, Node.js and it's libraries well. Involt comes with ready to use UI kit, automatic values communication and connection setup.
Project is also a good starting point for entry-level Arduino users.
How the idea started?
Because I noticed that prototyping hardware to software communication is too hard on early stages of development where I don't need to do native app but working prototype that can be easily adapted for my needs in both interactions and app layout (even if it's slower). My first attempt was at my university (School of Form) where I decided to learn the easiest way possible - then I decided to extend the project and publish it to help the others, I received a lot of feedback and I know this is not just my problem. You can read more on about page.
Getting StartedTechnically Involt does two things - it transfers the values automatically so they are accessible from both sides. Secondly, it contains ready to use UI kit and it's parameters can be changed within CSS classes or custom JQuery methods (Involt UI kit is JQuery based and methods are accessible for user). You can also use this to trigger functions so possibilities are unlimited.
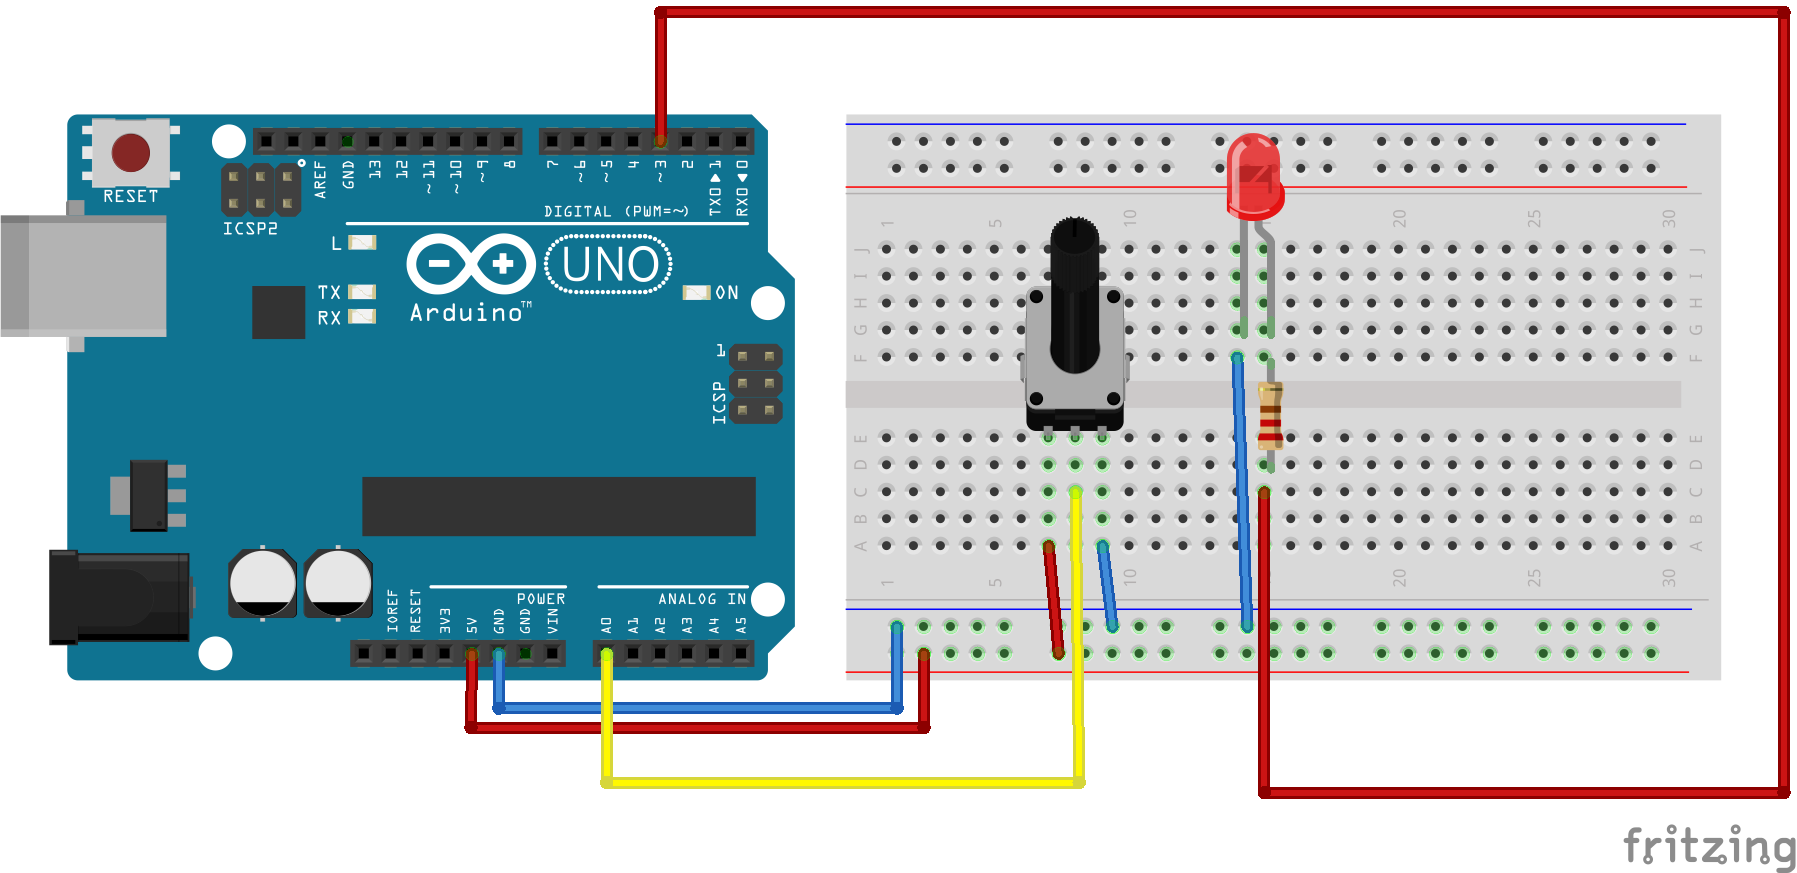
For the examples below you just need a LED with 220ohm resistor and something to read the data from (potentiometer or anything else).
Installation
With 1.1.0 release Involt has moved from Chrome packaged app into Node webkit, to install the project just download NW from nwjs.io and unpack involt there.
Google chrome is not required.
"Turn on LED" button:
To do this you need two lines of code - one HTML in index html and one in Arduino code. Keeping the basic code from both sides is easier to maintain in most cases because you only need basic skills.
index.html
<div class="ard button P3 value-255"> Click me </div>
The classes define UI element, target pin and desired values on event. You can read more about CSS syntax on getting started page and other chapters.
And in void loop of Involt arduino sketch:
analogWrite(3, involtPin[3]);
The P3 in UI is equal to involtPin[3]. These pins can be used in many other ways, not only pin to hardware pin communication.
Control the LED brightness
If you understand the syntax, you can create rangeslider to control PWM value. The code in arduino is the same.
<div class="ard rangeslider P3 value-0 range-0-255 step-1"></div>
... and you have ready to use brightness slider with single line of code.
The other elements can be found on reference page.
Read the value from device
It's also two lines of code. The basic element that show the value as text.
<div class="ard show A0"></div>
... and in void loop:
involtSend(0, analogRead(A0));
also some delay is required to not overload the serial port buffer.
delay(2);
As you can see it's easy to use. There are many more advanced things you can do.
For example:
- Add bluetooth for wireless communication
- Use the same app with bluetooth on Mobile (android)
- Develop low/hi fidelity prototype of your project
- Add hardware interactions to your existing HTML wireframe
More examples can be found on examples page.
Thanks for reading! Feel free to contact me at ernestwarzocha@gmail.com
I'm constantly adding new features and I'm open for suggestions. The idea began small but it's constantly growing. If you saw the early versions and now check the project you will be surprised.
Thanks again and share if you like!


_ztBMuBhMHo.jpg?auto=compress%2Cformat&w=48&h=48&fit=fill&bg=ffffff)


Comments
Please log in or sign up to comment.