


Hello, so recently I received an cx-10w nano drone from gearbest. It worked good but the app UI was outdated and sometimes hard to use, so I decided to customize it to fit my preferences. Before we begin you need to know some things about an APK file. An APK file is jest really a .ZIP with an app in it. I used "APKEditor Pro" to modify mine just because it has extraction, editing, error checking, and compiling all in the same app, but you can do everything without it. The APK file is layed out as so:
- gen
The gen directory in an Android project contains auto generated files. You can see R.java inside this folder which is a generated class which contains references to certain resources of the project. R.java is automatically created by the Eclipse IDE and any manual changes are not necessary
- res
Android supports resources like images and certain XML configuration files, these can be keep separate from the source code. All these resources should be placed inside the res folder. This res folder will be having sub-folders to keep the resources based on its type.
- /res/values
Used to define strings, colors, dimensions, styles and static arrays of strings or integers. By convention each type is stored in a separate file, e.g. strings are defined in the
- /res/animations
This folder contains animations in XML for the property animation API which allows to animate arbitrary properties of objects over time
- /res/layout
This folder contains the layouts to be used in the application.A layout resource defines the architecture for the UI in an Activity or a component of a UI. These are resource directories in an application that provides different layout designs for different screen sizes
- /res/drawable
Drawable folders are resource directories in an application that provides different l bitmap drawables for medium, high, and extra high density screens.
There are more but I wont go in depth. Mainly you will only need to edit /res/layout and /res/drawable and sometimes manifest.xml
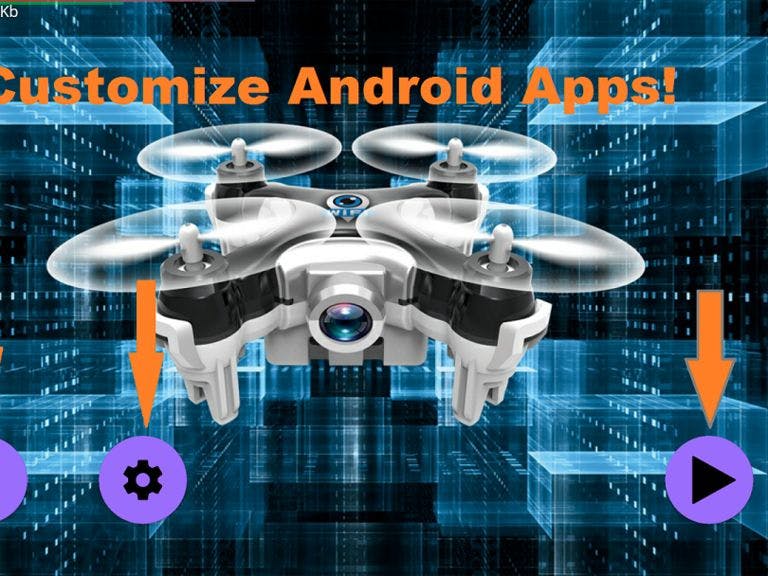
Rather Watch the Tutorial?Review of the CX10WStep 1: Edit/Replace the pictures in the appFOLLOW THE IMAGES FOR INSTRUCTIONS ON HOW TO EDIT THE PICTURES IN THE APP
The pictures were a big thing with the CX10w app, they seemed outdated and I wanted them to flow with the android material design so I went through each picture and replaced it with a new one that goes well with the android material design. I used matcon a app you can get on the playstore (it stands for material icon) and you can make material icons with it. I could find most of the things I needed with the clipart tool on the app but I did need to search google for some of the other overlays.
On the apkeditor app select the picture than on the bottom there is a button that says "Replace", use this to replace the image. (simple) Do this for all the images.
Step 2: Edit the app layout (Optional)If you want to go even further into the app appearance you can edit the layout.xml files. Like I said in the intro these files tell android how to display everything. This is a step for people that already have some experience because it is too complicated to put in one tutorial.
DON'T DO THIS ULESS YOU KNOW WHAT YOU ARE DOING!
Also, I cant describe how to do it with pictures which makes it really hard to understand
Step 3: Compile the AppThis part is easy if you are using apkeditor, just push save.
Step 4: Uninstall + InstallYou must uninstall the app first because android will think it is a duplicate and cancel the install.
Step 5: You're Done!I hope you enjoyed this tutorial! You now have a personalized app that you made! If you would like to check the CX-10W out click here its awesome!!.

Comments
Please log in or sign up to comment.