Hi, all
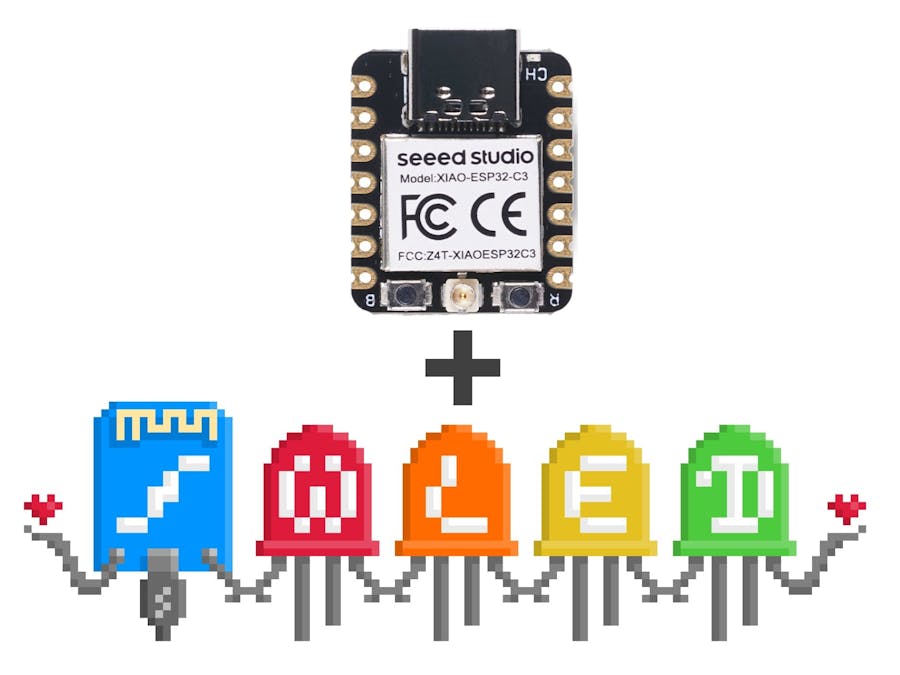
If you're not familiar with WLED, the WLED Project is a web server that controls LEDs and SPI-based chipsets. It can control two types of LED strips: digital addressable and analog non-addressable. WLED also provides open protocols to communicate with platforms like Amazon Alexa, Google Assistant, and Phillips Hue, it is based on both ESP controllers, and it is completely open-source. so let's look at how to install it in our tiny XAIO-ESP32-C3 from Seeed Studio I also bulled a encloser for it
Supplies3d PrintingUsed by Anycubic Kobra 2 neo for this with a Black PLA
Flashing WLED to XiaoNow let's flash the WLED to Xiao esp32c3, connect the Xiao with USB
And go to wled-install.github.io
Select the board type to ESP32C3 (4MB Flash)
Click install
Select the COM port and click connect
Click Install on the next window that appears
The installation process will start
Now click next
Enter your local wifi SSID and Password
Now the WLED will content to our network and test this go-to-visit device
Now this opens a wled web page interface
Now let's follow this wiring diagram
solder all the wires and glue the xiao using a glue gun
Now close down the cap
Step 5: Testing
power it up using a 5v external power supply and connect it with the Wled app
Here is a useful video about the WLED app setup link
Unleash your ideas with LED Remix: Design the Next Generation!
flux.ai and Seeed Studio have teamed up to make hardware prototyping a breeze for developers.With Flux's AI-powered design tools, you can quickly iterate on your ideas. With Seeed Fusion's rapid prototyping services, you can bring your designs to life in no time. Want to build a bravo LED project based on #Xiao? We can help you every step of the way.
Apply Nowhttps://forms.gle/iTjL9ZV6eqkHHDH16…
- Each participant is limited to two PCBA boards 100% completely FREE for one design
- Free usage of http://Flux.ai for 2 months
Duration: 12th Dec. 2024- 12th Mar. 2025


Comments