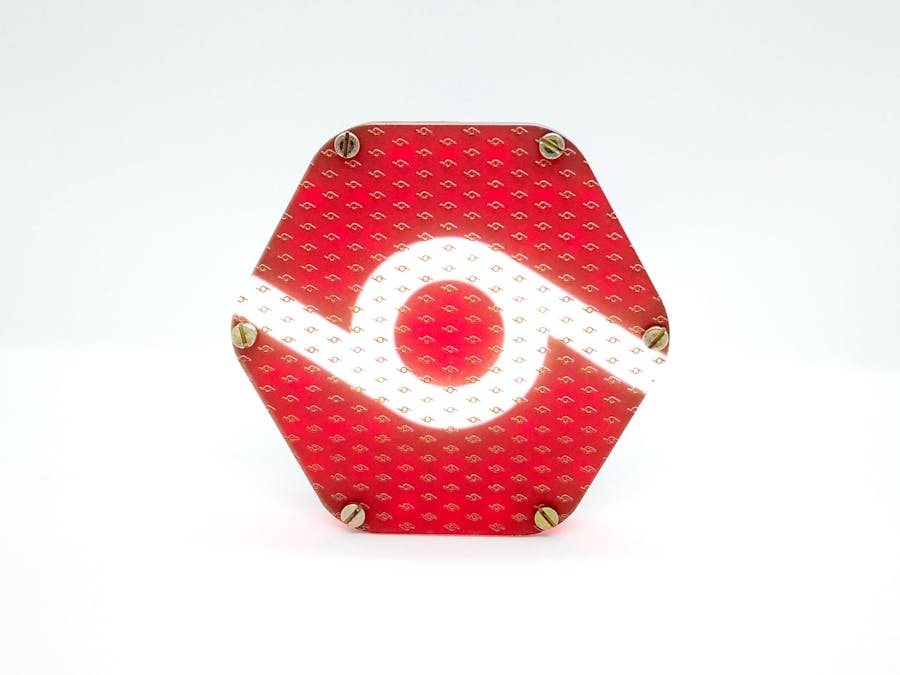
I was asked by Jason Haddix if I could design a badge that can put their Buddobot logo in a tangible 3D design.
Having made badge activation remotes for RSAC in 3D design, I knew from the start it'd have to be a combination of PCB with an acrylic layer on top of it while taking a leap forward in terms of our UV print innovations.
The PCBTrying to put together abnormal quantities of LEDs forced us to make the PCB double-sided.
The PCB carried a total of 61 LEDs on the front side and everything else on the backside.
And because of the number of LEDs, it was clear early on, that we had to let go of our usual compact coin cell and use 2xAAA cells instead.
While acrylic comes in a variety of types and forms, two prominent choices were transparent and translucent. Since the transparent version wouldn't have done justice to light diffusion, we explored the translucent version and laser-cut it with precise dimensions.
As a design touch, the same swirl logo is converted and printed in a texture style on the topmost side.
To separate the white LED glow from that of the red one, the "swirl" design needed to be compartmentalized. So an opaque laser-cut acrylic divider-style wall was placed to separate the red and white light diffusion.
Placing the translucent acrylic on top of the assembled PCB led us to this result.
Light didn't really diffuse but concentrated as the LED dots. Trying to increase the distance between PCB and acrylic to spread out the glow led to this result.
Too faint of a logo projection.
Time to try doubling up on the acrylic layer. Putting two sheets of acrylic on top of one another led to this result.
Some clarity but still not up to the mark.
And then the idea came to mind to UV print the logo on the backside of acrylic to force the exact colours to pass through by matching the LED colour with UV printed one.
That seemed to have done the trick but still needed a way to further diffuse the glow. And so we print a plain white layer on top of the existing logo layer on the acrylic backside.
After assembling everything together with the help of screws, the badge has a matching logo design even when it is yet to be turned on.
Turning the switch on - and we have a winner.
And this is how it looked from the backside.
To take things to the next level, the 'swirl' LEDs were programmed to give a tornado effect.
The open pins on the backside provide a way to reprogram the badge with your own effect. Happy Hacking!


Comments
Please log in or sign up to comment.