1. Instruction
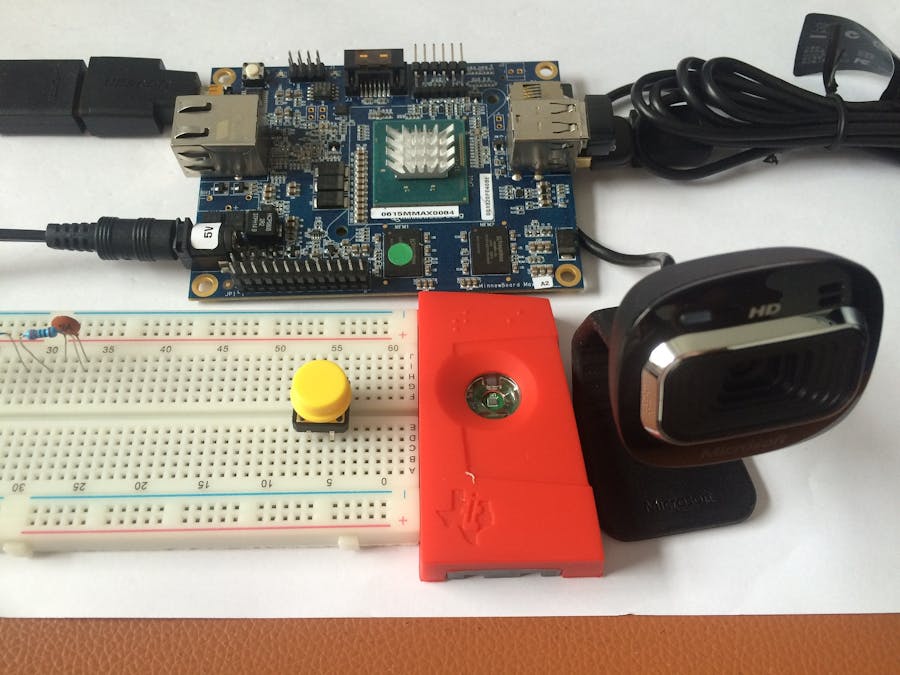
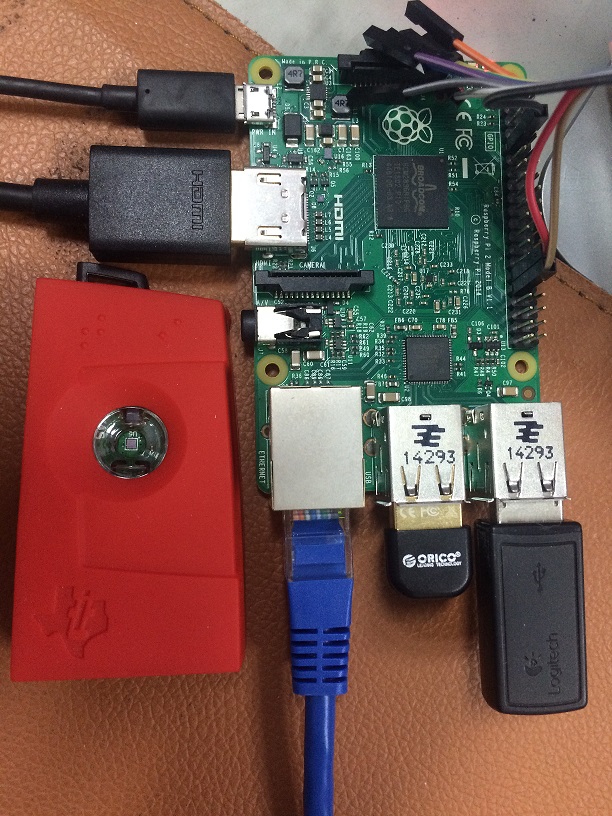
Our home surveillance system is composed of Windows 10 IoT Core device (Either Raspberry Pi 2 or Minnow Board MAX is OK), TI SensorTag, and Microsoft Azure Storage Table. First and foremost, the CC2541 TI SensorTag includes temperature sensor, humidity sensor, atmosphere pressure sensor, accelerometer, gyroscope and magnetometer. We can use this module to collect environmental parameters in house. Then the parameters are sent to Windows 10 IoT Core device by Bluetooth LE. Once Windows 10 IoT Core device get these data, they will be packaged as JSON messages and be transmitted to Azure. Then the messages will be stored in Azure Storage Table. Finally, we can see these data anywhere by Windows Universal Apps on Windows 10 for PC or Windows 10 for Mobile device. Actually, the USB Web Camera is used to take pictures and send this to Azure Storage when some emergency happen. We will complete this function in the future. The system architecture is shown in Fig.1 as follows:
2. Prerequisites
To successfully run this project, you need following items:
1. Raspberry Pi 2 (or MinnowBoard MAX)
2. Texas Instruments CC2541 SensorTag
3. ORICO BTA-403 Mini Bluetooth 4.0 USB Dongle
4. An active Azure Subscription
5. Windows 10 for Mobile / PC
3. Pair SensorTag with Windows 10 IoT Core Device
Before we read sensor data form Sensortag, we need to pair SensorTag with Windows 10 IoT Core Device. First, ORICO BTA-403 Mini Bluetooth 4.0 USB Dongle should be plugged into the USB port of Windows 10 IoT Core Device. Then we can complete the pairing job according to the docs with this URL: http://ms-iot.github.io/content/en-US/win10/samples/BLEGatt1.htm. Remember, when we successfully pairing SensorTag with Windows 10 IoT Core Device, we can see the SensorTag in “Paired device list” as follows.
4. Create the Azure Storage Account
In this project, we will need Azure Storage Table to store the data from Windows 10 IoT Core device. So, we can create it as follows.
(1) In the Azure Management Portal (https://manage.windowsazure.com), click the on the "STORAGE" icon along the left to view your existing storage accounts (if any), then click the "+NEW" button in the lower left corner.
(2) In the "NEW" panel, select "DATA SERVICES" | "STORAGE" | "QUICK CREATE". Complete the fields of “URL, Location/Affinity Group and Replication”, then click the "CREATE STORAGE ACCOUNT" button.
(3) Wait for the new storage account's status to show as "Online".
(4) Select the newly created Storage account, and then click MANAGE ACCESS KEYS at the bottom of the page. Copy the Storage account name and one of the access keys.
5. Create the Azure Storage Table
We use Azure Storage Explorer (It a third party open source tool available on codeplex: https://azurestorageexplorer.codeplex.com) to create the Azure Storage Table.
(1) Go to add account and fill the account name and access key. Once the account established, you can access the storage that shows blob containers, Queues and tables.
(2) Select the table and click the new button and create a new table named “SensorTagTable” as follows.
6. Deploy and Run Application on Your IoT Device
This application is designed with the help of “BluetoothGATT/CS” sample: http://ms-iot.github.io/content/en-US/win10/samples/BLEGatt2.htm. So, the UI of this application is quite similar as the “BluetoothGATT/CS” sample.
First, download the code. Make a copy of the application on your disk and open the project from Visual Studio 2015 RTM. Make sure you set the “Remote Debugging” setting to point to your device. And the SensorTag is paired with your Windows 10 IoT Core Device.
Next, open MainPage.xaml.cs in Solution Explorer and locate to the “dataTransmitterTick”. Add your storage account name and access key that saved in section 4.
Now you should be able to press F5 from Visual Studio: The SensorTagtoAzure app will deploy and start, and you should see this on the device output.
Click on the Start button at the top to connect to the SensorTag and display the sensor data. A popup may appear asking for permission to access the SensorTag service, click yes to continue. After a couple of seconds you should see the data being updated like this.
Click on the SendData button below the Start button to send data to Azure Storage Table. The data will be transmitted every 5 second. If you want to change the time interval, you can modify the code in “AzureButton_Click” as follows.
private void AzureButton_Click(object sender, RoutedEventArgs e)
{
timerDataTransfer = ThreadPoolTimer.CreatePeriodicTimer(dataTransmitterTick, TimeSpan.FromMilliseconds(Convert.ToInt32(5000)));
}
Finally, you can see the data in SensorTagTable as follows.
7. Deploy and Run Application on Your PC/Mobile Device
First, download the project “WindowsIoTClient”. Make a copy of the application on your disk and open the project from Visual Studio 2015 RTM. This application is built with Windows Universal Temple, so you can run it on Windows 10 PC/Mobile, as well as Windows 10 IoT Core device.
Next, open StorageSensor.cs in Solution Explorer and locate to the “_accountName” and “_key”. Add your storage account name and access key that saved in section 4.
Now you should be able to press F5 from Visual Studio: The WindowsIoTClient app will deploy and start, and you should see this on the device output.


Comments
Please log in or sign up to comment.