Hi!
I decided to write this project for newbies. This is my first IoT Project (I created it more than a year ago) and I wanted to share it with everyone because there are lots of very chaotic tutorials in the net about this. I hope to help people that are in trouble as I was.
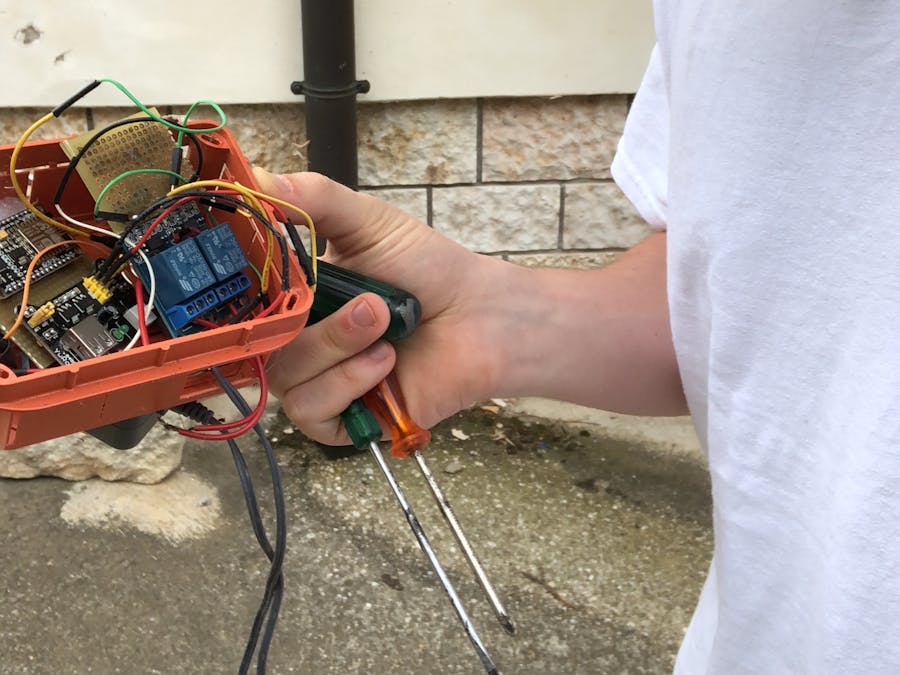
So, this project is about controlling every electronic device in all the world by driving relays through internet. I used it to control my house's gate.
I used both ESP8266-01 and NodeMCU in my projects. They work both well, but NodeMCU is more Ready-to-use. You can program it just by using the built-it microUSB port.
Let's Start.
1. Install Arduino IDE- Download the latest version of Arduino IDE from https://www.arduino.cc/en/Main/Software and install the software
- Start Arduino and open Preferences window.
- Enter http://arduino.esp8266.com/stable/package_esp8266com_index.json into Additional Board Manager URLs field.
- Open Boards Manager from Tools > Board menu and install esp8266 platform
- Select NodeMCU 1.0 board from Tools > Board menu after installation
- Download the aRest Library from https://github.com/marcoschwartz/aREST
- This is a library created by Marco Schwartz we are using to control devices. It's free for the first 5 devices and has a limit to 10000 interactions for month.
- Add the library to Arduino IDE From Sketch > #include in library > add from.zip file
- Do the same thing with PubSubClient Library https://github.com/knolleary/pubsubclient. It's used in the project.
- Go to https://dashboard.arest.io and create an account
- Select the free starter plan
- Go to Account in the right top corner
- There is an API Key. Keep it open, it will be used later.
- connect the board to the computer by using the usb cable
- Copy the code to a new sketch
#include <ESP8266WiFi.h>
#include <PubSubClient.h>
#
include <aREST.h>
WiFiClient espClient;
PubSubClient client(espClient);
aREST rest = aREST(client);
// aREST Pro key
char * key = "YOUR API KEY";
// WiFi parameters
const char* ssid = "YOUR WIFI SSID";
const char* password = "YOUR WIFI PASSWORD";
int temperature;
int humidity;
void callback(char* topic, byte* payload, unsigned int length);
void setup(void)
{
 Serial.begin(115200);
 rest.setKey(key, client);
 client.setCallback(callback);
 temperature = 24;
 humidity = 40;
 rest.variable("temperature",&temperature);
 rest.variable("humidity",&humidity);
 rest.set_name("esp8266");
 WiFi.begin(ssid, password);
 while (WiFi.status() != WL_CONNECTED) {
   delay(500);
   Serial.print(".");
 }
 Serial.println("");
 Serial.println("WiFi connected");
 char* out_topic = rest.get_topic();
}
void loop() {
 rest.handle(client);
}
void callback(char* topic, byte* payload, unsigned int length) {
 rest.handle_callback(client, topic, payload, length);
}
- Compile the API key, your SSID and your password in the sketch.
- Flash the firmware pressing the right arrow symbol in the IDE
- Go to https://dashboard.arest.io/ and press "add new dashboard"
- Press edit and add a row and a column
- Add one or more elements (on/off buttons)
- Modify the on/off buttons and select the pins (pin 0 is also the built-in led)
- this is an example.
- Sorry for my low quality diagram
- You have to use a 3.3V power supply to connect the board, a 5V one to connect the relay and to ground both. Very simple thing. It's important that the power supply give at least 500mA to the board to make it work.
- You can link how many relays you want to every pin. Remember to use them from the aRest Dashboard.
So with the relay you can control everything in your house: a lamp, a gate, a microwave, a computer everything in your head. aRest is very secure and useful. You can access by the web from every part in the world and it will work on well. This is more recommended than port forwarding and it's very reliable. If you have any question don't hesitate to ask in a comment!


Comments
Please log in or sign up to comment.