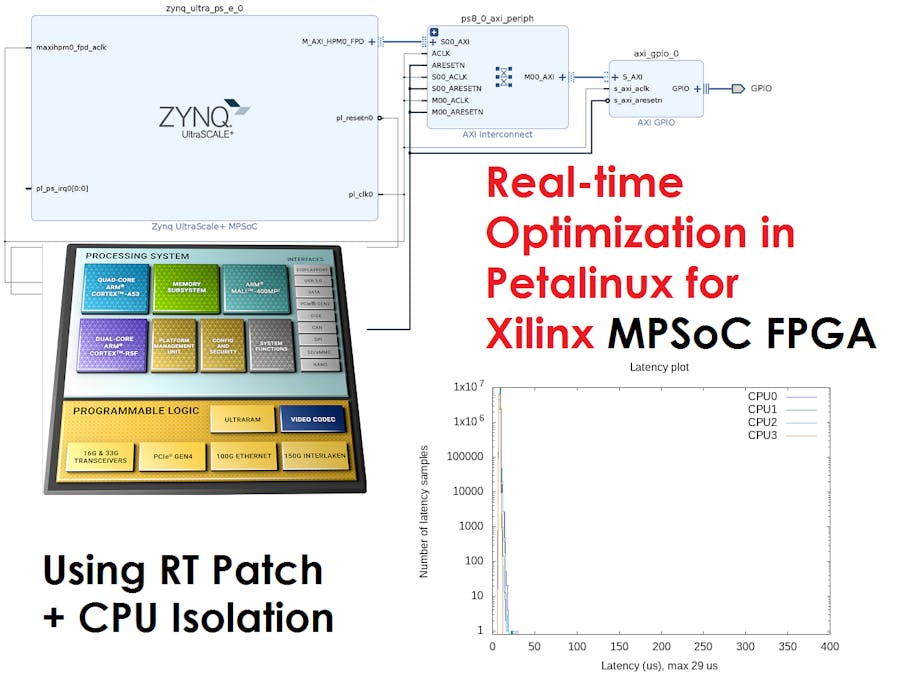
This tutorial-article is on "How to optimize the real time performance of applications or threads running on Petalinux targeting Xilinx MPSoC and SoC FPGAs". Every real time application require low latency performance, for that this tutorial comes in place!
As Xilinx MPSoC consists of multiple APU, RPU cores for running multiple types of processes, in this tutorial we will be using APU cores for latency optimization using RT patch and then we will Isolate specific CPU cores of APU for high priority application. The Isolation of CPU cores allows for running dedicated application on dedicated CPU cores, so no other threads or application can delay the high priority dedicate application.
Reference of this work are : High Performance Real-time Linux Solution for Xilinx Ultrascale+, Trenz Electronic-Wiki Page.
Applying linux RT patch in petalinux kernel:- Download the Xilinx linux kernel source at <petalinux-root>/components/
Here we are using git command to clone the kernel source at petalinux components directorygit clone https://github.com/Xilinx/linux-xlnx.gitThis will createlinux-xlnxfolder.
Also renamed the directory to linux-xlnx-rt as we are going to apply the rt patch to the source. - Get the appropriate linux-rt patch version for your kernel from https://www.kernel.org/pub/linux/kernel/projects/rt/
-Patches for older kernel revisions can be found in the older/ directory
-Make sure you download the patch version whose kernel version matches exactly with your kernel version
-To find the kernel version of source check the Makefile in downloaded source. Here is the contents of Makefile showing kernel version:
-Make sure to download the *.patch.gz version of the patch. So for above case we need to download 5.10 version for patch files.
-Tested patch file https://mirrors.edge.kernel.org/pub/linux/kernel/projects/rt/5.10/older/patch-5.10-rc7-rt16.patch.gz
- Copy the *-patch.gz file to <petalinux-root>/components/linux-kernel-rt folder
- In terminal go to the kernel source directory
cd linux-kernel-rt - Patch the kernel sources by running following command:
zcat ../*.patch.gz | patch -p1 - Now in petalinux working directory, after setting up the petalinux environment, create the petalinux project
- Next run the petalinux configuration command
petalinux-config - Go to linux Components Selection -> linux-kernel and change option from
linux-xlnxtoext-local-src
- Next assign path tolinux Components Selection-> External linux-kernel local source settings-> External linux-kernel local source path
and assign the path pointing to <petalinux-root>/components/linux-xlnx-rt folder
- Save and exit the configuration program
- Next start the petalinux kernel configuration by running following command:
petalinux-config -c kernel - Go toGeneral setup -> Timers subsystemand make sure the "High Resolution Timer Support" is selected
- Go back to the
General Setupmenu and to--> Preemption ModelSelect "Fully Preemptive Kernel (RT)" to activate the linux-rt features
- Go back to the main menu and to--> Kernel Features -> select Timer frequency and set it to 1000 Hz
- Go back to the main menu and select--> CPU power ManagementDisable the CPU frequency scaling
- Save the configuration and exit from the program
- Now next build the petalinux project
petalinux-build
and copy the generated image.ub at <petalinux-project-folder>/images/linux folder to sd-card boot partition.
- Now boot the board with sd-card and check the kenel version with following command:
uname -a
- Here kernel is updated with
5.10.0-rt16-xilinx-v2021.1 #1 SMP PREEMPT_RTpatch
Above method will update the kernel source and improve the latency for Real time solution in petalinux. Here is the result of cyclictest application before and after the updated kernel.
Before Kernel Patch max latency = 215 micro second
Here is the graph for the test:
After Kernel Patch:Max Latency = 29 micro second and corresponding graph of the test:
Next option is to isolate the CPU for our custom application only and leaving the other remaining CPUs for linux operating system.
Isolation of CPUsTo isolate the CPU follow the following steps:
- Start the petalinux config:
petalinux-config - Isolate one core of CPU by adding
isolcpus = <cpu no>bootargs in petalinux config at
DTG Settings
--> Kernel Bootargs
--> user set kernel bootargs- Build the project
- After booting the petalinux, verify that above bootargs is set in petalinux by checking the following files in petalinux:
cat /sys/devices/system/cpu/isolated
- In above example CPU3 is isolated, so all petalinux applications runs in CPU0-2 unless we set the CPUs affinity to the isoated CPU.To run the application in isolated CPU, use application like
tasksetorin C programming add following thread apis to attach the application to isolated CPUs
int s;
  cpu_set_t cpuset;
  pthread_t thread;

  thread = pthread_self();

  /* Set affinity mask to include CPUs 0 to 7. */

  CPU_ZERO(&cpuset);
  CPU_SET(3, &cpuset);

  s = pthread_setaffinity_np(thread, sizeof(cpuset), &cpuset);
  //this will assign the thread to third CPU
Also check the affinity of application using following command:taskset -c -p <pid>For example checking the affinity for PID 1, init process with 4th isolated CPU:
Also here is the cyclictest result for the isolated CPU 3 and loaded the system with an application which creates a 50 processes in loop.
Max Latency: 37 micro seconds
But in case of isolated CPU, we got Max Latency = 14 micro seconds
This is how we "optimize the performance of real time applications in Petalinux with Xilinx MPSoC FPGA".
Thanks for going through this tutorial!
For any Queries on Real-time Optimization on Petalinux, OpenAMP with Petalinux and FreeRTOS/Baremetal, please write us at info@logictronix.com
LogicTronix is Xilinx Certified Partner and also "Design Service Partner for Kria SoM for AI/ML". Know more about LogicTronix from Xilinx Partner Profile: www.xilinx.com/alliance/memberlocator/1-1dturdk.html


![LogicTronix [FPGA Design + Machine Learning Company]](https://hackster.imgix.net/uploads/attachments/1123066/_SyVIfEqFUU.blob?auto=compress%2Cformat&w=40&h=40&fit=min&dpr=2)


![LogicTronix [FPGA Design + Machine Learning Company]](https://hackster.imgix.net/uploads/attachments/1123066/_SyVIfEqFUU.blob?auto=compress%2Cformat&w=60&h=60&fit=min&dpr=2)


Comments
Please log in or sign up to comment.