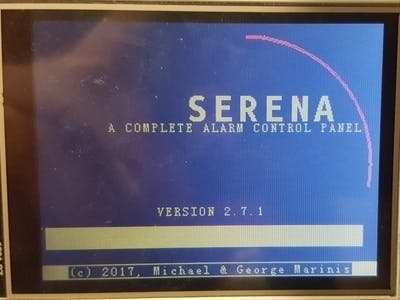
As I've stated in my previous project, I've found a lot of alarm systems before and I wanted to try out to make my own. All fancy, with a good UI and some nice features.
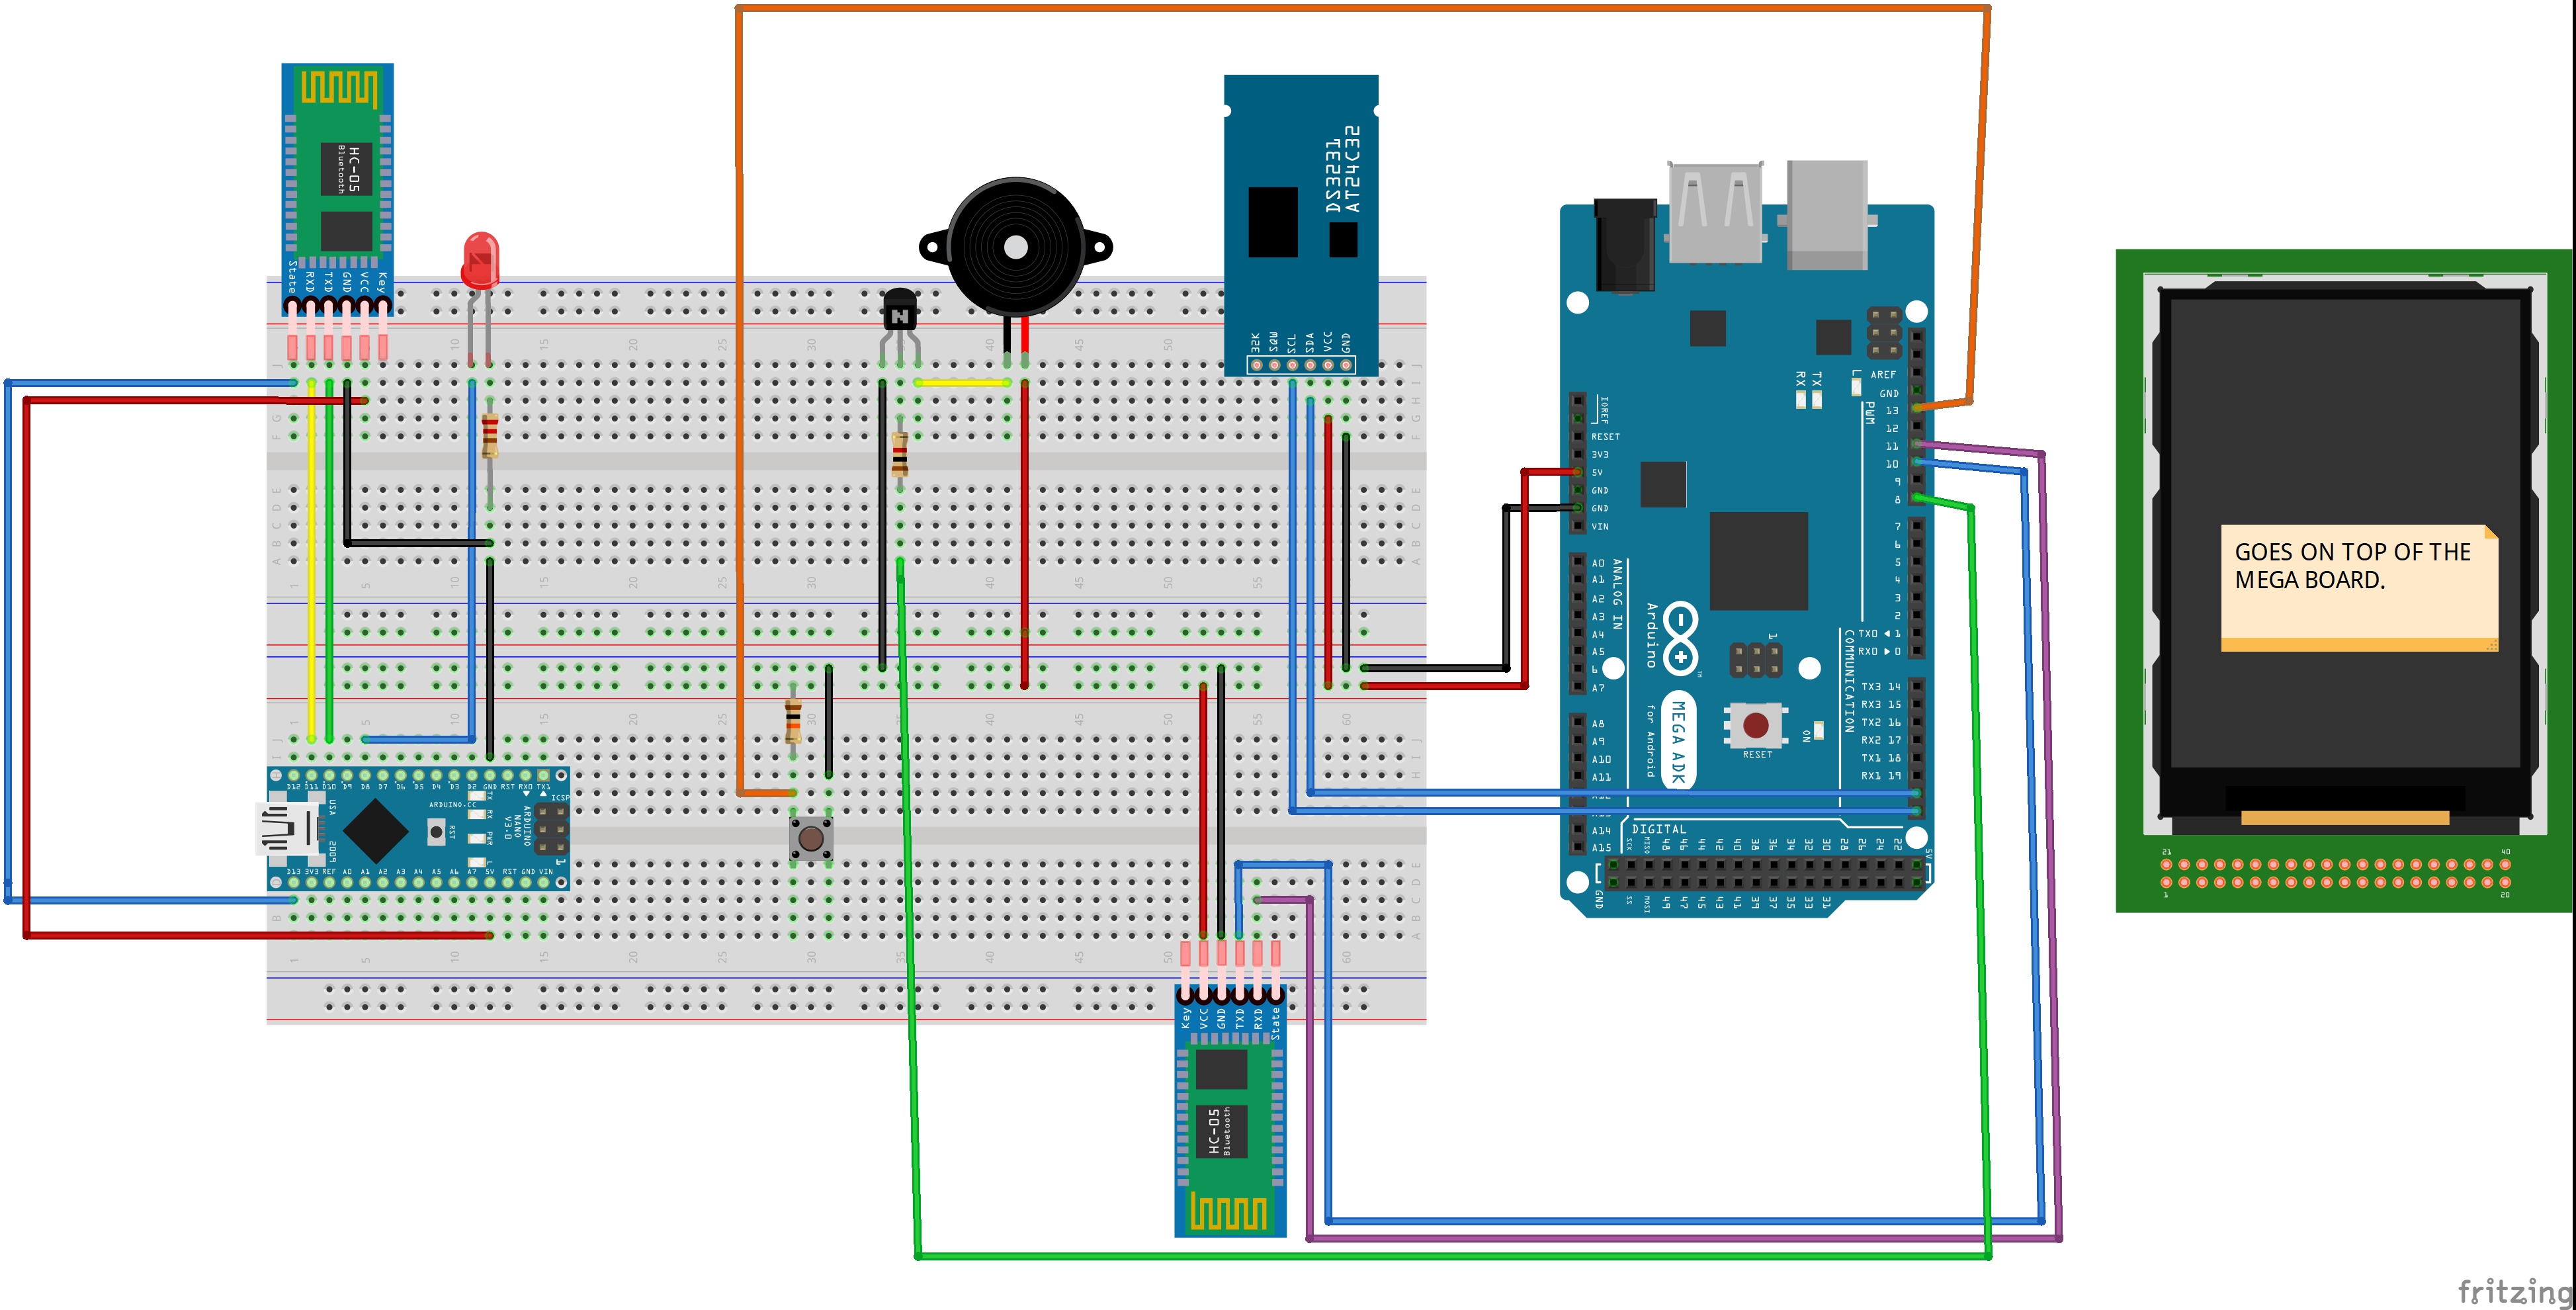
The control panel uses an Arduino MEGA, a 3.2" LCD touchscreen, a real-time clock module (DS3231), a buzzer and a Bluetooth module (HC-05).
1b) Showcase VideoI explain some stuff in the video below. You can also see the interface and how the system works in general.
2) The alarm's functions.The alarm uses 3 passwords:
- A 4-digit password to arm the system (can be disabled).
- A 5-digit password to partially disarm it (the system enters in auto-arm mode).
- And a 6-digit password to completely disarm the system.
The system can auto-arm itself, in case you forget to arm it when you leave/arrive.
The 4-digit password can be disabled in the options menu (under the "Other Settings" sub-menu.
3) Powering the board.When the board boots, the first thing you'll see is a "BIOS-like" screen. The board will check the time, date, temperature and the existence of an SD card. The program will then continue to the loading screen and will enter the main menu.
In the options menu, you can change all three passwords. You then have the options to save them on the device, on an SD card (optional), or both. The SD card is used in case the power goes off or a reset of the board occurs.
The real time clock is used of course, to show the time, date and temperature, which will be shown when the system is armed. Time and date can of course be adjusted in the options menu.
As I've said above, the 4-digit password is used to arm the system, but it can be disabled if the user wants to. If it's enabled, every time the user wants to arm the system, the 4-digit password must be entered. Otherwise, the system will just arm without asking for the password.
When the system is armed, the user will see the same screen as in the image above. The date, time, temperature and the disarm button are visible (also, some snowflakes, but that is part of an upcoming seasons update).
5b) Auto-ArmingWhen the user wants to disarm the alarm, he/she must touch the disarm button and then enter the 5-digit password. When that password is entered correctly, the user will see a screen like this:
When the 5-digit password is entered, the system will enter the auto-arm mode, which will arm the system after the passing of "X" number of seconds, which can be adjusted by the user (default is 40 seconds). When that time passes, the system will be armed again.
5c) Completely disarming the system.In order to completely disarm the system, the user must first enter the 5-digit password. After that, the system will enter the auto-arm state. To completely disarm the system, the user must press a pushbutton and the system will ask for the 6-digit password.
When the user enters the correct password, the system will exit the auto-arm state and will return to the main menu.
6a) Bluetooth ConnectionThe MEGA board is connected via Bluetooth to a NANO board. When the system is armed, the BT connected to the MEGA board will send a signal to the BT on the NANO board telling it that the system is armed. In the video below, I use an LED to simulate that process.
The NANO board can be used any way you like. Just take the signal generated from it and use it as you please. I personally use it to activate/deactivate a relay which arms the whole system.
6b) Bluetooth DisconnectionIf at any moment the main board turns off and the two Bluetooth modules are disconnected, the system will auto-arm itself as a safety measure. Of course there are a lot of situations where we don't want that to happen, but at this version I wanted to implement that feature.
7) The programIn the GitHub repository, you'll find 3 folders: "Serena_ *version*", "Graphics" and "Security".
- The "Serena_ *version*" folder contains the main .ino file, as well as the image files that appear in the program. It also contains the code for the NANO board (folder name: "slave").
- The "Graphics" folder, contains the files that handle all the graphics that appear on-screen. It MUST be placed in Arduino's libraries folder: Documents/Arduino/Libraries.
- The "Security" folder, contains the files that handle all password-related function, like setting the password, getting it and saving it to the SD card. It must also be placed in Arduino's libraries folder: Documents/Arduino/Libraries.
Nothing's perfect. I constantly improve the program when I have time. Right now, I'm working on a visual update, where the user can see season-related graphics when the system is armed.
Feel free to make any suggestions, improvements. I really appreciate it when I have feedback.
That's all!Thank you for taking the time to read about my project. Don't hesitate to leave any questions, suggestions in the comments below.


_wzec989qrF.jpg?auto=compress%2Cformat&w=48&h=48&fit=fill&bg=ffffff)


_3u05Tpwasz.png?auto=compress%2Cformat&w=40&h=40&fit=fillmax&bg=fff&dpr=2)
Comments