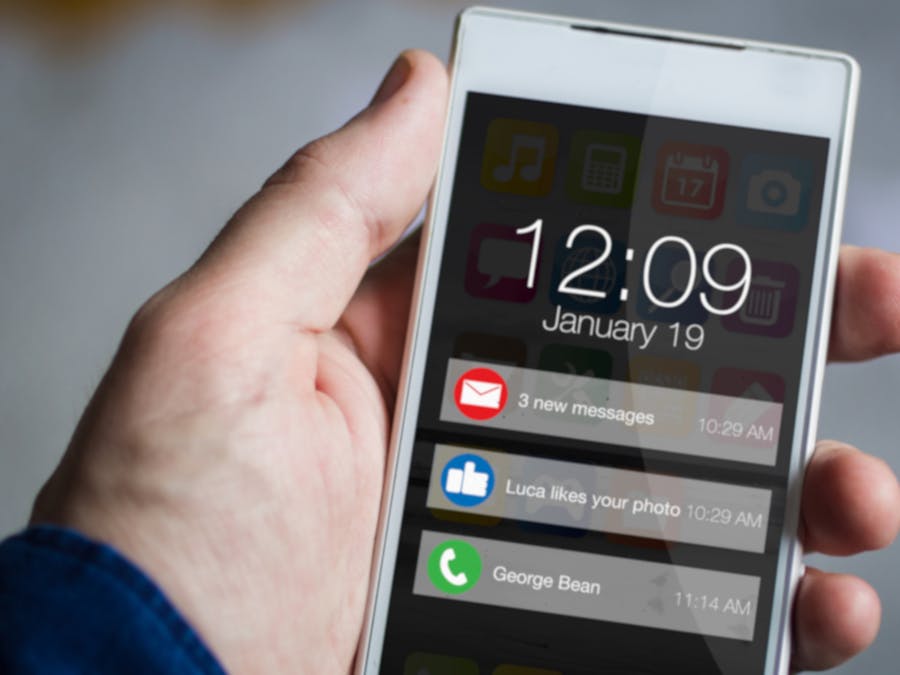
Sending notifications to a phone or device has always seeming difficult task. Using Pushbullet, it becomes very easy!
Step 1: THE BROAD OVERVIEWWith all the internet-enabled projects, one of the most common questions that we get asked is how can I alert somebody that something has happened ?
Pushbullet began as a simple Chrome brower app where users could easily push files from their desktop or laptop to their Android phone. Since the launch of the app in January 2013, Pushbullet has evolved into a fully supported application with many new features and the ability to push a variety of items (notifications, files, links, pictures, addresses, and more) between many devices.
Step 2: HOW IT WORKS ?Pushbullet offers many different things, but we will be focusing on sending. At the simplest,we can do basics pushes like : "note" , "link",etc..
Once we know what type of push we are creating, we put together this information and send this to the Pushbullet API (Application Program Interface) server. This is done by building the data and sending it via an HTTP (Hytertext Transfer Protocol) request. The API accepts requests over HTTPS at : https://api.pushbullet.com.
Note : All POST requests must use a JSON body with the content-type header set to application/JSON.
Step 3: THE SETUP1.Head over to Pushbullet.com.
2.Set up an account.
Take the time to link your phone and download the app. If your are a chrome user, then there is also a chrome extension that will let you send alerts to your computer.
You need the access token in order to use the API.To find it, log into your account, then navigate to “settings”, and then “account”. Scroll down until you find “access tokens” and then use the “create access token” button.
See photos above.
Step 4: THE CODEWe will be using the ESP8266 libraries and platform. The below code was tested using the NodeMCU
First of all please ensure that you have the ESP8266 libraries installed in your development environment.
To do this start Arduino and open the Preferences window.Enter :
http://arduino.esp8266.com/versions/2.4.2/package_esp8266com_index.json
in additional boards manager URLs filed.
Open the Boards Manager from the Tools > Board menu and find the ESP8266 platform. Select the version you need, then click the install button.
select the ESP8266 board from Tools > Board menu.
we used nodeMCU 1.0.
Upload the code below to your NodeMCU board.
Step 5: THE RESULTAfter we upload the code your PC will send you a prompt tells you that you have receiving a message, so go check it at Pushbullet.
Note : also you will receive the notification on your own phone if you have install the app.
In the code, I also sent a link, the notification of the link will be send after 10s.
See photo.
Check the video if you stuck.
Step 6: CONCLUSIONPushbullet has to be one of the most straightforward and elegant solutions that we have found to send alerts to users.
The opportunities that we have to create rich real-time applications and devices become so much better for the use of this service.
I will add some others projects using Pushbullet.If you have any question of course you can conctact me at : ahmnouira@gmail.com , Or leave a comment
Thanks for reading this tutorial ^^ and have a nice day.
See ya.
Ahmed Nouira


Comments
Please log in or sign up to comment.