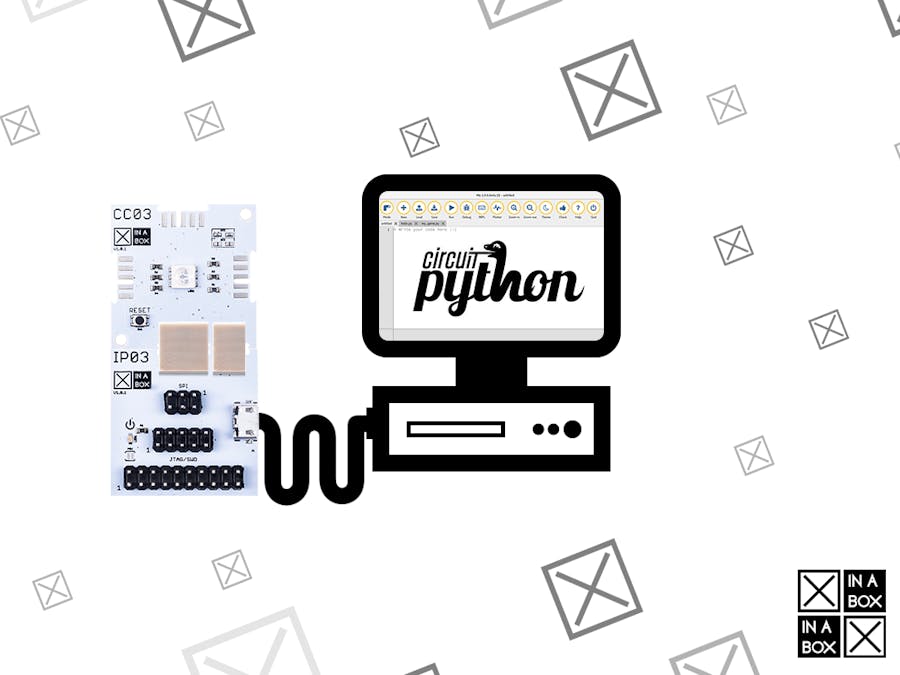
In this tutorial we will show you how to load CircuitPython onto an XinaBox core and use Mu to interact with it. Later tutorials will build on this, and show you how to add and use other XinaBox xChips with your CircuitPython implementation, and Mu.
- The XinaBox CC03 (alternately you can use a CS11) xChip is a programmable core / microcontroller that uses a 32-bit ARM Cortex -M0+ processor.
- CircuitPython is an open source derivative of the MicroPython programming language, targeted towards students and beginners. Development of CircuitPython is supported by Adafruit Industries (wikipedia).
- Mu Is a simple and easy to use Python editor for microcontrollers which is designed to be beginner friendly. It is an open source project developed and maintained by a vibrant and committed community which focuses on incorporating feedback from teachers and learners.
- Hardware setup
- Downloading the latest version of CircuitPython
- Adding CircuitPython to the CC03 core
- Using the CircuitPython implementation
- Summary
- Related projects
You should be able to work through it in 10 minutes, all being well. Good luck!
Hardware setupYou will need to connect your core to the IP03 (note - you can use an IP02 instead) - you need to use 2 connectors to do this:
- one uBus connector (they are the squared shaped ones)
- one xPDI connector (they are rectangular, half the size of the uBus ones)
Once attached it should look like this:
Next connect the IP03 to the USB port on your laptop. Please see this guide for details about how to assemble xChips generally.
Once the core is connected properly it should show up under connected devices/storage media / as a drive in Explorer.
Downloading the latest version of CircuitPythonTo find a version of CircuitPython to use:
- Go to the Adafruit GitHib repo for CircuitPython, which you will find here.
- Click on Releases.
The page that loads lists multiple versions. At the time of writing this guide, the current version was CircuitPython 4.0.0. We expect this tutorial to work with whatever the latest release version is, but if you do have issues try the 4.0.0 release version:
- Search for “CircuitPython 4.0.0!” - there is a heading towards the bottom of the page. Scroll down to the Assets section (just under the ‘Troubleshooting’ subheading - in case it’s hidden) and click the arrow to expand the list.
- You should see a list of different versions. We tested with the version named “adafruit-circuitpython-feather_m0_basic-en_US-4.0.2.uf2” - you can just paste this text into the search bar and download that specific version.
In case you choose to go with a later / different version or one in your home language make sure you choose a version with keywords: feather_m0_basic in the UF2 format. Click the link and download the UF2 file.
Adding CircuitPython to the CC03 coreOnce it has finished downloading, drag your downloaded file into the CC03 seen among your computer’s connected external media.
It should only take a few seconds. Once CircuitPython has loaded onto the xChip we can start using it to execute Python code commands.
Using the CircuitPython implementationWe use the Mu Code Editor, although you could use other editors to the same effect.
Open Mu.
When you plug in the CC03 your Mu workspace should detect that a device has been added that it recognises - the message you get will depend on the version of Mu that you are using. You should get a dialogue box to change the MODE to either CirctuitPython or Adafruit CircuitPython - they are both the same so choose whichever one you see.
- If you do not see a dialogue box go to MODE and select CirctuitPython.
The editor allows you to write Python code which is sent over the serial (USB cable) to the CC03, where it is executed. Output from the CC03 is then sent back to Mu and displayed in the REPL / Serial window at the bottom:
- Click on the “Serial Tab” to launch the interface that allows you to directly program the CC03 with Python Code.
- Follow the instructions on the bottom of the screen: press any key to activate the REPL and begin to enter your Python code. For example:
You have successfully loaded MicroPython to your CC03 xChip core.
- For experienced microPython users: this should open up a world of possibilities - by attaching one or more of the 80+ xChips in our range you can build increasingly complex instruments without wires or any hardware knowledge at all.
- For beginners: watch out for other tutorials in this series that show how to use Mu and CircuitPython to code xChips. The first one is already available and shows how to use the SW01 weather monitor.


Comments
Please log in or sign up to comment.