This is my second entry for the LinkIt ONE challenge, not as 2 projects beside each, but this project as an extra part. My first entry: LinkItBoom
WiFi and IOT are currently big topics, but the current example of the wifiserver for Arduino is not good.
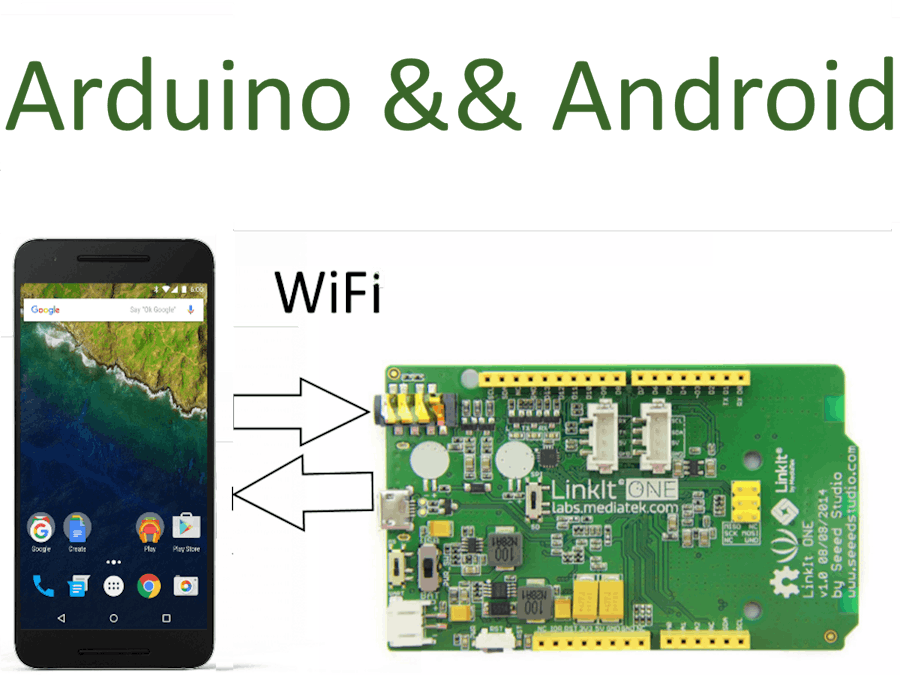
This project is to help people start their project with an Android phone (you can also use any browser, but it is a bit buggy) and an Arduino connected via WiFi.
You don't need any Android skillz for this project, or your own project, but you need to understand what code is and how to use it (Stackoverflow.com is a great source or you can ask them in the comments).
The current example of the wifiserver for Arduino is only about receiving data(to the Arduino), but sometimes you want to send stuff back to your phone/computer.
The flow:
The code is really simple, there are comments, but the only thing you have to change/add is the "GET /something" if functions in the middle of the loop and add a correct response, which can be anything, from a analog value to something static. Things read from the Serial port are a bit more tricky, because this sometimes takes more time than is "accepted". You can also edit the setup() function and the loop() function, but you may know that stuff already.
You only have to change the WIFI_AP, WIFI_PASSWORD and the WIFI_AUTH variables according to your own situation. Also add the WiFi antenna.
You should add this code in the while loop (~line 77, down left is the counter):
else if(currentLine.endsWith("GET /{SOMETHING}")){ //This is the URI which the app/browser requests.
do_something();     //Do something and
response = "something"; //Return something
//The response is sent back and the phone uses it for an calculation, shows it in the app or something else.
        }
(The colors are a bit off....)
For this part you may need some more knowledge about coding and Java/Android, but if you don't, there are a lot of tutorials on the internet and Stackoverflow is most of the time a good source for answers.
This app first checks if you have booted it up previously (if you have set an IP) and sends you to the Setting(s) page if not. There you have to fill in the IP of the LinkIt ONE/Arduino, but you can also try it with a running server, but you need a folder called "START", with a index.html in it with only "YES" as html code, this is the check if it is the real LinkIt ONE/Arduino, which you spoofs with this.
The MainActivity is kept as simple as possible. The global variable "ip" stores the ip(as an URL) of the LinkIt ONE as a String, for example: "http://192.168.2.27". The "RequestTask"(at the end of the code) is the actual class that requests the data from the Arduino(Internet, but in this case internal IP) and does something with it, e.g. putting it on the screen or saves it. The RequestTask is started really easy:
new RequestTask().execute(ip + "GET", "1");
The first variable is for the url, so in this case the ip + "GET", which will be something like "http://192.168.2.27/GET". The second variable is for the handling of the result, in my previous project(LinkItBoom) the volume should be put in another textView than the current song. This variable can only be a integer as a String. This value is used in the onPostExecute() function.
If you want to change the handling, go to line ~138(down left, there is the counter) and change this:
//This is the handling of different values and what should be done with it.if(MODE == 0){
 //Shiiiiet, something is not OK, because the MODE is something that can't be.    Toast.
makeText
(MainActivity.this, "Starting the Async went wrong", Toast.
LENGTH_LONG
).show();}
else if(MODE == 1){
 TextView textView = (TextView) findViewById(R.id.
dataV
);    textView.setText(result);}
else if(MODE == 2){//Add here the code you want if you parse "2" into the new RequestTask, but you can add more.
}
If you want to change the UI of the app, I recommend the graphical layout editor, you should edit the content_something.xml files.
If you add buttons you need to add OnClickListeners:
final Button get = (Button) findViewById(R.id.
getB
);//Fill in here the id of the buttonget.setOnClickListener(new View.OnClickListener(){//Also change the Button variable
 @Override    public void onClick(View v){
 new RequestTask().execute(ip + "GET", "1");         //The code you want to run must be put here.        }
});
Add this code in the OnCreate() function, ~line 28.
I fully understand that it might be a bit unclear after reading this, so I have made an example (ArduinoVoltMeterAndroid, also in the Projects folder), which you can check out, but I have also made a video of me making the app in real time. I didn't write code beforehand for it, so I make 1 mistake in the Android code, but there is a comment of it in the video and it is repaired in the folder.


Comments
Please log in or sign up to comment.