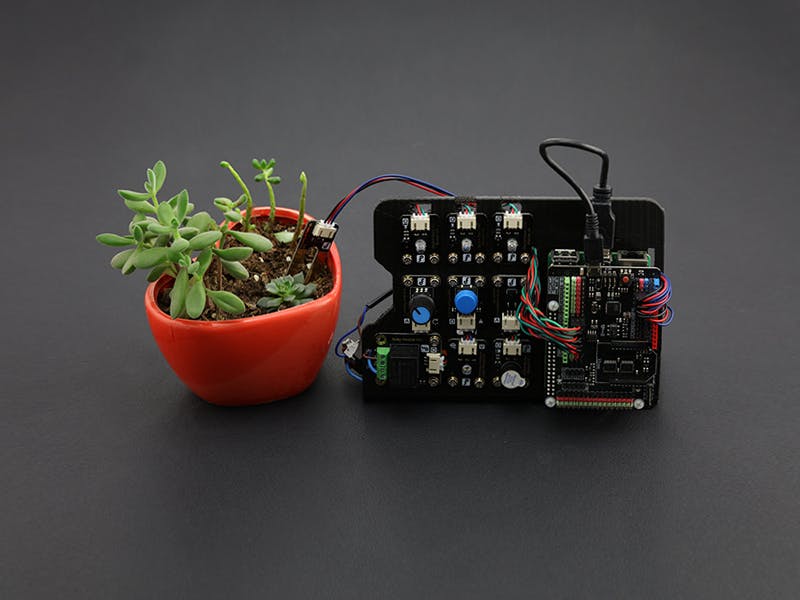
- Never forget to water your plants again!
Abstract:
With the Automatic Plant Watering System, you will never have to worry about your plants going thirsty again! Plants will be watered automatically and you will be able to view the plant’s data using Microsoft Azure’s cloud service.
The Automatic Plant Watering System is built using Windows 10 IoT. This tutorial will give you an overview of how to build the system, describe the included modules and how to get it working online.
Functions:
1. Waters your plant automatically;
2. Notifies you when the water reservoir is low;
3. Records plant watering statistics and pushes them to the web.
Method:
• Connect all the electronic modules with a Raspberry Pi 2 and test all work properly. Make sure the Raspberry Pi has internet access.
• Use Visual Studio to view and compile the software.
• Find your Raspberry Pi’s MAC address and upload the software to your Raspberry Pi using Visual Studio.
Connections:
You will need connect all the modules as shown in the diagram above. All the modules are connected using the Arduino expansion shield using the Firmata communication protocol between the shield and the Raspberry Pi.
• LED light module: displays the state of system
• Rotation Sensor: Adjusts volume
• Relay Module: Controls the motor to water the plant
• Buzzer Module: Warns you when the soil is dry
• Button Module: Turn off or turn on warning system
• LM35 Temperature: Measures the ambient temperature
• Soil Moisture Sensor: Measures the soil moisture value
• Arduino Expansion Shield: Gives extra I/O connections
• Raspberry Pi 2: Brain of the system. Communicates with expansion shield by Firmata Protocol
Software:
The flowchart above shows how the software works.
When the system is turned on, it will initialize the modules and get data from the sensor modules. The system measures variables such as ambient light, soil moisture and ambient temperature. It then uses this data to trigger outputs such as the notification LED, buzzer, and watering system. Finally it sends this data to the web so that you can view it remotely on your browser.
Resources:
Get the whole tutorial from here;
Get Beginner Kit for Raspberry Pi 2 (Windows10 IoT compatible) from here;


Comments
Please log in or sign up to comment.