


1 / 6
A disaster area network (DAN) is a heterogenous wireless mesh network that utilizes the LoRa modulation scheme for point-to-point or point-to-multipoint connections between nodes.
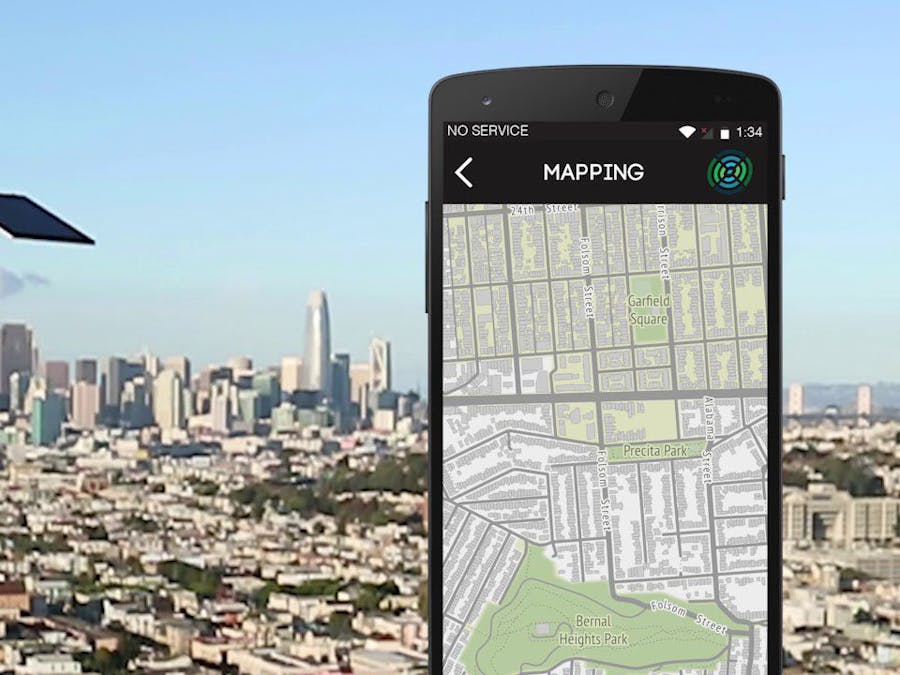
The firmware is working on ESP32 dev boards. Clients connect to a local Wifi hotspot to access the chat interface in a browser, or use the devices in Bluetooth mode with an Android app.
- Communication between any two nodes via LoRa, without the need for a server or gateway.
- Distance-vector, loop-avoiding, routing of packets with limited knowledge of network topology
- Minimal design that could be easily reimplemented on many devices
- A connectionless protocol that does not require acknowledgments, so as not to overuse air space
You should choose whether you wish to use Bluetooth or WiFi to access the device. The boards come in Wifi mode if you intend to use Bluetooth/ Android app. You should reflash the device, commenting out Wifi and uncommenting Bluetooth.
Early prototype
- Take the enclosure and remove the cover with a screwdriver
- Pass the big cable through the left-hand cable gland as you face the enclosure with the cover removed and the cable glands at the top.
- Pass the short antenna through the middle cable gland (this is unused, it's just to block the hole)
- Pass the long antenna through the right cable gland.
- Connect both the + (red) cables from the battery holders to the bat + terminal on the Solar1 charge controller
- Connect both the - (black) cables from the battery holders to the batt - terminal of the Solar1 charge controller.
- Insert the batteries into the holders
- Place the battery holders to the left of the enclosure. Secure with adhesive silicone.
- Connect the plug wires to the + and - load output of the solar charge controller.
- Use a small screw to attach the solar charge controller to the mounting hole on the right-hand side of the enclosure.
- Connect the +/- wires from the cable you passed through the cable gland to the +/- terminals on the solar charge controller.
- Connect the plug to the TTGO dev board.
- Screw the TTGO dev board to the long antenna. Spin so it does not foul the lid.
- Check that the screen on the dev board is showing some information
- Tighten the cable glands
- Attach the 10w or 20w solar panel to the cable you have passed through the cable gland.
- Put the solar panel in the sun.
- Connect to the Wifi network that has been created and visit 192.168.4.1 in a browser, or launch the Android app and connect to Bluetooth if you have re-flashed the device.
It should be possible to make a portable node from this box and this power bank but this is untested.

Thanks to Disaster radio software developers.
Comments
Please log in or sign up to comment.