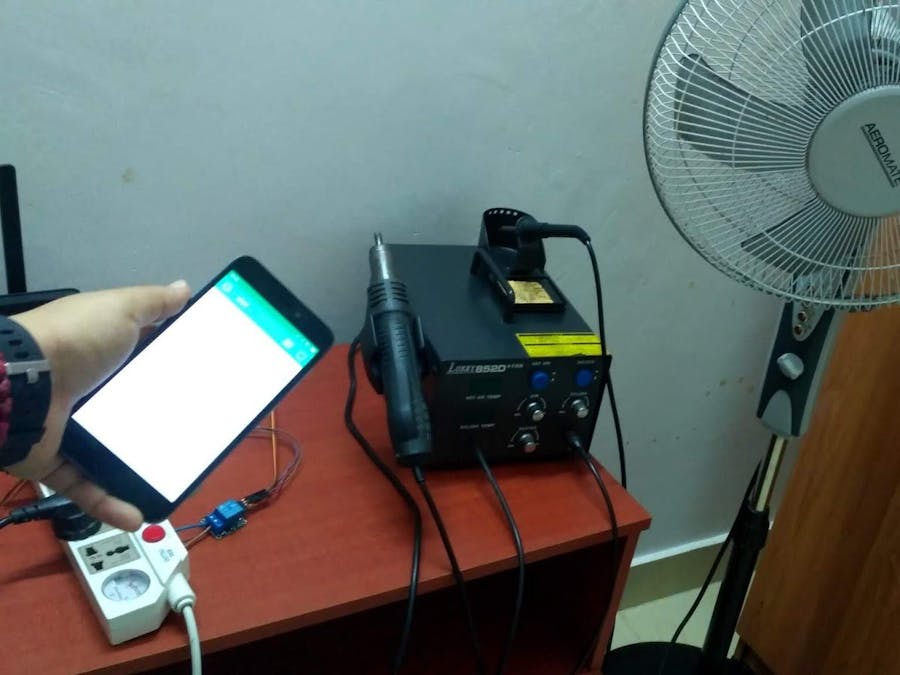
This is my first step towards home automation. Using IoT, interrelated computing devices are able to transfer data over a network without requiring human-to-human or human-to-computer interaction. In this page, you will see how I controlled my pedestal fan and soldering station with my smartphone.
- Arduino Uno
- Ethernet Shield V1 - W5100
- Relay module (x2) - 5V single channel
- Female-to-Male Jumper wires (x3)
- Male-to-Male Jumper wires (x3)
- Male header pins - 3 pins
- Female header pins - 3 pins
- Plug extension
- Wire (x2) - 10 cm
- Ethernet cable
- Wifi router
- Smartphone/ Tablet
- Arduino IDE
- Blynk app
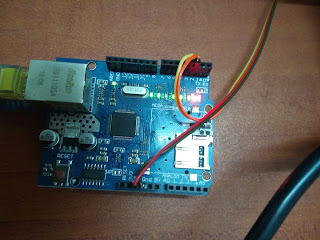
Your setup must look somewhat similar to those in the pictures above.
ConnectionsRelay module 01 (Soldering station) - 5V single channel
- S - D2
- (+) - 5V
- (-) - Ground (GND)
Relay module 02 (Fan) - 5V single channel
- S - D3
- (+) - 5V
- (-) - Ground (GND)
You will be needing Blynk app for this IoT project. If you are new to Blynk, please feel free to follow the hyperlink. If your smartphone or tablet uses the Android OS, you can install Blynk app in playstore. Blynk app only works in iOS and android. Follow the steps given in this page (https://blynk.io/en/getting-started) to successfully work with Blynk.
Open Example Code Builder, choose your hardware model and connection type. Within Examples, choose Blynk Blink option and copy the whole code to buffer. Add your Auth Token in the codes. The Auth token will be sent to your email address. Upload the code to your Arduino Uno.
Open Blynk App and tap PLAY. Wait till you see the message that your device is connected and online.
Now, you can control the electronic devices which you connect to the plug extension.
Happy Blynking!
If anyone has any questions with the coding, please feel free to comment below.
Final LookIf anyone has any questions, or suggestions, about this project, please don't hesitate to comment below.


_ztBMuBhMHo.jpg?auto=compress%2Cformat&w=48&h=48&fit=fill&bg=ffffff)


Comments
Please log in or sign up to comment.