The purpose of this tutorial is to allow yourself to build the project on your own. We’ll list all the hardware and software you’ll need. We’ll also post all our codes that we used to make this project run properly. Then we’ll give you a cable schematics so that you will be able to plug all the wires in the right spot.
1) List of equipment
- 1 Raspberry Pi (3200₹)
- 1 Arduino (1900₹)
- 1 heartbeat sensor (550₹)
- 1 base shield (module groove) (550₹)
- 1 battery (Output: DC 5V/1A) (790₹)
- 1 USB A to B cable (700₹)
- 1 computer with an internet connection
- 1 server host
- 1 led (5₹)
- 1 resistor (120 Ohms) (5₹)
- 1 micro SD card (8 GB minimum) (1200₹)
2) All the codes used during the development
· Python code
· C++ language
· PHP
3) Software steps
- Download Raspbian Jessie, Win32 Disk Imager and PuTTY
- Put Raspbian Jessie in the micro SD card thanks to Win32 Disk Imager
- Insert the micro SD card into the Raspberry Pi
- Connect the equipment (you will find next point)
- After to have loading the different codes (Arduino and Raspberry Pi), start putty
- In Python, to change code: to write ‘sudo nano myproject.py’
And to start this code: to write ‘sudo python myproject.py’
- Use a website to display the data. For instance, in graphic as we did. The codes to create the website are in the ‘.rar’ file.
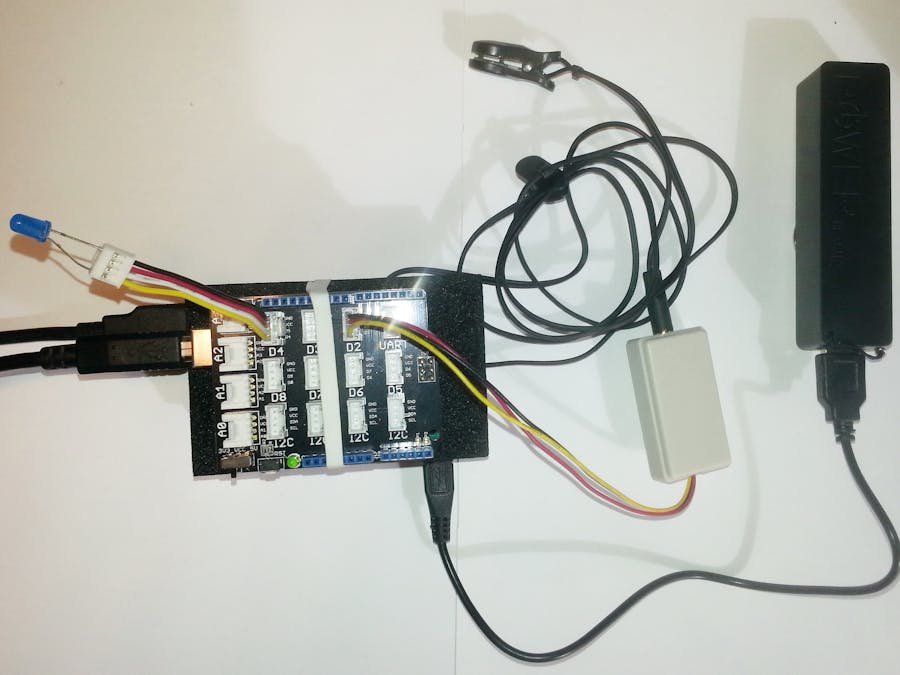
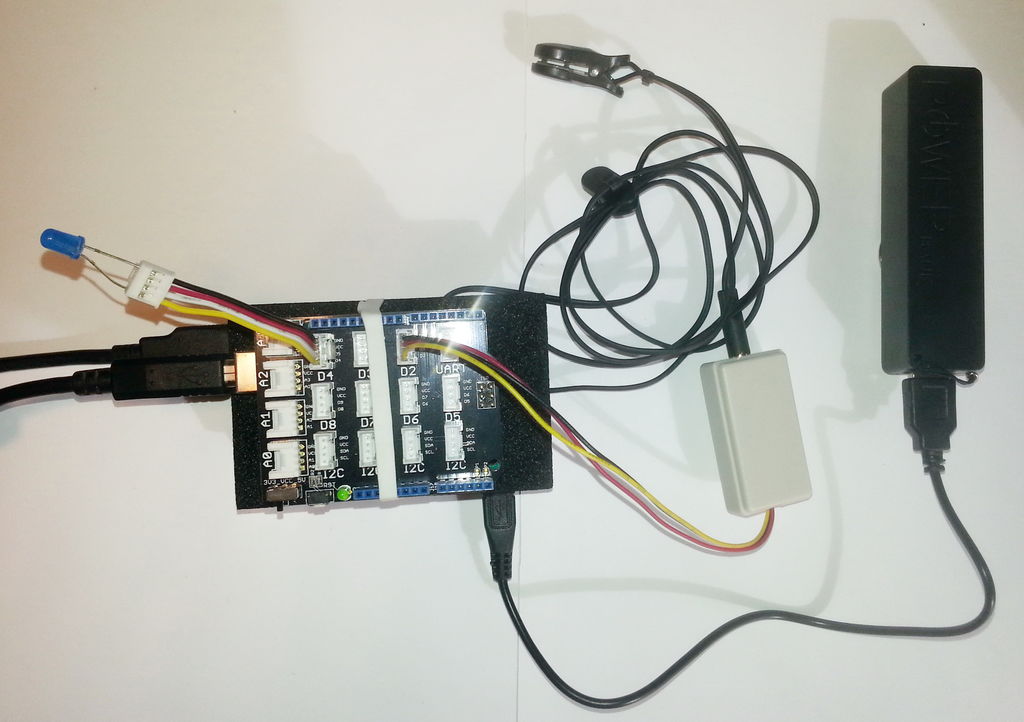
Step 1: The Base Shield Is Connected to All PIN of the ArduinoThe LED is lit when the sensor detects a heartbeat
1) The heartbeat sensor
2) The LED
3) The Arduino
4) The base shield
5) The battery
6) The USB A to B cable
7) The socket B for the USB cable
8) The socket A for the USB cable
9) The micro SD card
10) The Raspberry Pi power plug
11) The Raspberry Pi
12) The Ethernet socket
Step 7: Here Is the File With Different Codes


_ztBMuBhMHo.jpg?auto=compress%2Cformat&w=48&h=48&fit=fill&bg=ffffff)


_3u05Tpwasz.png?auto=compress%2Cformat&w=40&h=40&fit=fillmax&bg=fff&dpr=2)
Comments
Please log in or sign up to comment.