
Hardware components | ||||||
 |
| × | 1 | |||
 |
| × | 1 | |||
| × | 1 | ||||
Software apps and online services | ||||||
 |
| |||||
 |
| |||||
Hello guys, today we would like you to meet our new Surilli.io member, the "Surilli Relay Shield". This add-on is stack-able onto any Surilli development board as shown in the picture below. We will be using one of the two relays on the Surilli Relay Shield to switch on and off a light bulb from your android smartphone. You can use any of your other electric home appliances instead of a bulb (the load must be under 220V-10A), e.g., a fan, water pump or use it for brewing a hot cup of coffee from your coffee maker ;) Let's not wait and get started.
Note: If you are using this Surilli for the first time, follow our Startup Guide for Surilli WiFi and then move to step 1.
STEP 1: Setup Arduino IDE for SurilliMake sure you have selected the right port, board and processor for the Surilli as shown in the picture below and it is programmable (compile and upload “Blink” from File>Examples>Digital>Blink onto your Surilli to check if everything is working fine).
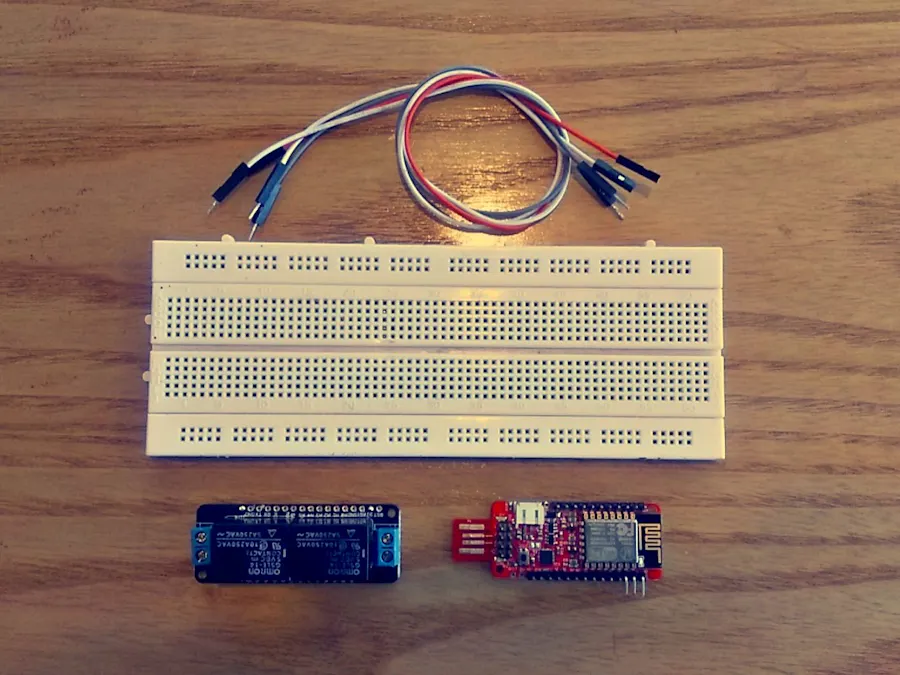
The circuitry is very simple but be cautious, you are playing with 220V volts so try not to hold electric parts with naked hands while the power is ON. Complete your circuit connections as shown in figure below and then move on to the next step.
Do not forget to stack the relay shield onto Surilli. Stacking powers up the relay board.
Handle the boards carefully, especially when the circuit is powered on. Do not touch the relay shield, it's running on 220V and can be dangerous.
Precautions:- Use USB male-female extension cable.
- Switch off circuitry if not in use.
- Use a wood or plastic table as a workstation.
- If you do not have the PubSub library, download it from the source given below. Unzip the downloaded .rar file and paste in into This PC > Documents > Arduino > libraries folder.
- Now you have completed setting up your hardware and Arduino IDE. Copy and paste the Arduino sketch given below into your Arduino IDE. Change SSID and PASSWORD inside your Arduino sketch at line number 6 & 7 respectively (this is the name and password of your WIFI access point or simply your internet router). Change nothing else and hit upload.
- After it is uploaded successfully, move to the next step. Your Surilli is now ready to turn ON & OFF your appliance ;)
Download and install the IoT MQTT Dashboard Android Application from the Play Store on your Android smartphone and follow the video below for setting it up against your hardware.
Turn the switch ON/OFF from your Android Application and BAM! Here you are with your own Smart Switch as shown below.
That’s all for now. Stay tuned for more amazing DIY stuff.
If you have any queries, visit surilli.io or contact our support. Stay connected with Surilli family for more amazing stuff :)
CODE: Arduino Sketch#include <ESP8266WiFi.h>
#include <PubSubClient.h>
// Update these with values suitable for your network.
const char* ssid = "SSID";
const char* password = "PASSWORD";
const char* mqtt_server = "18.195.229.81";
WiFiClient espClient;
PubSubClient client(espClient);
long lastMsg = 0;
char msg[50];
int value = 0;
void setup() {
pinMode(14, OUTPUT); // Initialize the BUILTIN_LED pin as an output
Serial.begin(115200);
setup_wifi();
client.setServer(mqtt_server, 1883);
client.setCallback(callback);
}
void setup_wifi() {
delay(10);
// We start by connecting to a WiFi network
Serial.println();
Serial.print("Connecting to ");
Serial.println(ssid);
WiFi.begin(ssid, password);
while (WiFi.status() != WL_CONNECTED) {
delay(500);
Serial.print(".");
}
Serial.println("");
Serial.println("WiFi connected");
Serial.println("IP address: ");
Serial.println(WiFi.localIP());
}
void callback(char* topic, byte* payload, unsigned int length) {
Serial.print("Message arrived [");
Serial.print(topic);
Serial.print("] ");
for (int i = 0; i < length; i++) {
Serial.print((char)payload[i]);
}
Serial.println();
// Switch on the LED if an 1 was received as first character
if ((char)payload[0] == '1') {
digitalWrite(14, HIGH); // Turn the LED on (Note that LOW is the voltage level
// but actually the LED is on; this is because
// it is acive low on the ESP-01)
} else {
digitalWrite(14, LOW); // Turn the LED off by making the voltage HIGH
}
}
void reconnect() {
// Loop until we're reconnected
while (!client.connected()) {
Serial.print("Attempting MQTT connection...");
// Attempt to connect
if (client.connect("ESP8266Client")) {
Serial.println("connected");
// Once connected, publish an announcement...
client.publish("outTopic", "hello world");
// ... and resubscribe
client.subscribe("Surilli");
} else {
Serial.print("failed, rc=");
Serial.print(client.state());
Serial.println(" try again in 5 seconds");
// Wait 5 seconds before retrying
delay(5000);
}
}
}
void loop() {
if (!client.connected()) {
reconnect();
}
client.loop();
long now = millis();
if (now - lastMsg > 2000) {
lastMsg = now;
++value;
snprintf (msg, 75, "hello world #%ld", value);
Serial.print("Publish message: ");
Serial.println(msg);
client.publish("outTopic", msg);
}
}


Comments