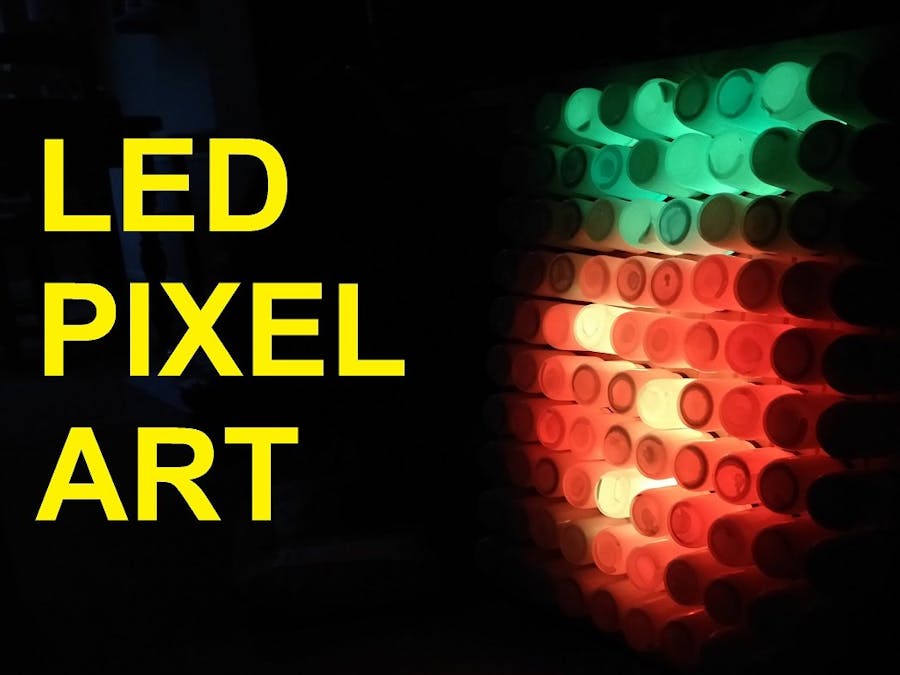
Images are made up of pixels which is short for picture element. Each one of these pixels consists of a red, a green and a blue value. The values for each colour can range between 0 and 255, giving a combination of over 16 million different colours and shades. The Python Imaging Library (PIL) can be used to scan a picture, pull out each pixel and identify the RGB values for that pixel. In this project I wrote a program to take a 10 X 10 image, identify the colour values for each pixel and then right these values to the LED display board. It loads an image, scans it, and then displays the image on the LED board, all in real-time.
How the Program Works part 1The PIL makes it really easy to scan the image and retrieve the pixel values. The current Raspberry Pi OS comes pre-installed with PIL so you are ready to go. Simply import the required modules and then use the programme code below to open an image file and then measure the width and height of the file before using the code to create a list to store the pixel values. I then stored the total number of pixels, in this case 100, in a variable called total. This is useful for ensuring that the image has the correct number of required pixels for the display board.file = input("Please enter the name of the file ")
im = Image.open(file + ".jpg", "r") # name of file to scan
width, height = im.size
pixel_values = list(im.getdata())
print (pixel_values)
total = (len(pixel_values))
#pixel_list = pixel_values
print ("Found ", total, "Pixels")The 'total' variable is used in the first line of code to check if the image contains 100 pixels, if it does then it sets the first pixel to green. This indicates to the user that the image has been successfully scanned and will be displayed. Now, you may have noticed that in this line of code the 255 for the green is first however in normal LED values red appears first. This was the a problem with my the hardware. The LEDs are not wired in the normal RGB set up, instead they are GRB!! In order to solve this I had to create a new list called npc, and then use a for loop to parse over each of the pixel values, extract the green, red and blue values and then recombine them into the correct order, storing them into a variable called RGB_correct. Next, the code writes these correct values back to the npc list.
if total == 100:
  unicorn.set_pixel(9, 0, 255, 0, 0)
  unicorn.show()
  sleep(3)
  npc = [] # list to stored new RGB values New Pixel Colours
  # Sorts GRB values into RGB values
  for i in range(0, 100):
  pos = pixel_values[i] # pull first RGB values from list
  green = pos[0] # pull out green value
  red = pos[1] # pull out red value
  blue = pos[2] # pull out blue value
  RGB_correct = (red, green, blue)
  npc.append(RGB_correct) # adds correct RGB value to new pixel colour list
#print (npc) #uncomment for testingThe final section of the code uses an array to store each of the new pixel values in the correct position for the LED display. For example, the first set of RGB values stored in the npc_list are located in position 0. In the array named, pic, this new pixel value is added to position npc[0], displaying the colour on this specific LED. The array consists of the specific location of each of the 100 LEDs and includes the colour value. The code then writes this data directly back to the LED board using the code unicorn.set_pixels(pic). If the image is greater than 100 pixels then the ELSE statement displays an error message and the first pixel is set to the colour red to indicate the error.
pic = [[npc[9],npc[8],npc[7],npc[6],npc[5],npc[4],npc[3],npc[2],npc[1],npc[0]], [npc[19],npc[18],npc[17],npc[16],npc[15],npc[14],npc[13],npc[12],npc[11],npc[10]], [npc[29],npc[28],npc[27],npc[26],npc[25],npc[24],npc[23],npc[22],npc[21],npc[20]], [npc[39],npc[38],npc[37],npc[36],npc[35],npc[34],npc[33],npc[32],npc[31],npc[30]], [npc[49],npc[48],npc[47],npc[46],npc[45],npc[44],npc[43],npc[42],npc[41],npc[40]], [npc[59],npc[58],npc[57],npc[56],npc[55],npc[54],npc[53],npc[52],npc[51],npc[50]], [npc[69],npc[68],npc[67],npc[66],npc[65],npc[64],npc[63],npc[62],npc[61],npc[60]], [npc[79],npc[78],npc[77],npc[76],npc[75],npc[74],npc[73],npc[72],npc[71],npc[70]], [npc[89],npc[88],npc[87],npc[86],npc[85],npc[84],npc[83],npc[82],npc[81],npc[80]], [npc[99],npc[98],npc[97],npc[96],npc[95],npc[94],npc[93],npc[92],npc[91],npc[90]]]
unicorn.set_pixels(pic)
unicorn.show()
else:
print ("Image Too Large")
unicorn.set_pixel(9, 0, 0, 255, 0)
unicorn.show()


Comments
Please log in or sign up to comment.